🔧 阿川の電商水電行
隨著每個人和他們的貓為他們的應用程式建立一個“2023 Wrapped”,我無法阻止,不得不為這個很棒的 dev.to 社區建立一個小型開源應用程式 🥰
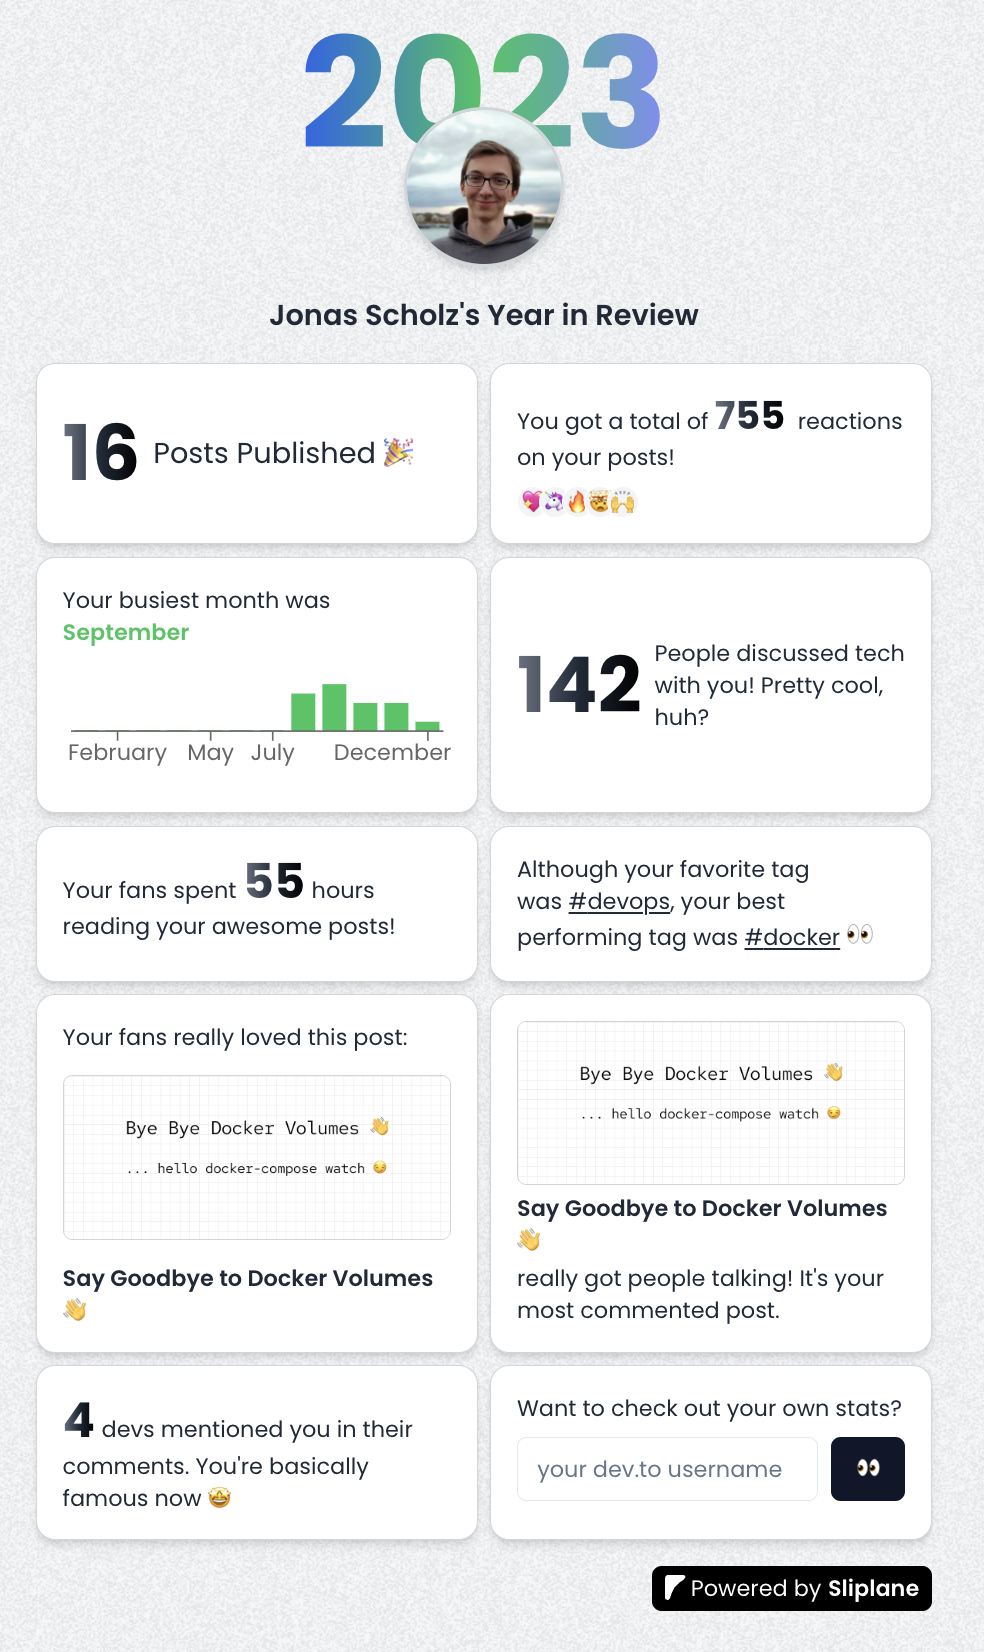
造訪devto-wrapped.sliplane.app,輸入您的用戶名,看看您作為dev.to 的作者在2023 年取得了什麼成就! 無需 API 金鑰或登入!
這是我在 dev.to 的第一年的經驗:

PS:在評論中分享你的截圖,我會隨機挑選一個人,給他們發送一些免費的開發者貼紙作為提前的聖誕禮物🎅🎁
不管怎樣,你來這裡是為了學習一些東西,所以讓我們深入研究程式碼吧!
教程
建立這個小應用程式的速度對我來說至關重要,因此我決定使用我最近使用的自己的[Hackathon Starter Template](https://dev.to/code42cate/how-to-win-any-hackathon -3i99)寫了關於。我剝離了一些我不需要的功能,從而產生了一個非常精簡的 monorepo:
1.Next.js + Tailwind
- ShadcnUI
你可以在這個Github儲存庫中看到所有內容
設定
如果您想長期關注並親自嘗試一下,請按照以下步驟操作:
# Clone repository
git clone https://github.com/Code42Cate/devto-wrapped.git
# Install dependencies
pnpm install
# Start app
pnpm run dev --filter web
該應用程式現在應該從 http://localhost:3000 啟動。如果它不起作用,請在評論中告訴我!
存取 dev.to 資料
這個小應用程式最有趣的部分可能是我們如何存取 dev.to 資料。雖然有幾種方法可以解決這個問題,但我有一些要求幫助我決定前進的方向:
-
不抓取 - 花費太長時間,我希望資料可用 <1 秒
-
僅公開資料 - 我不想向使用者詢問 API 金鑰或使用我自己的
3.不需要資料庫-我很懶,想避免無用的複雜性
這為我們提供了兩種可能的獲取資料的方式:
-
即使您未登錄,dev.to 網站也會進行未記錄的公開 API 呼叫
考慮到這兩種獲取資料的方式,我們基本上可以獲得 3 類資料:
1.使用API公開使用者資訊:dev.to/api/users/by_username
-
使用
dev.to/search/feed_contentAPI 和class_name=Article發布帖子 -
包含
dev.to/search/feed_content和class_name=Comment&search_fields=xyz的搜尋查詢的評論
這些 API 呼叫都是在伺服器端進行的,以加快請求速度,可以在「/apps/web/actions/api.ts」中找到。由於這只是組合在一起,因此功能相當簡單,錯誤處理也非常少:
export async function getUserdata(username: string): Promise<User | undefined> {
  const res = await fetch(
    `https://dev.to/api/users/by_username?url=${username}`,
  );
  if (!res.ok) {
    return undefined;
  }

  const data = await res.json();

  return data as User;
}
對於這個用例來說,這很好,但如果您不希望用戶發生意外崩潰,請記住正確捕獲異常並驗證您的類型😵
計算統計資料
計算統計資料出奇地容易,主要是因為我們的資料非常小。即使你每天發帖,我們只會瀏覽 365 個帖子。迭代 365 個專案的陣列幾乎不需要時間,這給了我們很大的空間來完成工作,而無需關心效能!您在頁面上看到的每個統計資料都是在單一函數中計算的。以「總反應」為例:
  const reactionsCount = posts?.reduce(
    (acc: number, post: Article) => acc + post.public_reactions_count,
    0,
  );
我們需要做的就是檢查帖子陣列並總結每個帖子的“public_reactions_count”數量。田田,完成!
即使對於更複雜的,它也只不過是一個嵌套循環:
  const postsPerTag: Record<string, number> = posts?.reduce(
    (acc: Record<string, number>, post: Article) => {
      post.tag_list.forEach((tag) => {
        acc[tag] = acc[tag] ? acc[tag] + 1 : 1;
      });
      return acc;
    },
    {} as Record<string, number>,
  );
前端
由於這是使用 Next.js 建構的,因此所有內容都可以在「/apps/web/app/page.tsx」檔案中找到。
在元件的頂部,您可以先看到我們如何取得資料並檢查使用者是否存在或是否有足夠的資料來顯示任何內容:
  const user = await getUserdata(username);
  if (!user) {
    return <EmptyUser message="This user could not be found 🫠" />;
  }

  const stats = await getStats(user.id.toString());
  const mentionsCount = await getMentionedCommentCount(user.username);

  if (stats.postCount === 0) {
    return <EmptyUser message="This user has no posts 🫠" />;
  }
不同的統計資料都是它們自己的元件,它們是 CSS 網格的一部分,看起來像這樣(縮短)
<div className="grid grid-cols-2 gap-2 w-full text-sm text-gray-800">
        <PublishedPostsCard count={stats.postCount} />

        <ReactionsCard count={stats.reactionsCount} />

        <BusiestMonthCard
          busiestMonth={stats.busiestMonth}
          postsPerMonth={stats.postsPerMonth}
        />

        <CommentsCard count={stats.commentsCount} />

        <ReadingTimeCard
          readingTime={stats.readingTime}
          totalEstimatedReadingTime={stats.totalEstimatedReadingTime}
        />

</div>
這些元件都是「啞」的,這意味著它們只負責顯示資料。他們不獲取或計算任何東西。其中大多數都非常簡單,就像這張「最佳貼文」卡:
import Image from "next/image";
import { Article } from "@/actions/api";

export default function BestPostCard({
  post,
  coverImage,
}: {
  post: Article;
  coverImage: string;
}) {
  return (
    <div className="flex w-full flex-col justify-between gap-2 rounded-xl border border-gray-300 bg-white p-4 shadow-md">
      Your fans really loved this post: <br />
      <Image
        src={coverImage}
        alt={post.title}
        width={500}
        height={500}
        className="rounded-md border border-gray-300"
      />
      <a
        className="font-semibold underline-offset-2"
        href={`https://dev.to${post.path}`}
      >
        {post.title}
      </a>
    </div>
  );
}
部署
為了部署我們的應用程式,我們將對其進行dockerize,然後使用Sliplane(稍微有偏見,我是聯合創始人!)將其託管在我們自己的[Hetzner Cloud](https://www.hetzner.com /cloud) 伺服器上。我在上一篇部落格文章中介紹瞭如何對Next.js 應用程式進行docker 化,這基本上是相同的,只是做了一些小的更改適應我的 Turborepo 設定:)
# src Dockerfile: https://github.com/vercel/turbo/blob/main/examples/with-docker/apps/web/Dockerfile
FROM node:18-alpine AS alpine

# setup pnpm on the alpine base
FROM alpine as base
ENV PNPM_HOME="/pnpm"
ENV PATH="$PNPM_HOME:$PATH"
RUN corepack enable
RUN pnpm install turbo --global

FROM base AS builder
# Check https://github.com/nodejs/docker-node/tree/b4117f9333da4138b03a546ec926ef50a31506c3#nodealpine to understand why libc6-compat might be needed.
RUN apk add --no-cache libc6-compat
RUN apk update
# Set working directory
WORKDIR /app
COPY . .
RUN turbo prune --scope=web --docker

# Add lockfile and package.json's of isolated subworkspace
FROM base AS installer
RUN apk add --no-cache libc6-compat
RUN apk update
WORKDIR /app

# First install the dependencies (as they change less often)
COPY .gitignore .gitignore
COPY --from=builder /app/out/json/ .
COPY --from=builder /app/out/pnpm-lock.yaml ./pnpm-lock.yaml
COPY --from=builder /app/out/pnpm-workspace.yaml ./pnpm-workspace.yaml
RUN pnpm install

# Build the project
COPY --from=builder /app/out/full/ .
COPY turbo.json turbo.json

RUN turbo run build --filter=web

# use alpine as the thinest image
FROM alpine AS runner
WORKDIR /app

# Don't run production as root
RUN addgroup --system --gid 1001 nodejs
RUN adduser --system --uid 1001 nextjs
USER nextjs

COPY --from=installer /app/apps/web/next.config.js .
COPY --from=installer /app/apps/web/package.json .

# Automatically leverage output traces to reduce image size
# https://nextjs.org/docs/advanced-features/output-file-tracing
COPY --from=installer --chown=nextjs:nodejs /app/apps/web/.next/standalone ./
COPY --from=installer --chown=nextjs:nodejs /app/apps/web/.next/static ./apps/web/.next/static
COPY --from=installer --chown=nextjs:nodejs /app/apps/web/public ./apps/web/public

CMD node apps/web/server.js
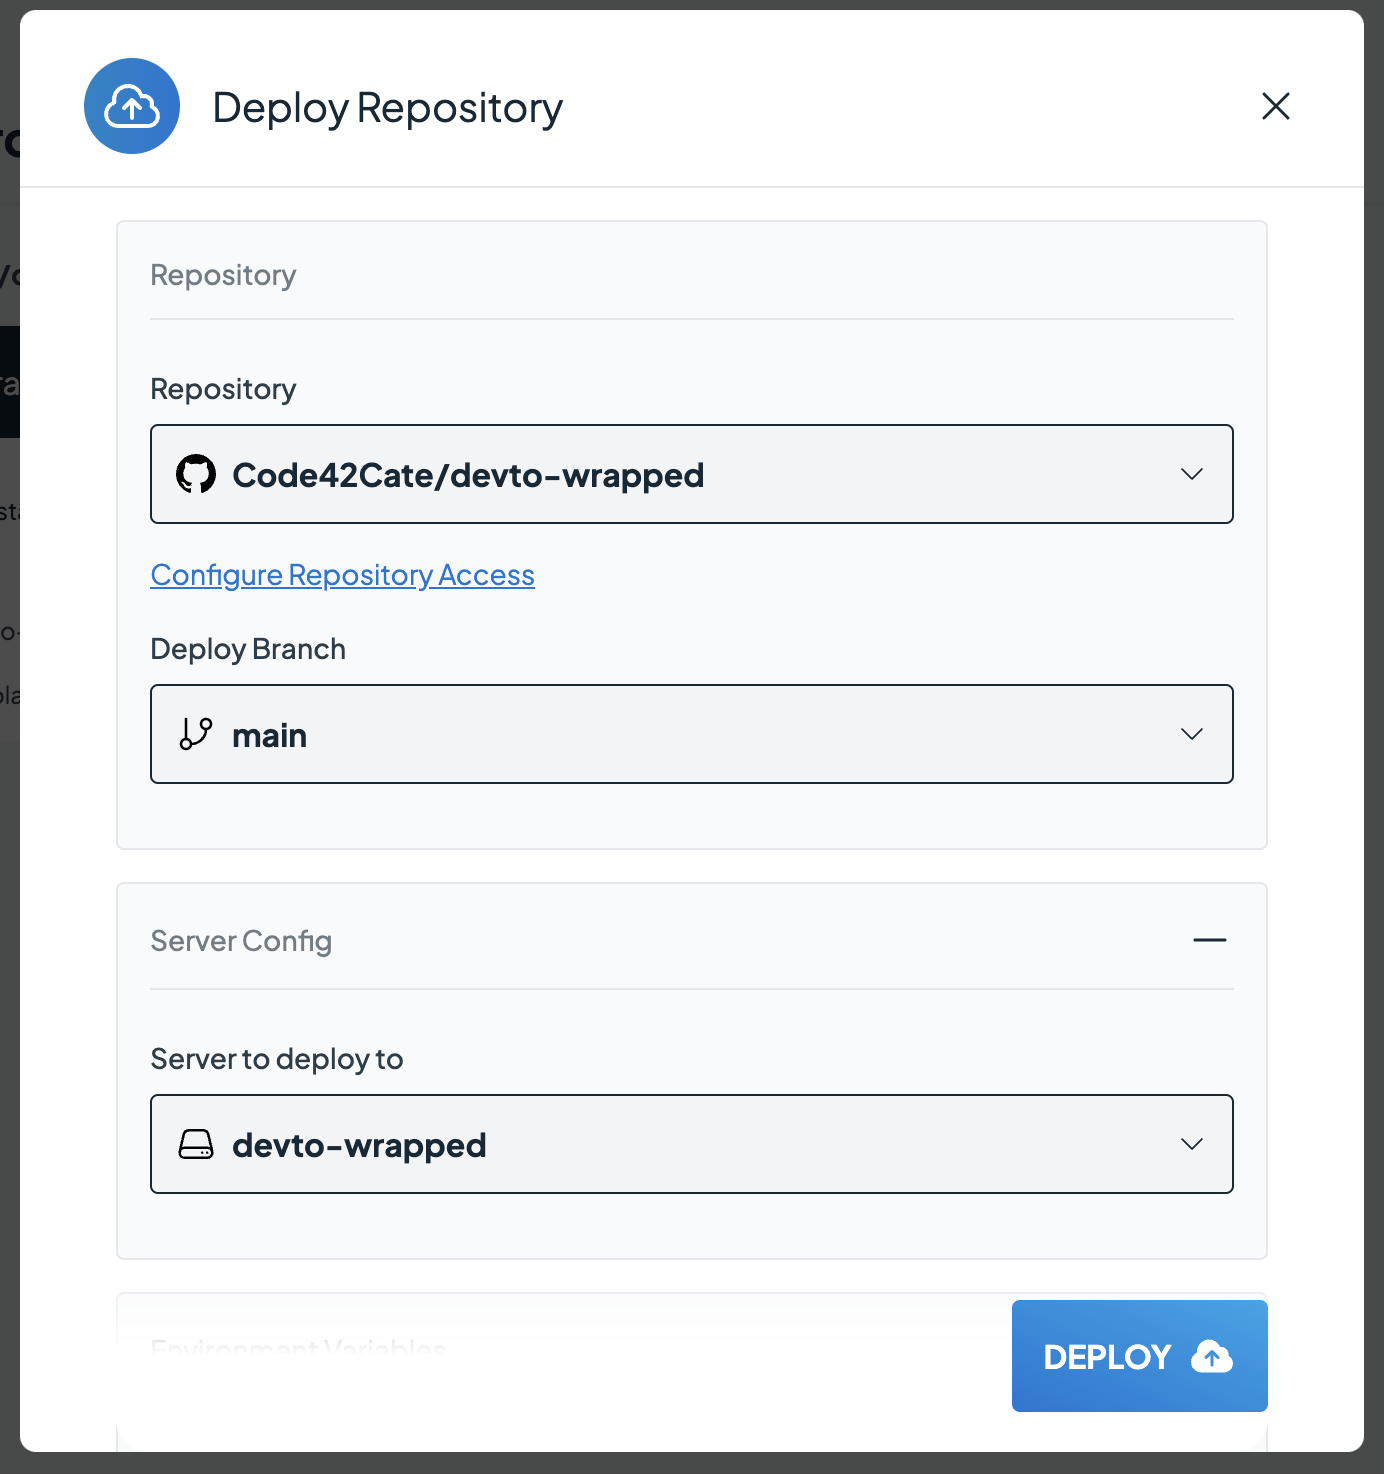
在 Docker 化並推送到 Github 儲存庫後,我們需要做的就是在 Sliplane 中建立一個新服務並選擇我們想要託管的伺服器。我已經有一台伺服器,在上面執行一些小型專案,所以我只使用該伺服器:

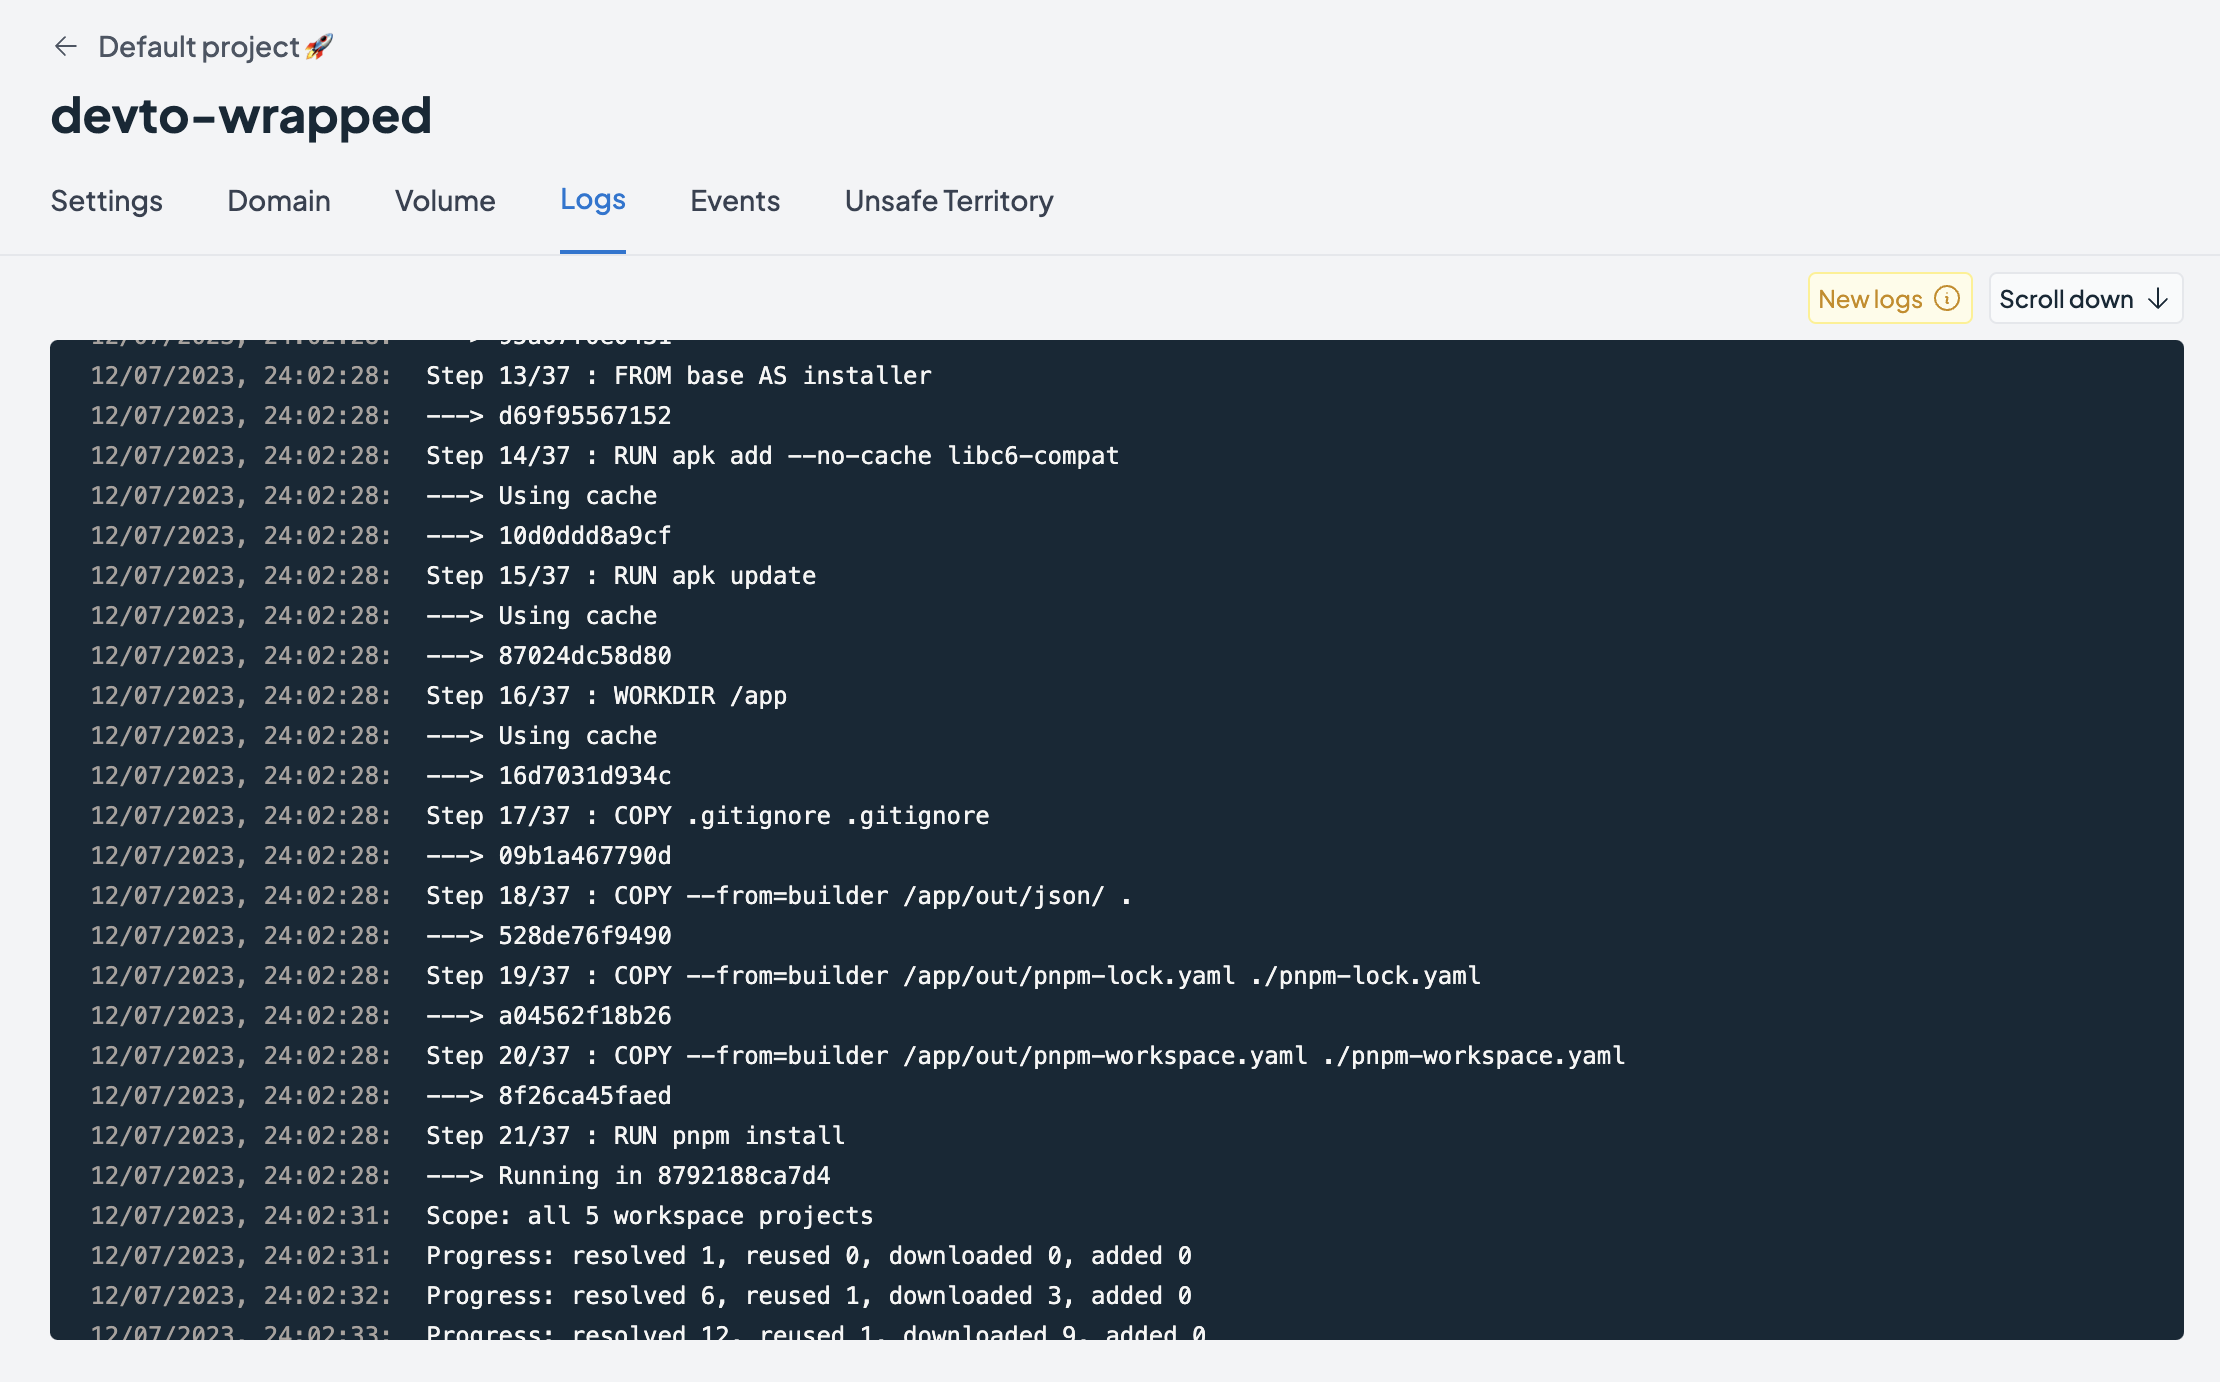
點擊「部署」後,需要幾分鐘時間來建置並啟動我們的 Docker 映像。可以在日誌檢視器中監視進度:

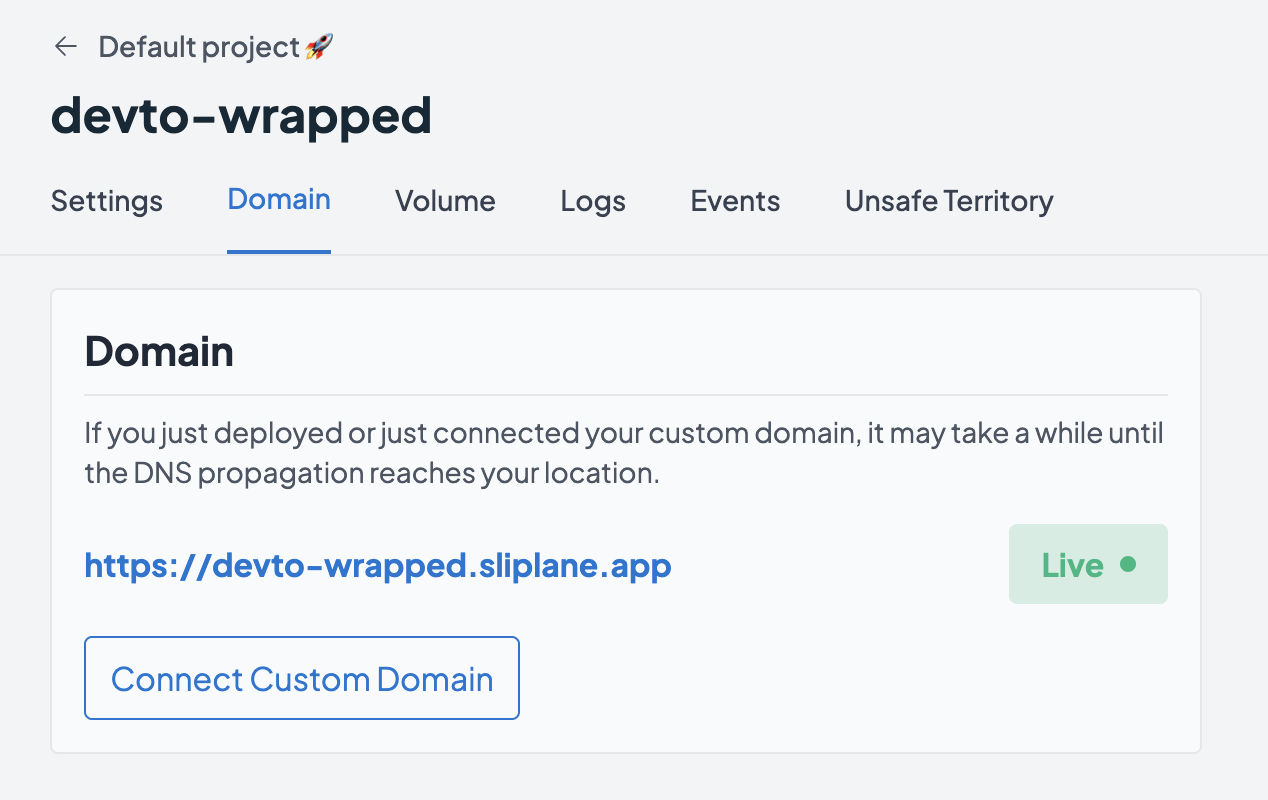
第一次成功部署後,我們將獲得一個可以存取我們的應用程式的免費子網域,或者我們可以加入自己的自訂網域:

就是這樣!我們的應用程式在線,世界上每個人都可以存取,並且不會產生令人驚訝的無伺服器帳單 🤑
感謝您到目前為止的閱讀,不要忘記用您的截圖進行評論,以_可能_贏得一些貼紙😊
乾杯,喬納斯
1) --- 會變成分隔線(上一行必須是空白)
2) # 會變成一級標題
3) ## 會變成二級標題
4) ### 會變成三級標題
5) **粗體文字**會顯示粗體文字
6) ```當第一行與最後一行會顯示程式碼
7) 請搜尋 Markdown 語法,了解各種格式
