

您可以使用無數的框架和函式庫來改進您的全端應用程式。
我們將介紹令人興奮的概念,例如應用程式內通知、使用 React 製作影片、從為開發人員提供的電子郵件 API 到在瀏覽器中建立互動式音樂。
那我們就開始吧。
(不要忘記為這些庫加註星標以表示您的支持)。

https://github.com/CopilotKit/CopilotKit
-
CopilotKit - 在數小時內為您的產品提供 AI Copilot。
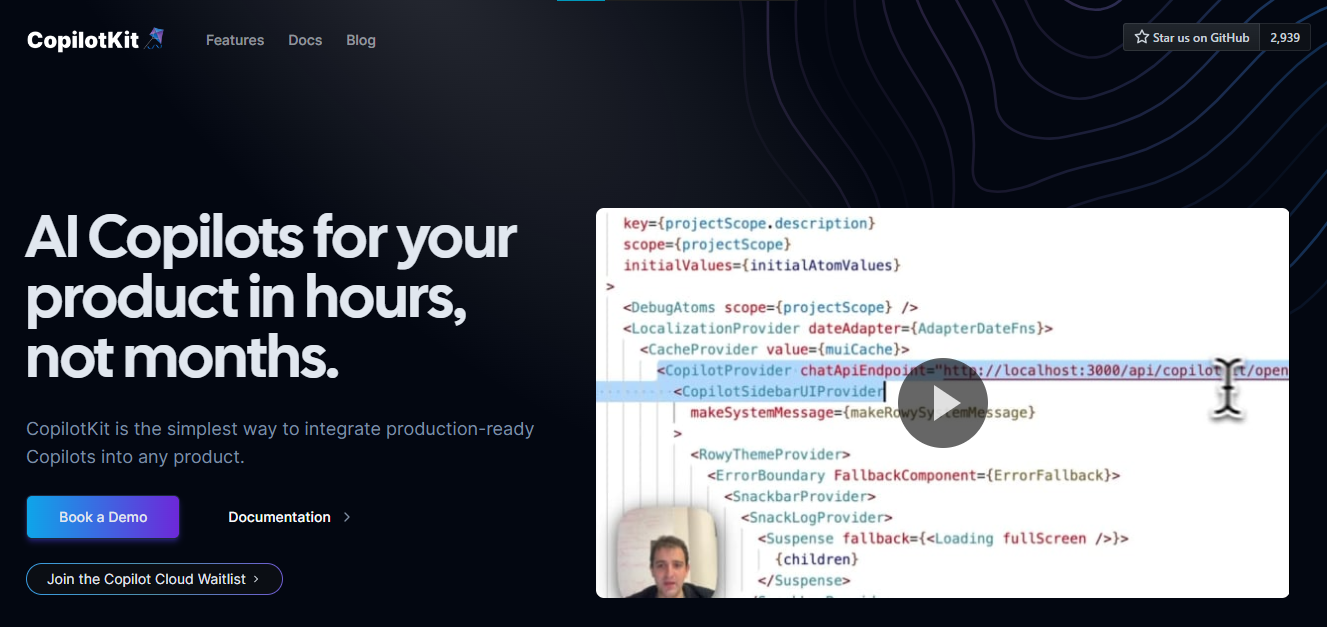
您可以使用兩個 React 元件將關鍵 AI 功能整合到 React 應用程式中。它們還提供內建(完全可自訂)Copilot 原生 UX 元件,例如<CopilotKit /> 、 <CopilotPopup /> 、 <CopilotSidebar /> 、 <CopilotTextarea /> 。
開始使用以下 npm 指令。
npm i @copilotkit/react-core @copilotkit/react-ui @copilotkit/react-textarea這是整合 CopilotTextArea 的方法。
import { CopilotTextarea } from "@copilotkit/react-textarea";
import { useState } from "react";

export function SomeReactComponent() {
  const [text, setText] = useState("");

  return (
    <>
      <CopilotTextarea
        className="px-4 py-4"
        value={text}
        onValueChange={(value: string) => setText(value)}
        placeholder="What are your plans for your vacation?"
        autosuggestionsConfig={{
          textareaPurpose: "Travel notes from the user's previous vacations. Likely written in a colloquial style, but adjust as needed.",
          chatApiConfigs: {
            suggestionsApiConfig: {
              forwardedParams: {
                max_tokens: 20,
                stop: [".", "?", "!"],
              },
            },
          },
        }}
      />
    </>
  );
}您可以閱讀文件。
基本概念是在幾分鐘內建立可用於基於 LLM 的全端應用程式的 AI 聊天機器人。
https://github.com/CopilotKit/CopilotKit
-
Storybook - UI 開發、測試和文件變得簡單。
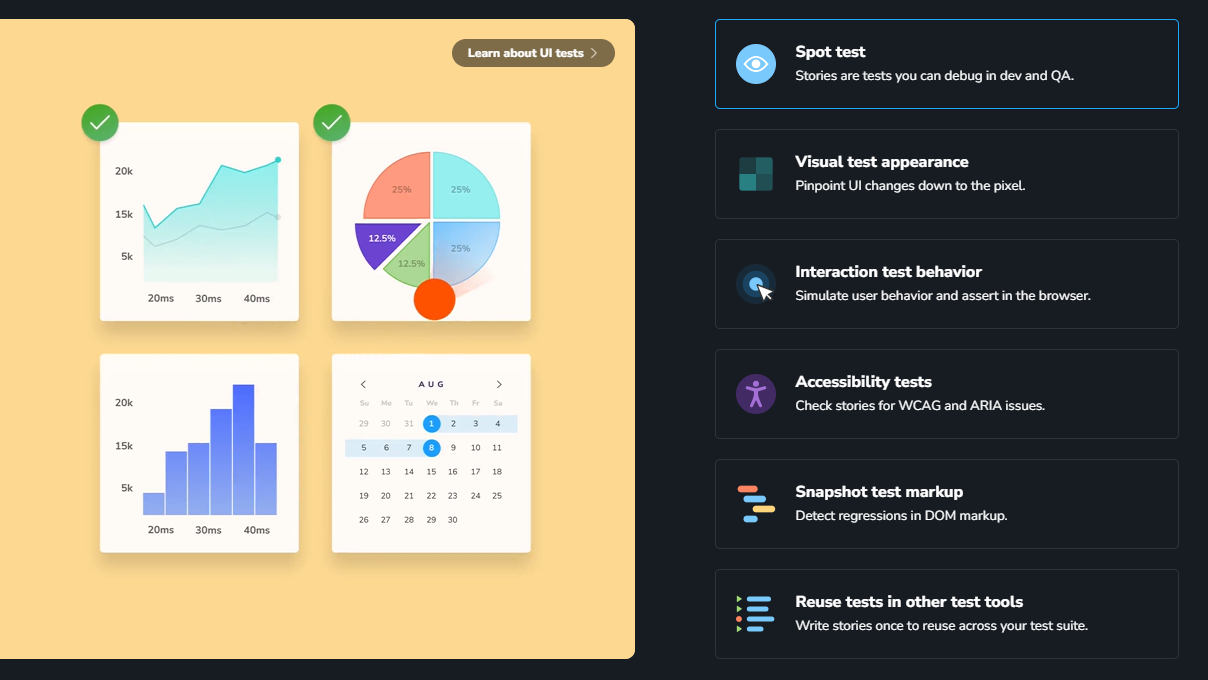
Storybook 是一個用於獨立建立 UI 元件和頁面的前端工作坊。它有助於 UI 開發、測試和文件編制。
他們在 GitHub 上有超過 57,000 次提交、81,000 多個 star 和 1300 多個版本。
這是您為專案建立簡單元件的方法。
import type { Meta, StoryObj } from '@storybook/react';

import { YourComponent } from './YourComponent';

//👇 This default export determines where your story goes in the story list
const meta: Meta<typeof YourComponent> = {
  component: YourComponent,
};

export default meta;
type Story = StoryObj<typeof YourComponent>;

export const FirstStory: Story = {
  args: {
    //👇 The args you need here will depend on your component
  },
};您可以閱讀文件。
如今,UI 除錯起來很痛苦,因為它們與業務邏輯、互動狀態和應用程式上下文糾纏在一起。
Storybook 提供了一個獨立的 iframe 來渲染元件,而不會受到應用程式業務邏輯和上下文的干擾。這可以幫助您將開發重點放在元件的每個變體上,甚至是難以觸及的邊緣情況。
https://github.com/storybookjs/storybook
-
Appwrite - 您的後端減少麻煩。
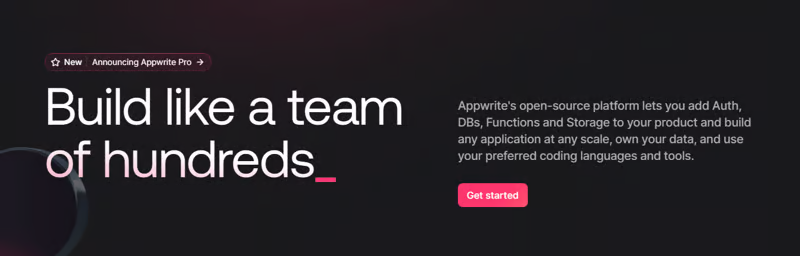
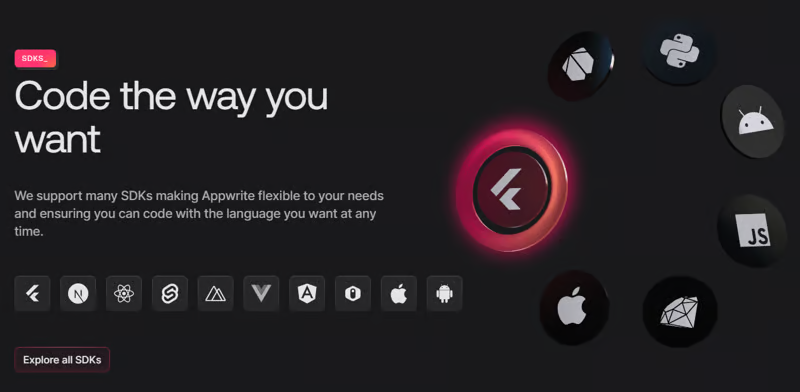
Appwrite 的開源平台可讓您將身份驗證、資料庫、函數和儲存體新增至您的產品中,並建立任何規模的任何應用程式、擁有您的資料並使用您喜歡的編碼語言和工具。
他們有很好的貢獻指南,甚至不厭其煩地詳細解釋架構。
開始使用以下 npm 指令。
npm install appwrite您可以像這樣建立一個登入元件。
"use client";
import { useState } from "react";
import { account, ID } from "./appwrite";

const LoginPage = () => {
  const [loggedInUser, setLoggedInUser] = useState(null);
  const [email, setEmail] = useState("");
  const [password, setPassword] = useState("");
  const [name, setName] = useState("");

  const login = async (email, password) => {
    const session = await account.createEmailSession(email, password);
    setLoggedInUser(await account.get());
  };

  const register = async () => {
    await account.create(ID.unique(), email, password, name);
    login(email, password);
  };

  const logout = async () => {
    await account.deleteSession("current");
    setLoggedInUser(null);
  };

  if (loggedInUser) {
    return (
      <div>
        <p>Logged in as {loggedInUser.name}</p>
        <button type="button" onClick={logout}>
          Logout
        </button>
      </div>
    );
  }

  return (
    <div>
      <p>Not logged in</p>
      <form>
        <input
          type="email"
          placeholder="Email"
          value={email}
          onChange={(e) => setEmail(e.target.value)}
        />
        <input
          type="password"
          placeholder="Password"
          value={password}
          onChange={(e) => setPassword(e.target.value)}
        />
        <input
          type="text"
          placeholder="Name"
          value={name}
          onChange={(e) => setName(e.target.value)}
        />
        <button type="button" onClick={() => login(email, password)}>
          Login
        </button>
        <button type="button" onClick={register}>
          Register
        </button>
      </form>
    </div>
  );
};

export default LoginPage;您可以閱讀文件。
Appwrite 可以非常輕鬆地建立具有開箱即用的擴充功能的可擴展後端應用程式。
https://github.com/appwrite/appwrite
-
Wasp - 用於 React、node.js 和 prisma 的類似 Rails 的框架。
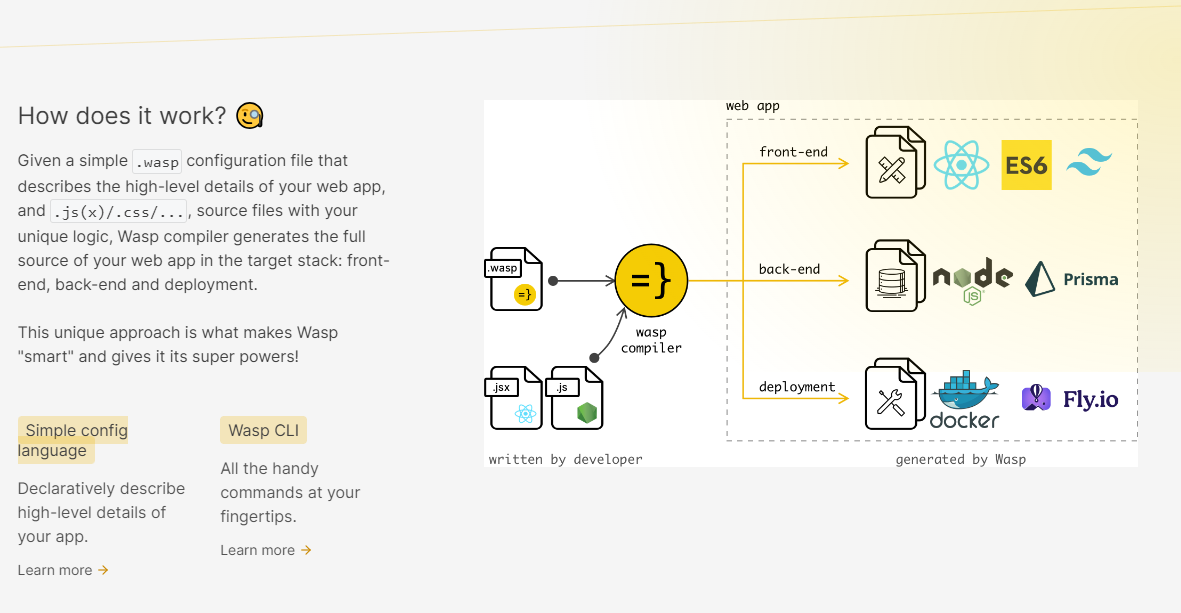
使用 React 和 Node.js 開發全端 Web 應用程式的最快方法。這不是一個想法,而是一種建立瘋狂快速全端應用程式的不同方法。
這是將其整合到元件中的方法。
import getRecipes from "@wasp/queries/getRecipes";
import { useQuery } from "@wasp/queries";
import type { User } from "@wasp/entities";

export function HomePage({ user }: { user: User }) {
  // Due to full-stack type safety, `recipes` will be of type `Recipe[]` here.
  const { data: recipes, isLoading } = useQuery(getRecipes); // Calling our query here!

  if (isLoading) {
    return <div>Loading...</div>;
  }

  return (
    <div>
      <h1>Recipes</h1>
      <ul>
        {recipes ? recipes.map((recipe) => (
          <li key={recipe.id}>
            <div>{recipe.title}</div>
            <div>{recipe.description}</div>
          </li>
        )) : 'No recipes defined yet!'}
      </ul>
    </div>
  );
}您可以閱讀文件。
https://github.com/wasp-lang/wasp
-
Novu - 將應用程式內通知新增至您的應用程式!
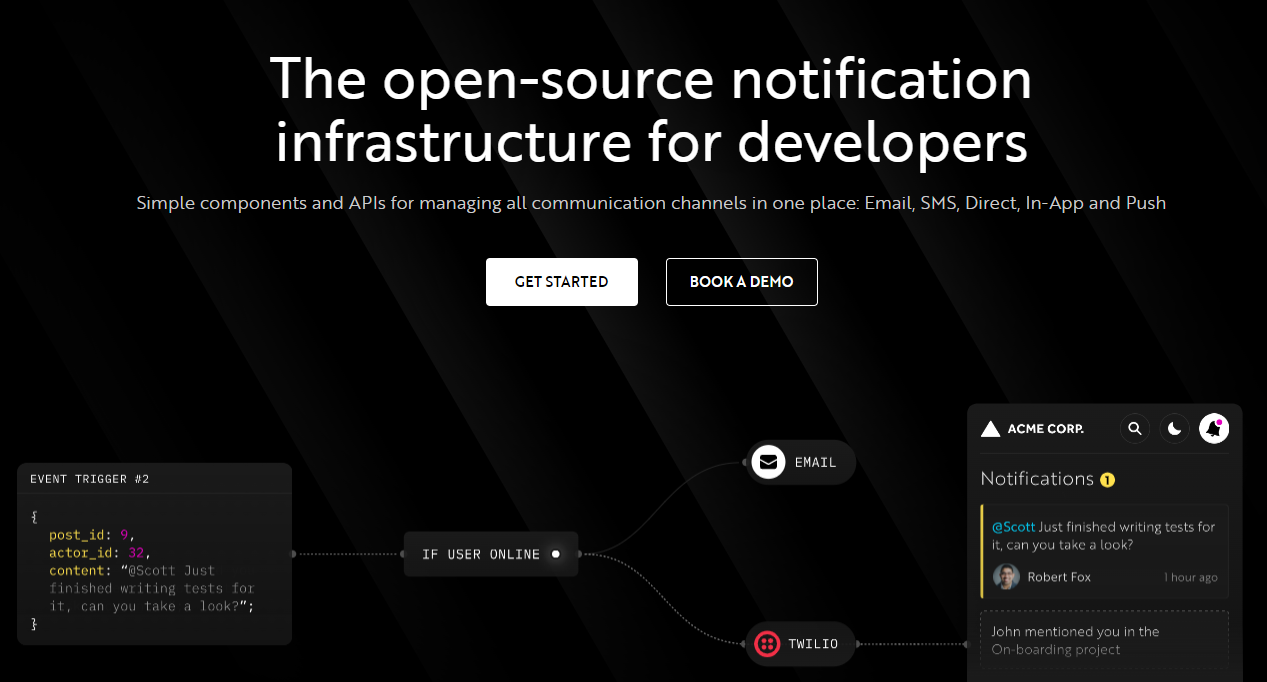
Novu 提供開源通知基礎架構和功能齊全的嵌入式通知中心。
這就是如何使用React建立 novu 元件以用於應用程式內通知。
import {
  NovuProvider,
  PopoverNotificationCenter,
  NotificationBell,
} from "@novu/notification-center";

function App() {
  return (
    <>
      <NovuProvider
        subscriberId={process.env.REACT_APP_SUB_ID}
        applicationIdentifier={process.env.REACT_APP_APP_ID}
      >
        <PopoverNotificationCenter>
          {({ unseenCount }) => <NotificationBell unseenCount={unseenCount} />}
        </PopoverNotificationCenter>
      </NovuProvider>
    </>
  );
}

export default App;您可以閱讀文件。
https://github.com/novuhq/novu
-
Remotion - 使用 React 以程式設計方式製作影片。
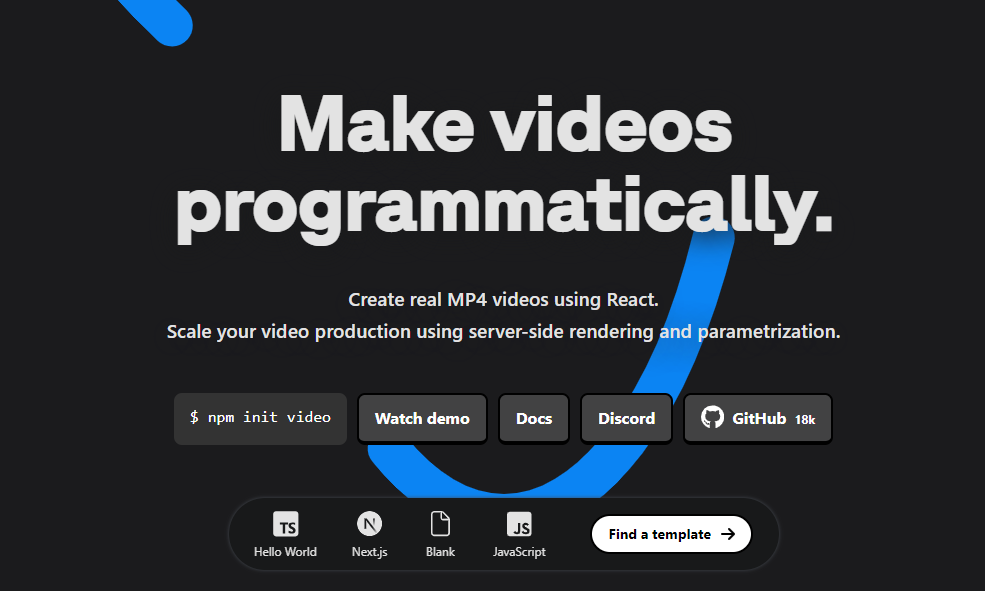
使用 React 建立真正的 MP4 影片,使用伺服器端渲染和參數化擴展影片製作。
開始使用以下 npm 指令。
npm init video它為您提供了一個幀號和一個空白畫布,您可以在其中使用 React 渲染任何您想要的內容。
這是一個範例 React 元件,它將當前幀渲染為文字。
import { AbsoluteFill, useCurrentFrame } from "remotion";

export const MyComposition = () => {
  const frame = useCurrentFrame();

  return (
    <AbsoluteFill
      style={{
        justifyContent: "center",
        alignItems: "center",
        fontSize: 100,
        backgroundColor: "white",
      }}
    >
      The current frame is {frame}.
    </AbsoluteFill>
  );
};您可以閱讀文件。
過去兩年,remotion 團隊因製作 GitHub Wrapped 而聞名。
https://github.com/remotion-dev/remotion
7.NocoDB - Airtable 的替代品。
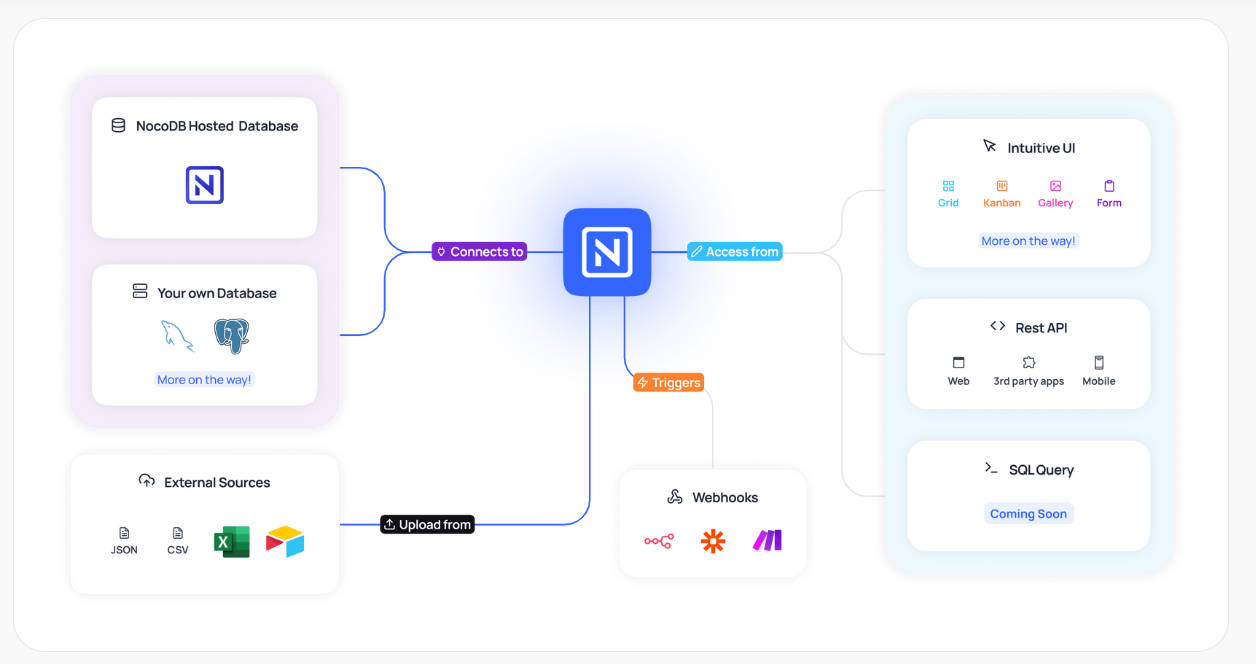
Airtable 的免費開源替代品是 NocoDB。它可以使用任何 MySQL、PostgreSQL、SQL Server、SQLite 或 MariaDB 資料庫製作智慧型電子表格。
其主要目標是讓強大的計算工具得到更廣泛的使用。
開始使用以下 npx 指令。
npx create-nocodb-app您可以閱讀文件。
NocoDB 的建立是為了為世界各地的數位企業提供強大的開源和無程式碼資料庫介面。
您可以非常快速地將airtable資料匯入NocoDB。
https://github.com/nocodb/nocodb
8.新穎- 所見即所得編輯器,具有人工智慧自動完成功能。
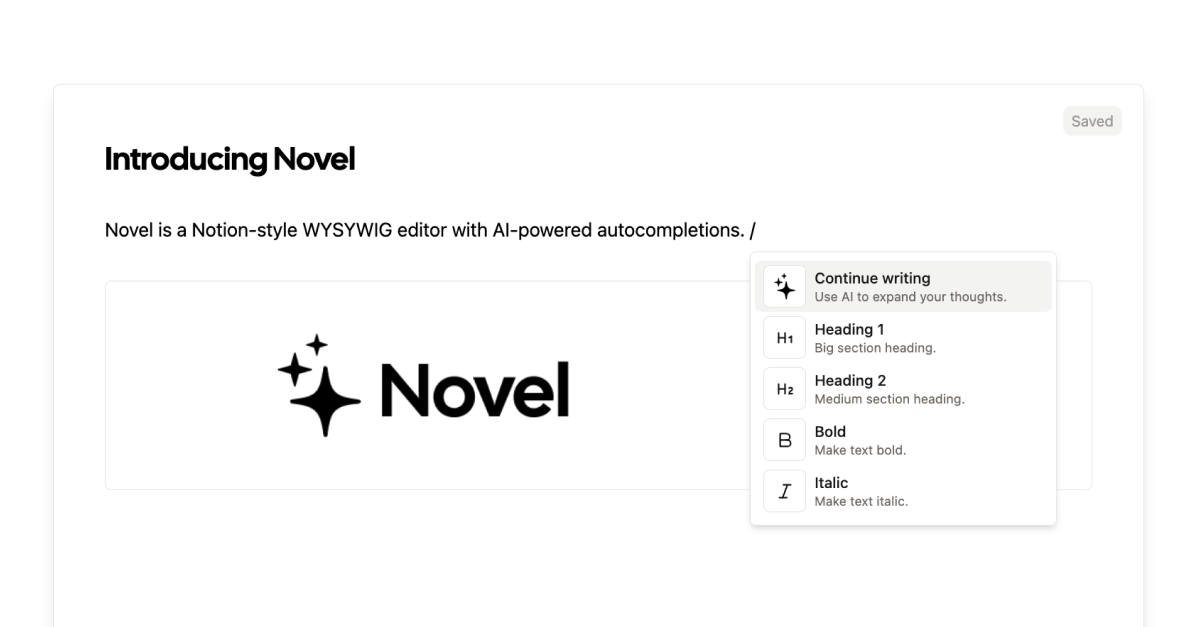
它使用Next.js 、 Vercel AI SDK 、 Tiptap作為文字編輯器。
開始使用以下 npm 指令。
npm i novel您可以這樣使用它。有多種選項可用於改進您的應用程式。
import { Editor } from "novel";

export default function App() {
  return <Editor />;
}
https://github.com/steven-tey/novel
-
Blitz - 缺少 NextJS 的全端工具包。
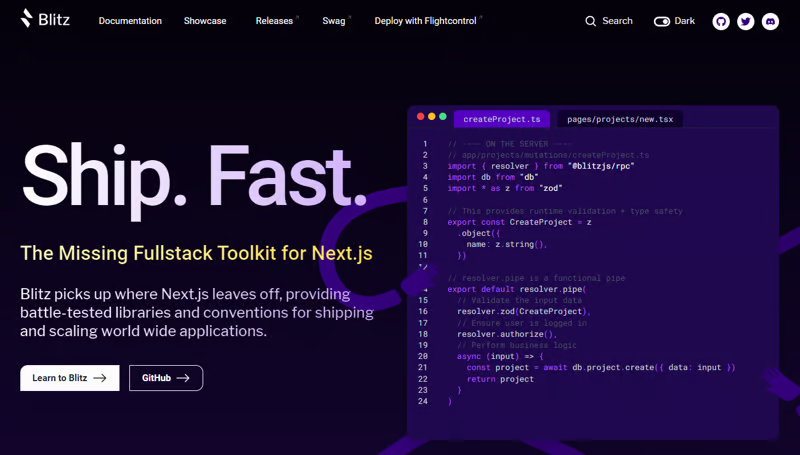
Blitz 繼承了 Next.js 的不足,為全球應用程式的交付和擴展提供了經過實戰考驗的函式庫和約定。
開始使用以下 npm 指令。
npm install -g blitz這就是您如何使用 Blitz 建立新頁面。
const NewProjectPage: BlitzPage = () => {
  const router = useRouter()
  const [createProjectMutation] = useMutation(createProject)

  return (
    <div>
      <h1>Create New Project</h1>

      <ProjectForm
        submitText="Create Project"
        schema={CreateProject}
        onSubmit={async (values) => {
          // This is equivalent to calling the server function directly
          const project = await createProjectMutation(values)
          // Notice the 'Routes' object Blitz provides for routing
          router.push(Routes.ProjectsPage({ projectId: project.id }))
        }}
      />
    </div>
  );
};

NewProjectPage.authenticate = true
NewProjectPage.getLayout = (page) => <Layout>{page}</Layout>

export default NewProjectPage您可以閱讀文件。
它使建築物改善了數倍。
https://github.com/blitz-js/blitz
-
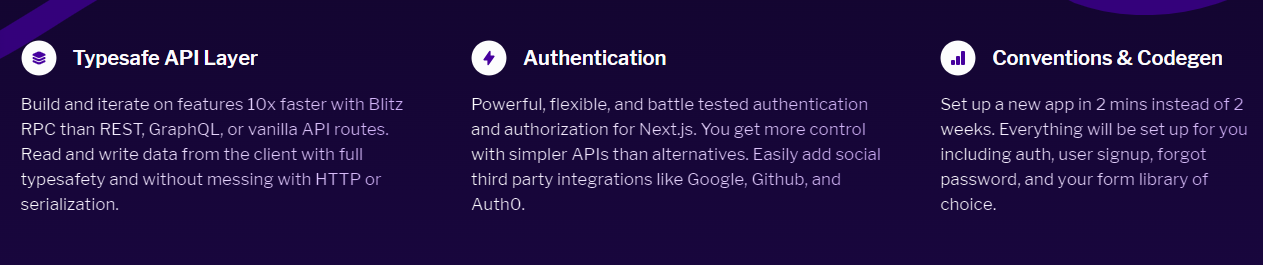
Supabase - 開源 Firebase 替代品。
我們大多數人都已經預料到 SUPABASE 會出現在這裡,因為它實在是太棒了。
開始使用以下 npm 指令 (Next.js)。
npx create-next-app -e with-supabase這是使用 supabase 建立用戶的方法。
import { createClient } from '@supabase/supabase-js'

// Initialize
const supabaseUrl = 'https://chat-room.supabase.co'
const supabaseKey = 'public-anon-key'
const supabase = createClient(supabaseUrl, supabaseKey)

// Create a new user
const { user, error } = await supabase.auth.signUp({
  email: '[email protected]',
  password: 'example-password',
})您可以閱讀文件。
您可以使用身份驗證、即時、邊緣功能、儲存等功能建立一個速度極快的應用程式。 Supabase 涵蓋了這一切!
他們還提供了一些入門套件,例如 AI 聊天機器人和 Stripe 訂閱。
https://github.com/supabase/supabase
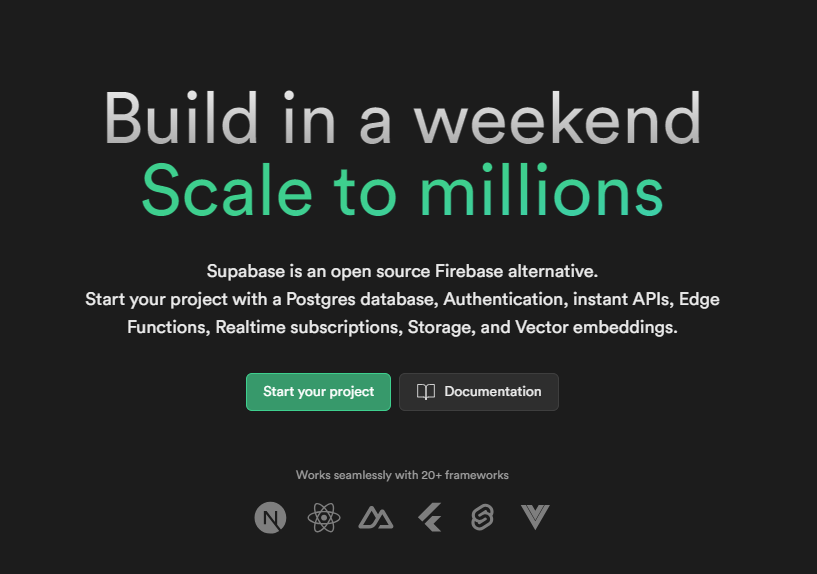
11.Refine - 企業開源重組工具。
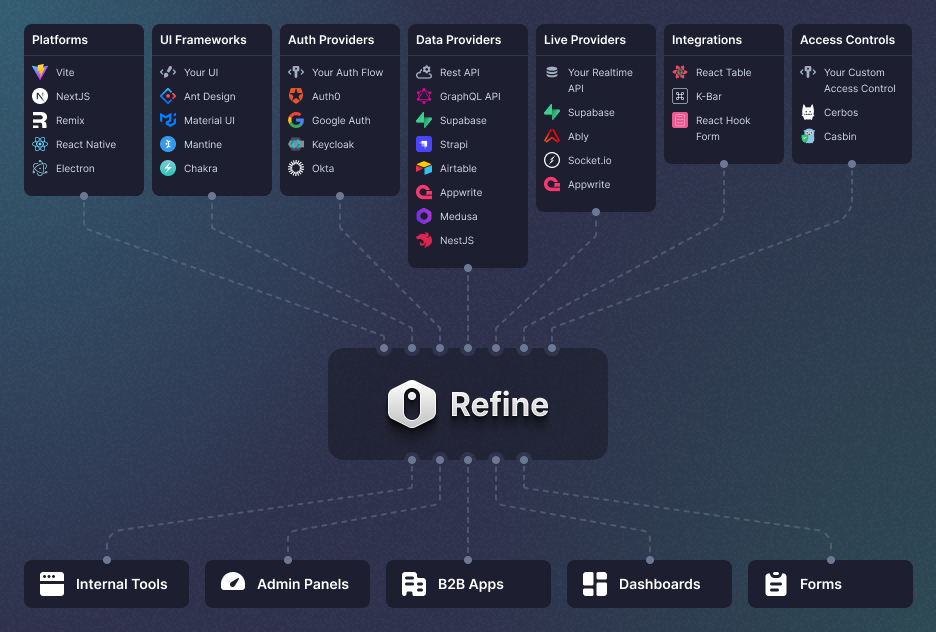
建立具有無與倫比的靈活性的管理面板、儀表板和 B2B 應用程式
您可以在一分鐘內使用單一 CLI 命令進行設定。
它具有適用於 15 多個後端服務的連接器,包括 Hasura、Appwrite 等。
開始使用以下 npm 指令。
npm create refine-app@latest這就是使用 Refine 新增登入資訊的簡單方法。
import { useLogin } from "@refinedev/core";
const { login } = useLogin();您可以閱讀文件。
https://github.com/refinedev/refine
-
Zenstack - 資料庫到 API 和 UI 只需幾分鐘。
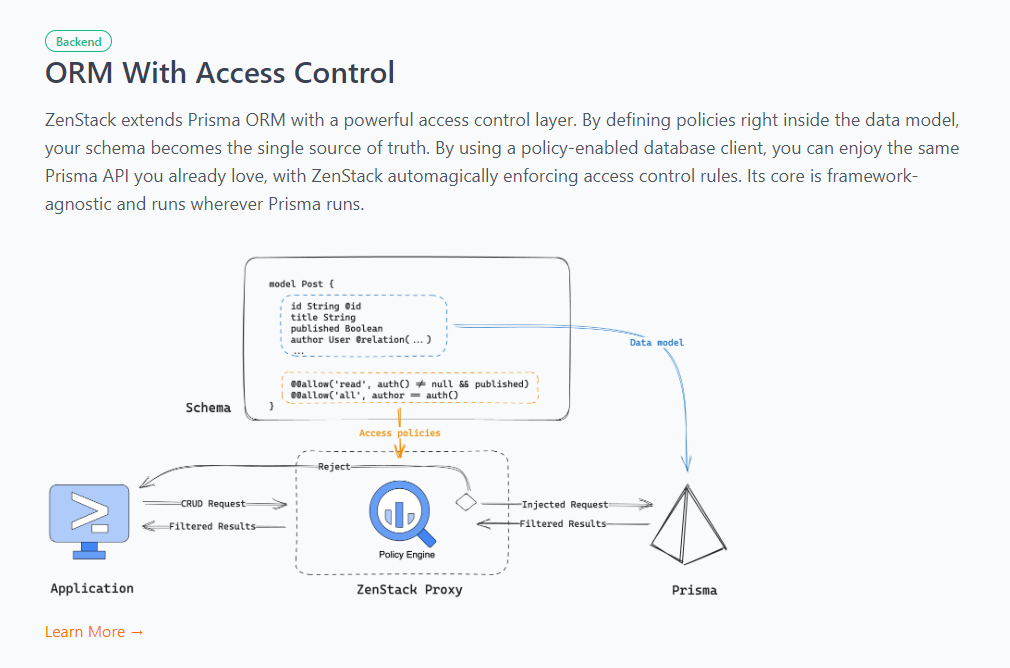
TypeScript 工具包,透過強大的存取控制層增強 Prisma ORM,並釋放其全端開發的全部功能。
開始使用以下 npx 指令。
npx zenstack@latest init這是透過伺服器適配器建立 RESTful API 的方法。
// pages/api/model/[...path].ts

import { requestHandler } from '@zenstackhq/next';
import { enhance } from '@zenstackhq/runtime';
import { getSessionUser } from '@lib/auth';
import { prisma } from '@lib/db';

// Mount Prisma-style APIs: "/api/model/post/findMany", "/api/model/post/create", etc.
// Can be configured to provide standard RESTful APIs (using JSON:API) instead.
export default requestHandler({
    getPrisma: (req, res) => enhance(prisma, { user: getSessionUser(req, res) }),
});您可以閱讀文件。
https://github.com/zenstackhq/zenstack
-
Buildship - 低程式碼視覺化後端建構器。

對於您正在使用無程式碼應用程式建構器(FlutterFlow、Webflow、Framer、Adalo、Bubble、BravoStudio...)或前端框架(Next.js、React、Vue...)建立的應用程式,您需要一個後端來支援可擴展的 API、安全工作流程、自動化等。BuildShip 為您提供了一種完全視覺化的方式,可以在易於使用的完全託管體驗中可擴展地建立這些後端任務。
這意味著您不需要在雲端平台上爭論或部署東西、執行 DevOps 等。只需立即建置和交付 🚀
https://github.com/rowyio/buildship
-
Taipy - 將資料和人工智慧演算法整合到生產就緒的 Web 應用程式中。
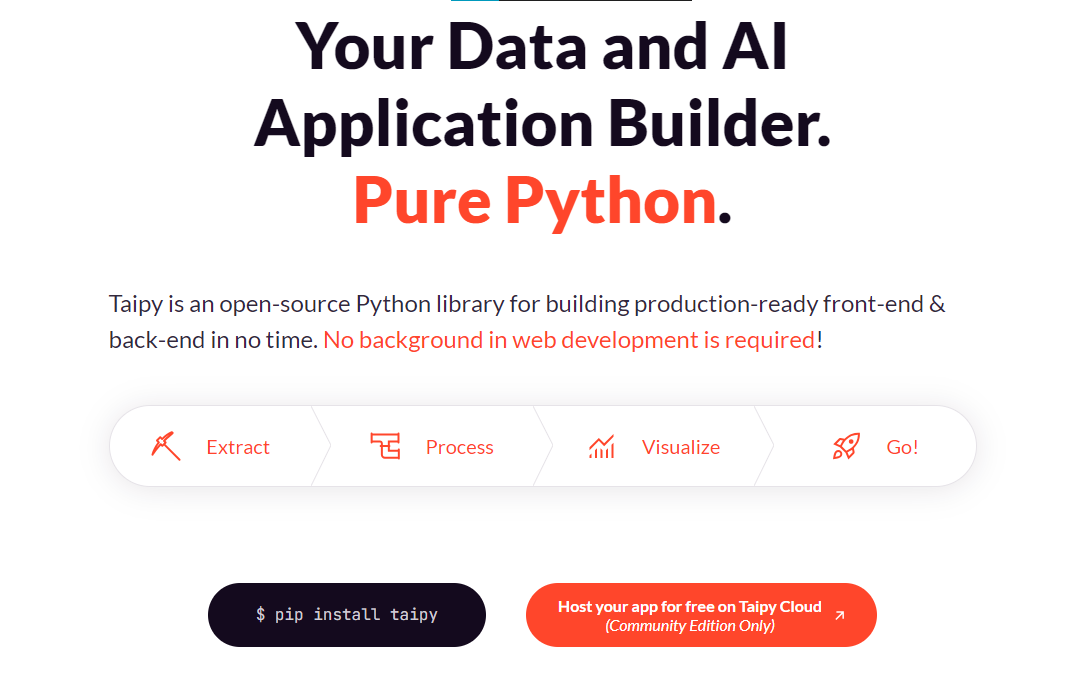
Taipy 是一個開源 Python 庫,用於輕鬆的端到端應用程式開發,
具有假設分析、智慧管道執行、內建調度和部署工具。
開始使用以下命令。
pip install taipy這是一個典型的Python函數,也是過濾器場景中使用的唯一任務。
def filter_genre(initial_dataset: pd.DataFrame, selected_genre):
    filtered_dataset = initial_dataset[initial_dataset['genres'].str.contains(selected_genre)]
    filtered_data = filtered_dataset.nlargest(7, 'Popularity %')
return filtered_data您可以閱讀文件。
他們還有很多可供您建立的演示應用程式教學。
https://github.com/Avaiga/taipy
-
LocalForage - 改進了離線儲存。
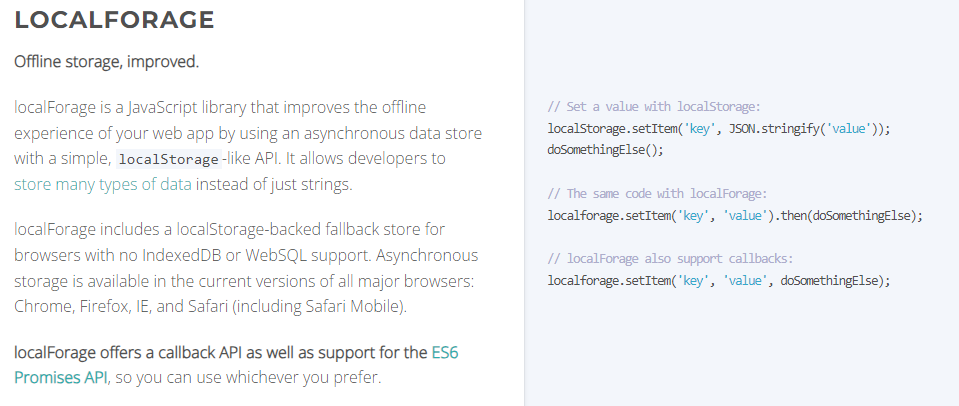
LocalForage 是一個 JavaScript 函式庫,它透過使用非同步資料儲存和簡單的、類似 localStorage 的 API 來改善 Web 應用程式的離線體驗。它允許開發人員儲存多種類型的資料而不僅僅是字串。
開始使用以下 npm 指令。
npm install localforage只需包含 JS 檔案並開始使用 localForage。
<script src="localforage.js"></script>您可以閱讀文件。
https://github.com/localForage/localForage
-
Zod - 使用靜態類型推斷的 TypeScript-first 模式驗證。
Zod 的目標是透過最大限度地減少重複的類型聲明來對開發人員友好。使用 Zod,您聲明一次驗證器,Zod 將自動推斷靜態 TypeScript 類型。將更簡單的類型組合成複雜的資料結構很容易。
開始使用以下 npm 指令。
npm install zod這是您在建立字串架構時自訂一些常見錯誤訊息的方法。
const name = z.string({
  required_error: "Name is required",
  invalid_type_error: "Name must be a string",
});您可以閱讀文件。
它適用於 Node.js 和所有現代瀏覽器
https://github.com/colinhacks/zod
17.多普勒- 管理你的秘密。

您可以透過在具有開發、暫存和生產環境的專案中組織機密來消除機密蔓延。
開始使用以下指令 (MacOS)。
$ brew install dopplerhq/cli/doppler
$ doppler --version
這是安裝 Doppler CLI的 GitHub Actions 工作流程。
您可以閱讀文件。
name: Example action

on: [push]

jobs:
  my-job:
    runs-on: ubuntu-latest
    steps:
      - name: Install CLI
        uses: dopplerhq/cli-action@v3
      - name: Do something with the CLI
        run: doppler secrets --only-names
        env:
DOPPLER_TOKEN: ${{ secrets.DOPPLER_TOKEN }}-
FastAPI - 高效能、易於學習、快速編碼、可用於生產。
FastAPI 是一個現代、快速(高效能)的 Web 框架,用於基於標準 Python 類型提示使用 Python 3.8+ 建立 API。
開始使用以下命令。
$ pip install fastapi這是您開始使用 FastAPI 的方式。
from typing import Union

from fastapi import FastAPI

app = FastAPI()

@app.get("/")
def read_root():
    return {"Hello": "World"}

@app.get("/items/{item_id}")
def read_item(item_id: int, q: Union[str, None] = None):
    return {"item_id": item_id, "q": q}
您的編輯器將自動完成屬性並了解它們的類型,這是使用 FastAPI 的最佳功能之一。
您可以閱讀文件。
https://github.com/tiangolo/fastapi
-
Flowise - 拖放 UI 來建立您的客製化 LLM 流程。
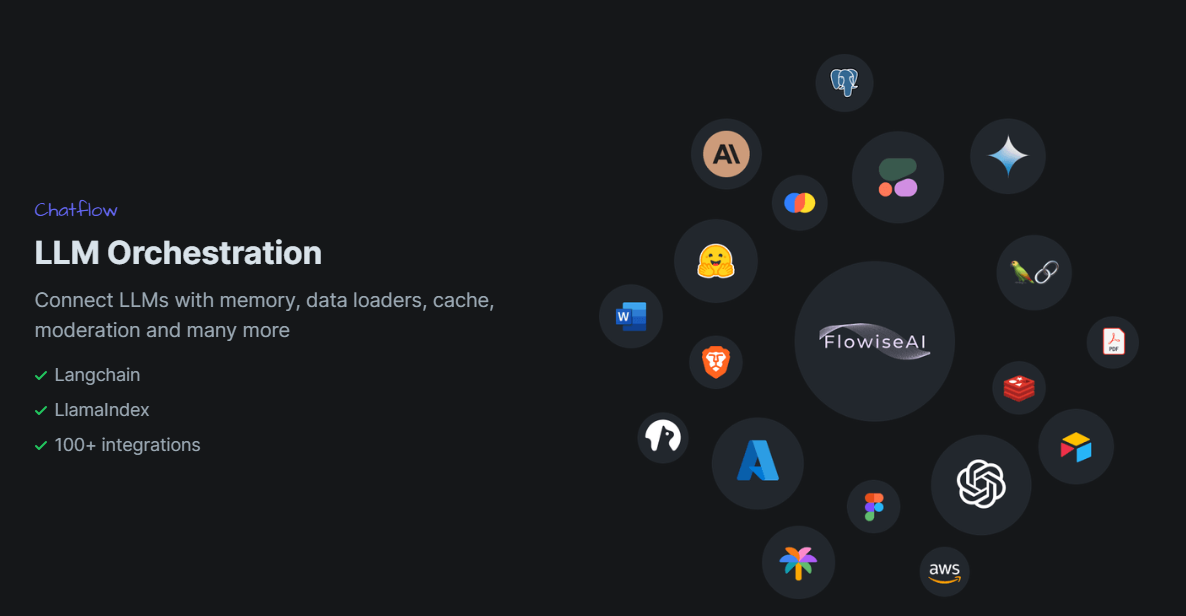
Flowise 是一款開源 UI 視覺化工具,用於建立客製化的 LLM 編排流程和 AI 代理程式。
開始使用以下 npm 指令。
npm install -g flowise
npx flowise start
OR
npx flowise start --FLOWISE_USERNAME=user --FLOWISE_PASSWORD=1234
這就是整合 API 的方式。
import requests

url = "/api/v1/prediction/:id"

def query(payload):
  response = requests.post(
    url,
    json = payload
  )
  return response.json()

output = query({
  question: "hello!"
)}您可以閱讀文件。
https://github.com/FlowiseAI/Flowise
-
Scrapy - Python 的快速進階網頁爬行和抓取框架..
Scrapy 是一個快速的高級網路爬行和網頁抓取框架,用於爬行網站並從頁面中提取結構化資料。它可用於多種用途,從資料探勘到監控和自動化測試。
開始使用以下命令。
pip install scrapy建造並執行您的網路蜘蛛。
 pip install scrapy
 cat > myspider.py <<EOF
import scrapy

class BlogSpider(scrapy.Spider):
    name = 'blogspider'
    start_urls = ['https://www.zyte.com/blog/']

    def parse(self, response):
        for title in response.css('.oxy-post-title'):
            yield {'title': title.css('::text').get()}

        for next_page in response.css('a.next'):
            yield response.follow(next_page, self.parse)
EOF
scrapy runspider myspider.py您可以閱讀文件。
它擁有大約 50k+ 的星星,因此對於網頁抓取來說具有巨大的可信度。
https://github.com/scrapy/scrapy
-
Tone - 在瀏覽器中製作互動式音樂。

開始使用以下 npm 指令。
npm install tone這是您開始使用 Tone.js 的方法
// To import Tone.js:
import * as Tone from 'tone'

//create a synth and connect it to the main output (your speakers)
const synth = new Tone.Synth().toDestination();

//play a middle 'C' for the duration of an 8th note
synth.triggerAttackRelease("C4", "8n");您可以閱讀文件。
https://github.com/Tonejs/Tone.js
-
Spacetime - 輕量級 javascript 時區庫。
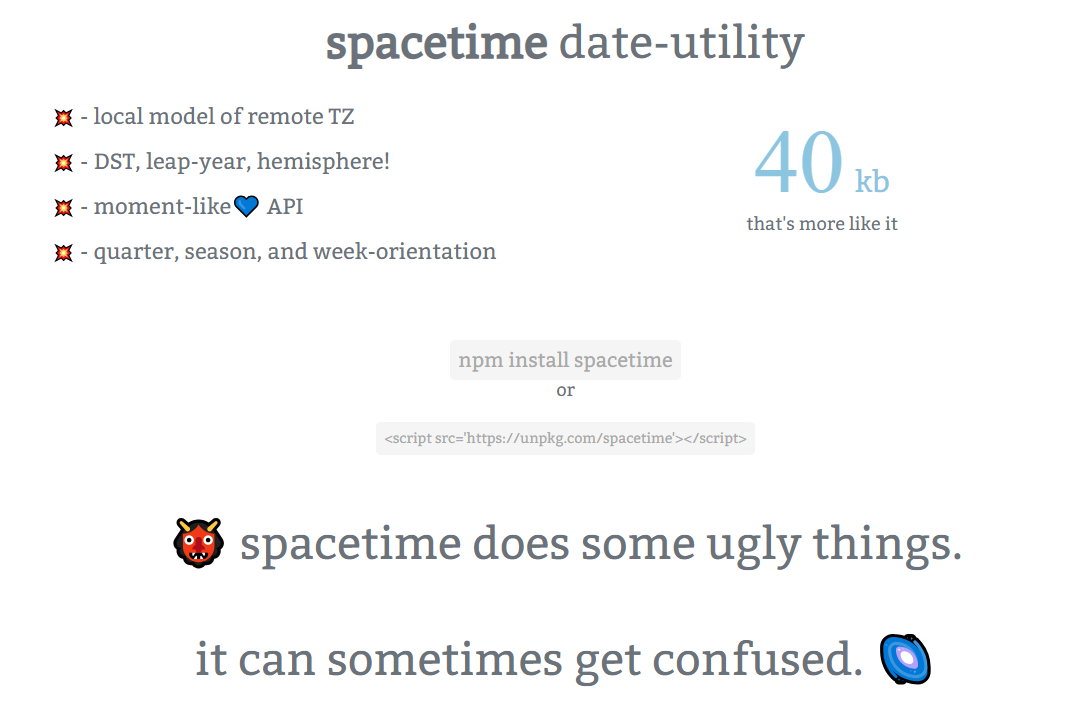
您可以計算遠端時區的時間;支持夏令時、閏年和半球。按季度、季節、月份、週來定位時間..
開始使用以下 npm 指令。
npm install spacetime您可以這樣使用它。
<script src="https://unpkg.com/spacetime"></script>
<script>
  var d = spacetime('March 1 2012', 'America/New_York')
  //set the time
  d = d.time('4:20pm')

  d = d.goto('America/Los_Angeles')
  d.time()
  //'1:20pm'
</script>
https://github.com/spencermountain/spacetime
-
Mermaid - 從類似 markdown 的文字產生圖表。

您可以使用 Markdown with Mermaid 等文字產生流程圖或序列圖等圖表。
這就是建立圖表的方法。
sequenceDiagram
Alice->>John: Hello John, how are you?
loop Healthcheck
    John->>John: Fight against hypochondria
end
Note right of John: Rational thoughts!
John-->>Alice: Great!
John->>Bob: How about you?
Bob-->>John: Jolly good!
它將做出如下圖。
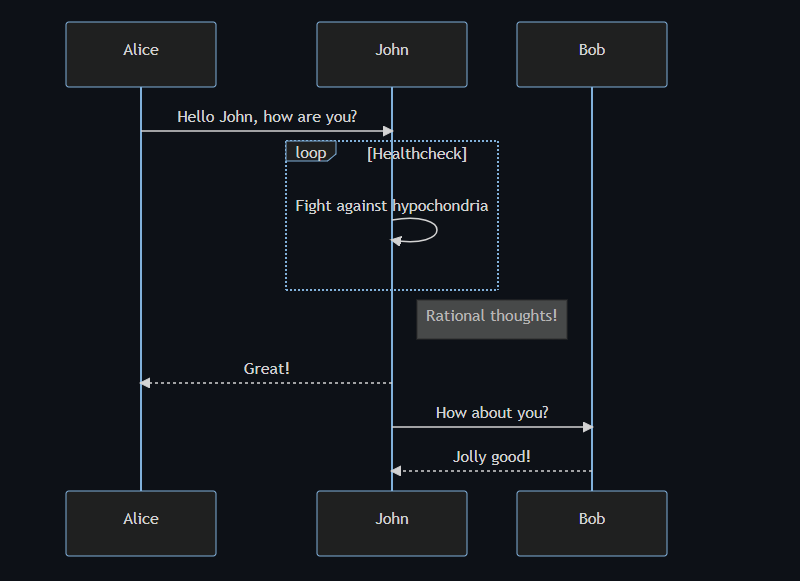
請參閱即時編輯器中的範例。
https://github.com/mermaid-js/mermaid
24.公共 API - 20 多個類別的 1400 多個 API。
我們主要使用外部 API 來建立應用程式,在這裡您可以找到所有 API 的清單。網站連結在最後。
它在 GitHub 上擁有大約 279k+ 顆星。
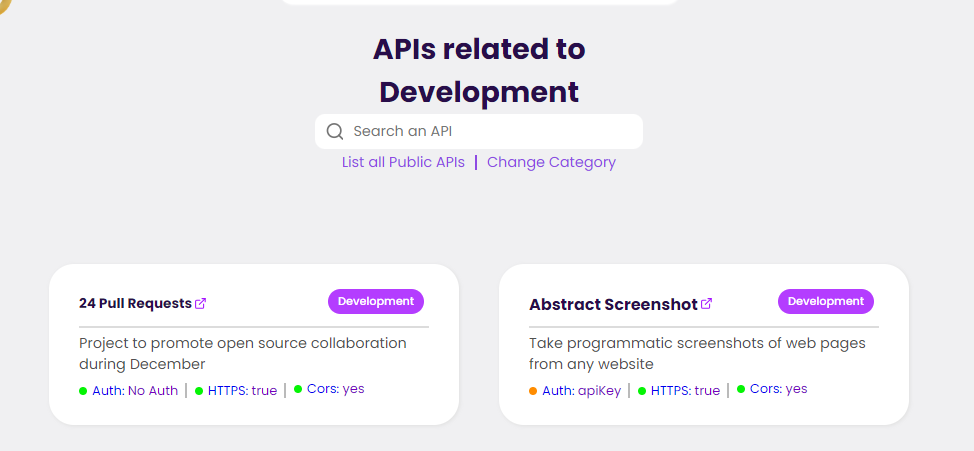
從儲存庫取得網站連結非常困難。所以,我把它貼在這裡。
網址 - Collective-api.vercel.app/
https://github.com/public-apis/public-apis
-
Framer Motion - 像魔法一樣的動畫。
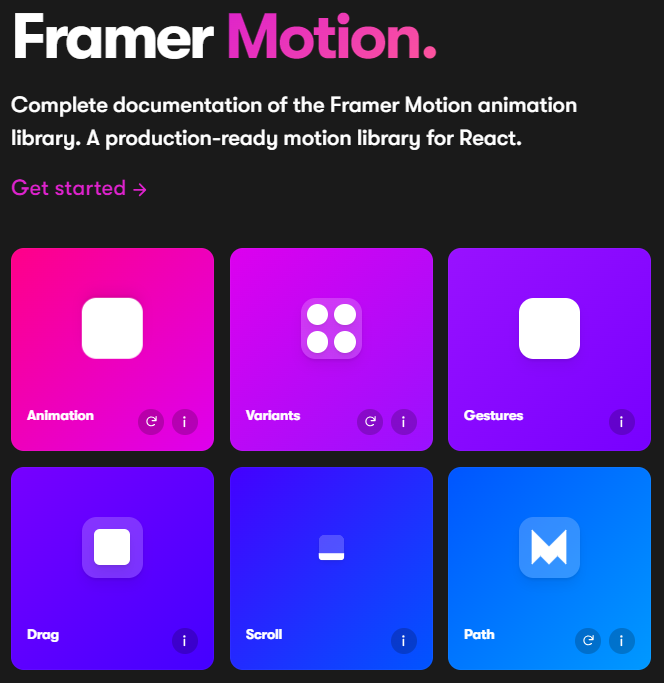
可用的最強大的動畫庫之一。
Framer 使用簡單的聲明性語法意味著您編寫的程式碼更少。更少的程式碼意味著您的程式碼庫更易於閱讀和維護。
您可以建立事件和手勢,並且使用 Framer 的社區很大,這意味著良好的支援。
開始使用以下 npm 指令。
npm install framer-motion您可以這樣使用它。
import { motion } from "framer-motion"

<motion.div
  whileHover={{ scale: 1.2 }}
  whileTap={{ scale: 1.1 }}
  drag="x"
  dragConstraints={{ left: -100, right: 100 }}
/>您可以閱讀文件。
https://github.com/framer/motion
26.順便說一句- 在幾分鐘內建立您的個人部落格。
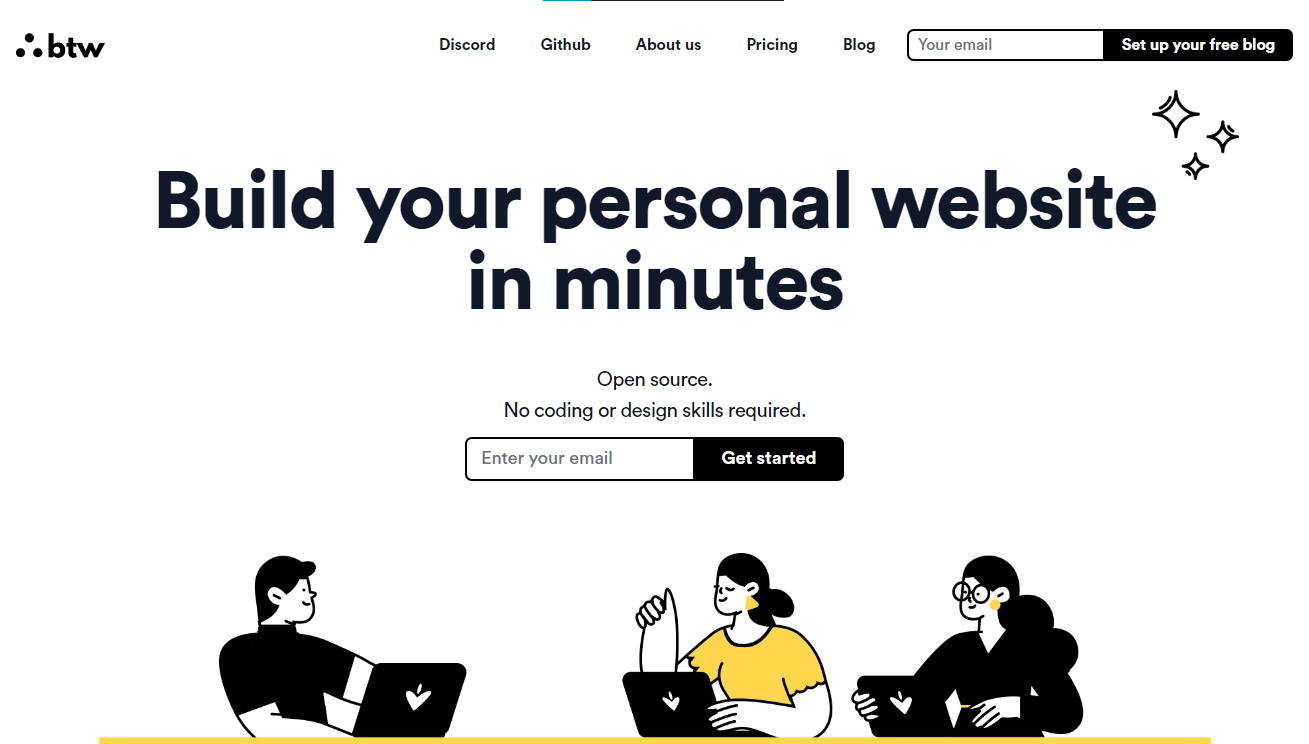
順便說一句,您可以註冊並使用,而無需安裝任何東西。您也可以使用開源版本自行託管。
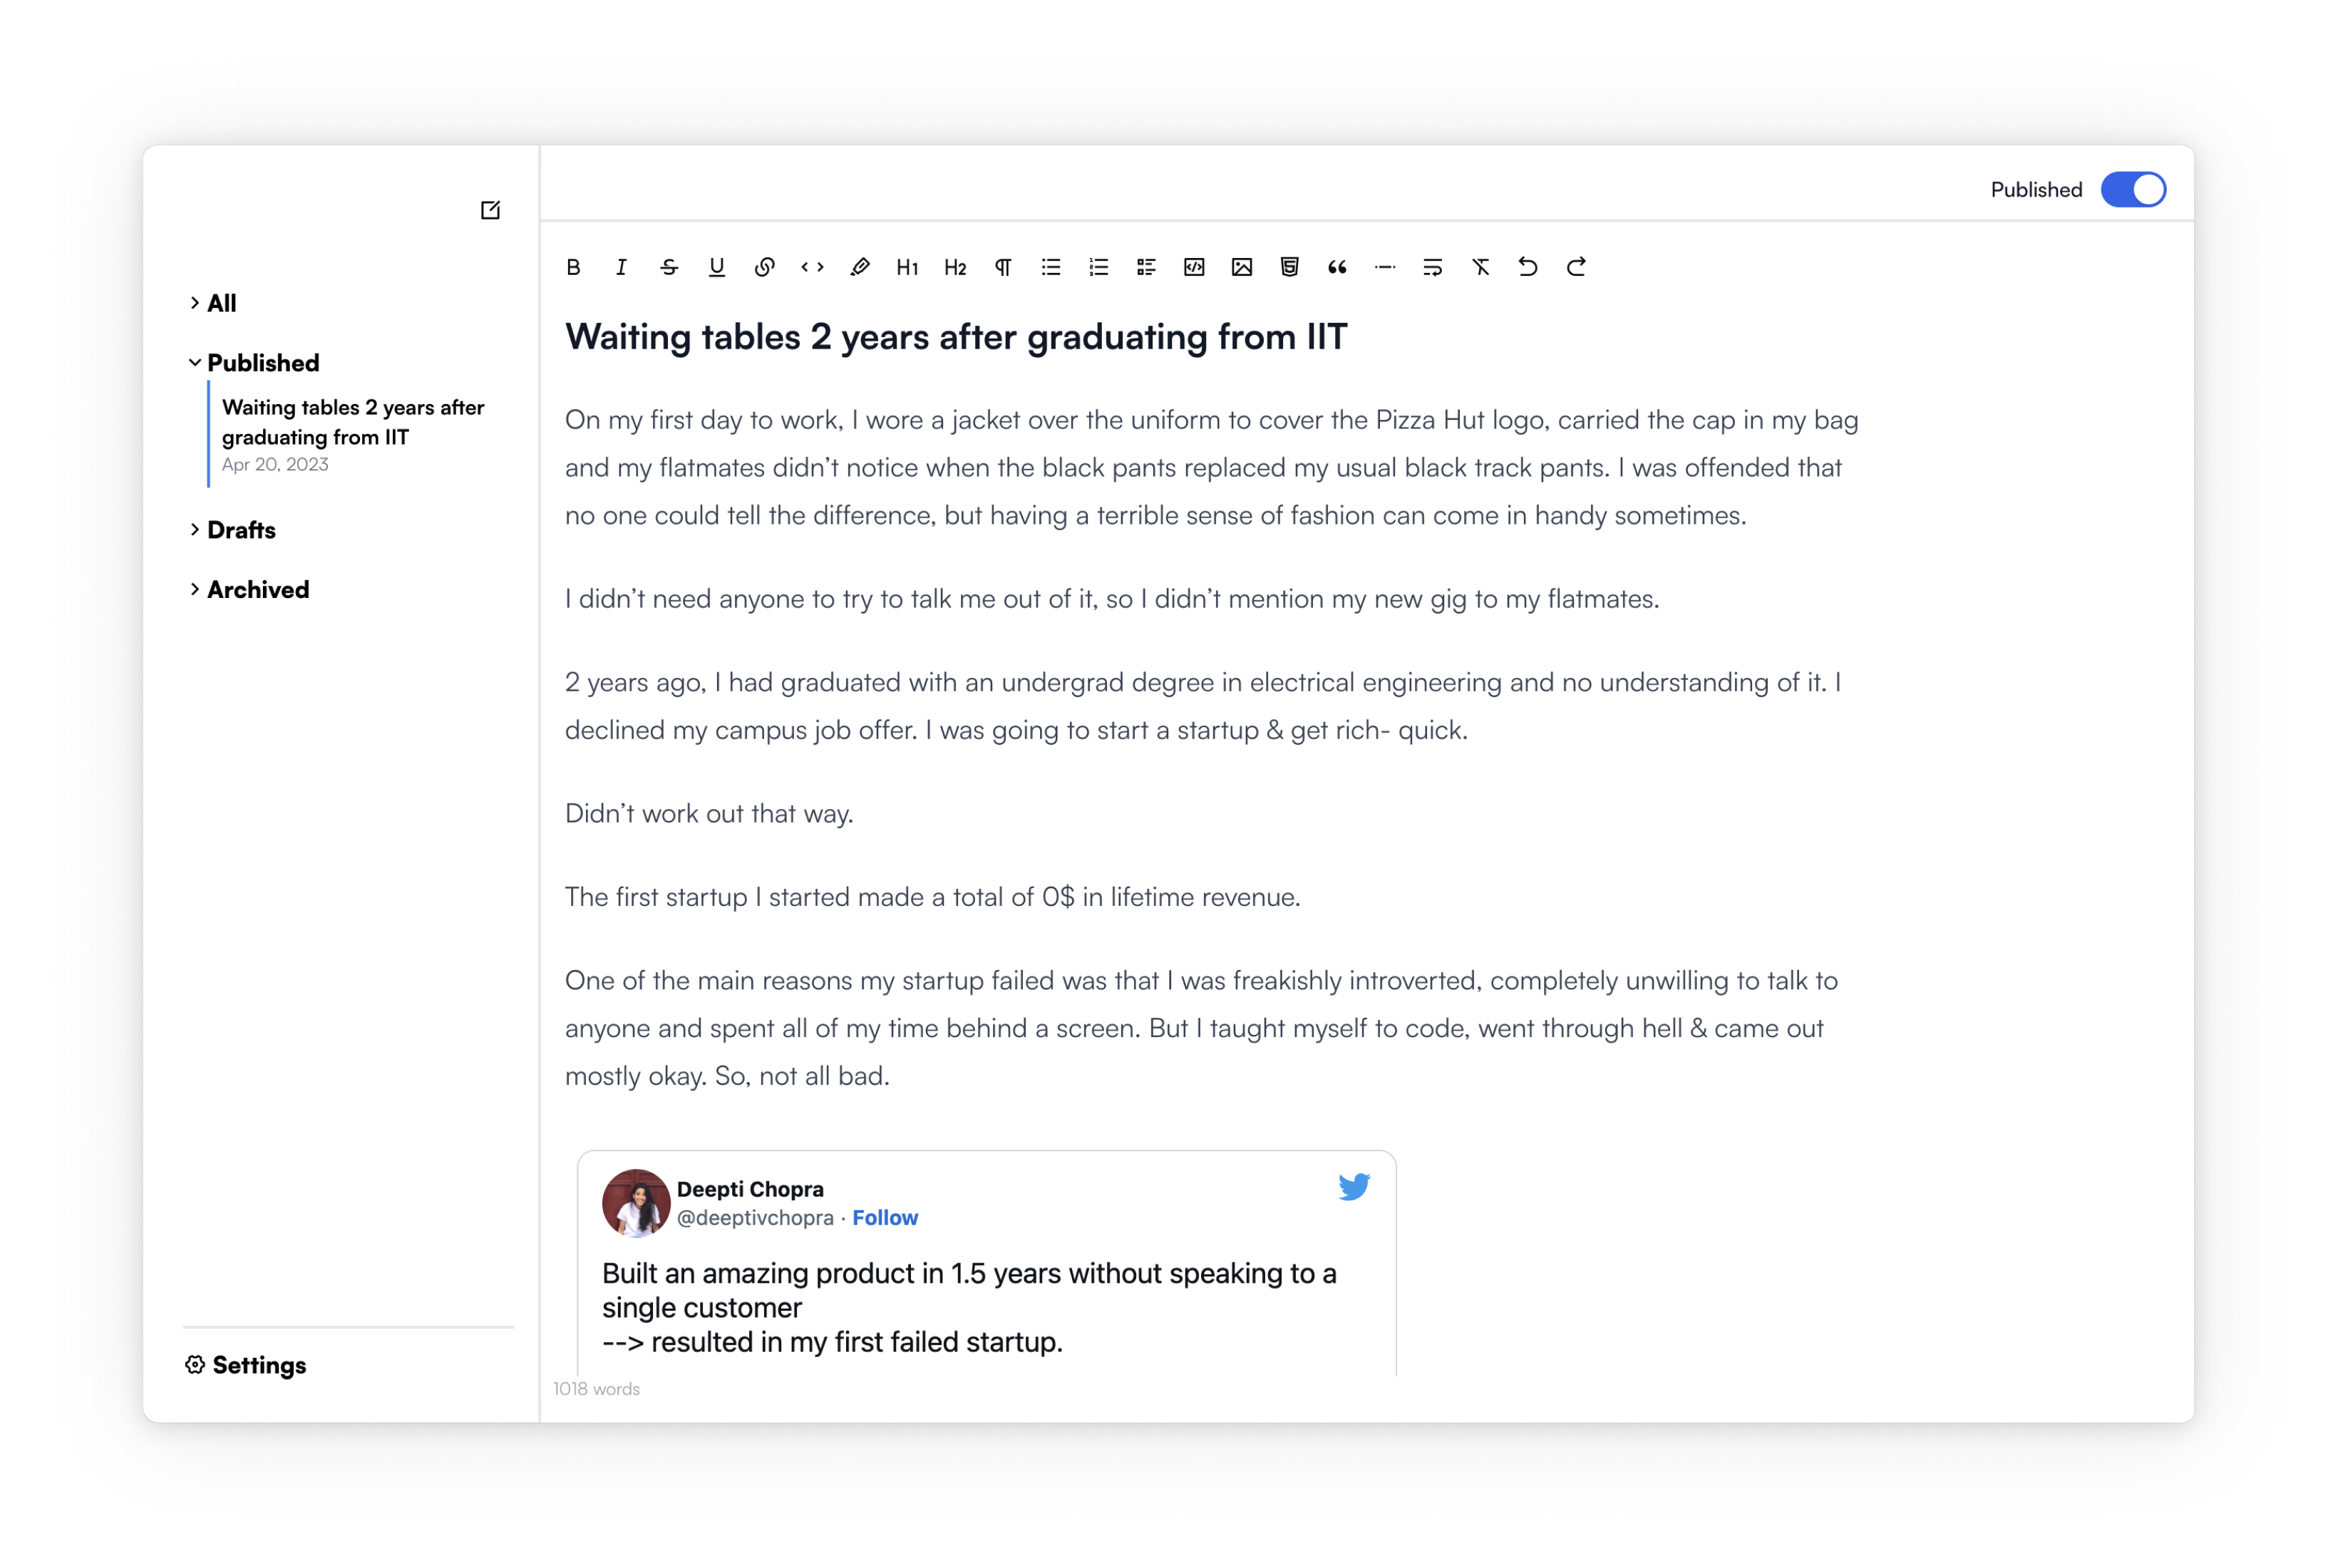
使用順便說一句建立的範例部落格。
-
Formbricks - 開源調查平台。
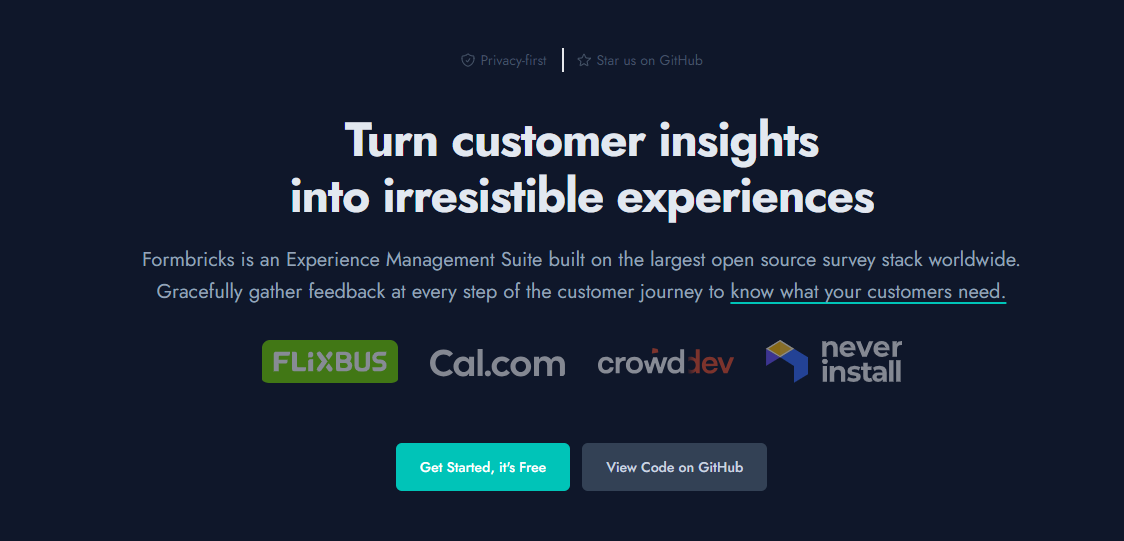
Formbricks 提供免費、開源的測量平台。透過精美的應用程式內、網站、連結和電子郵件調查收集用戶旅程中每個點的回饋。在 Formbricks 之上建置或利用預先建置的資料分析功能。
開始使用以下 npm 指令。
npm install @formbricks/js這就是您開始使用 formbricks 的方法。
import formbricks from "@formbricks/js";

if (typeof window !== "undefined") {
  formbricks.init({
    environmentId: "claV2as2kKAqF28fJ8",
    apiHost: "https://app.formbricks.com",
  });
}您可以閱讀文件。
https://github.com/formbricks/formbricks
-
Stripe - 支付基礎設施。
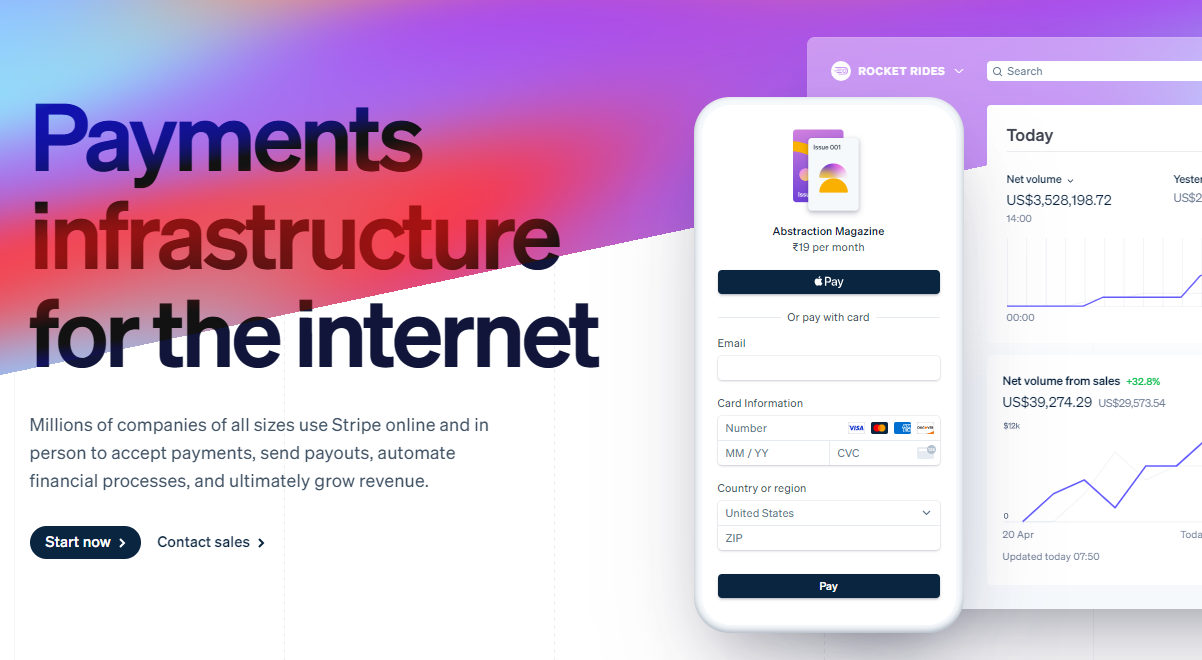
數以百萬計的各種規模的公司在線上和親自使用 Stripe 來接受付款、發送付款、自動化財務流程並最終增加收入。
開始使用以下 npm 指令 (React.js)。
npm install @stripe/react-stripe-js @stripe/stripe-js這就是使用鉤子的方法。
import React, {useState} from 'react';
import ReactDOM from 'react-dom';
import {loadStripe} from '@stripe/stripe-js';
import {
  PaymentElement,
  Elements,
  useStripe,
  useElements,
} from '@stripe/react-stripe-js';

const CheckoutForm = () => {
  const stripe = useStripe();
  const elements = useElements();

  const [errorMessage, setErrorMessage] = useState(null);

  const handleSubmit = async (event) => {
    event.preventDefault();

    if (elements == null) {
      return;
    }

    // Trigger form validation and wallet collection
    const {error: submitError} = await elements.submit();
    if (submitError) {
      // Show error to your customer
      setErrorMessage(submitError.message);
      return;
    }

    // Create the PaymentIntent and obtain clientSecret from your server endpoint
    const res = await fetch('/create-intent', {
      method: 'POST',
    });

    const {client_secret: clientSecret} = await res.json();

    const {error} = await stripe.confirmPayment({
      //`Elements` instance that was used to create the Payment Element
      elements,
      clientSecret,
      confirmParams: {
        return_url: 'https://example.com/order/123/complete',
      },
    });

    if (error) {
      // This point will only be reached if there is an immediate error when
      // confirming the payment. Show error to your customer (for example, payment
      // details incomplete)
      setErrorMessage(error.message);
    } else {
      // Your customer will be redirected to your `return_url`. For some payment
      // methods like iDEAL, your customer will be redirected to an intermediate
      // site first to authorize the payment, then redirected to the `return_url`.
    }
  };

  return (
    <form onSubmit={handleSubmit}>
      <PaymentElement />
      <button type="submit" disabled={!stripe || !elements}>
        Pay
      </button>
      {/* Show error message to your customers */}
      {errorMessage && <div>{errorMessage}</div>}
    </form>
  );
};

const stripePromise = loadStripe('pk_test_6pRNASCoBOKtIshFeQd4XMUh');

const options = {
  mode: 'payment',
  amount: 1099,
  currency: 'usd',
  // Fully customizable with appearance API.
  appearance: {
    /*...*/
  },
};

const App = () => (
  <Elements stripe={stripePromise} options={options}>
    <CheckoutForm />
  </Elements>
);

ReactDOM.render(<App />, document.body);您可以閱讀文件。
您幾乎可以整合任何東西。它有一個巨大的選項清單。
-
Upscayl - 開源 AI 影像升級器。

適用於 Linux、MacOS 和 Windows 的免費開源 AI Image Upscaler 採用 Linux 優先概念建構。
它可能與全端無關,但它對於升級圖像很有用。
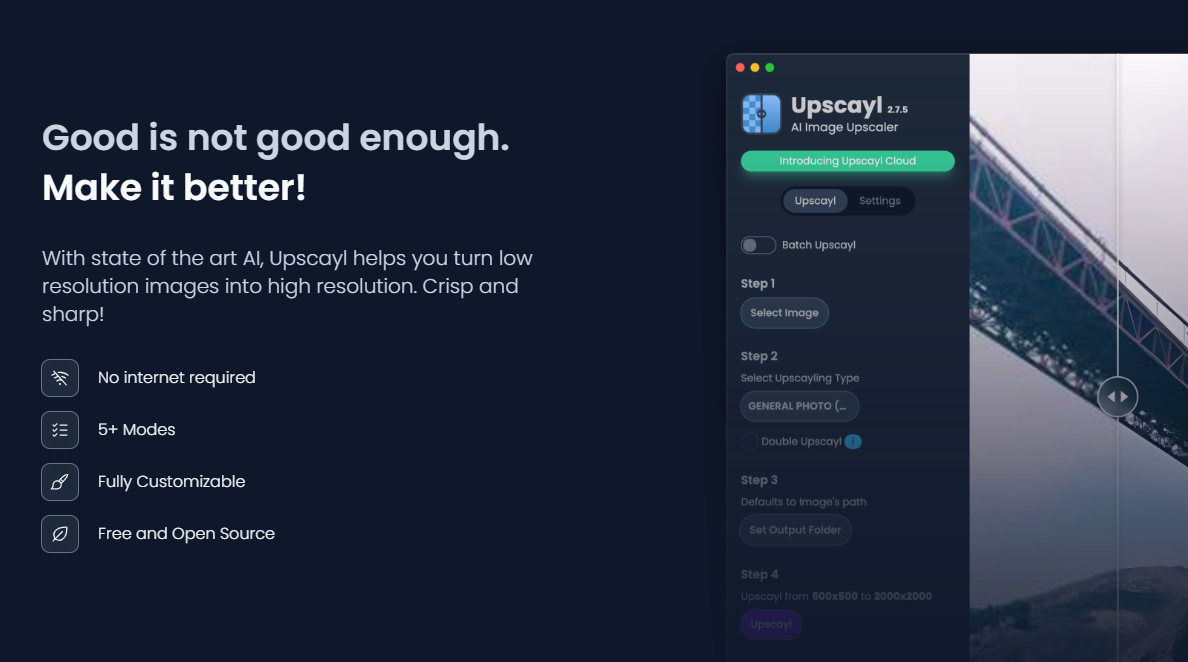
透過最先進的人工智慧,Upscayl 可以幫助您將低解析度影像變成高解析度。清脆又鋒利!
https://github.com/upscayl/upscayl
30.重新發送- 為開發人員提供的電子郵件 API。
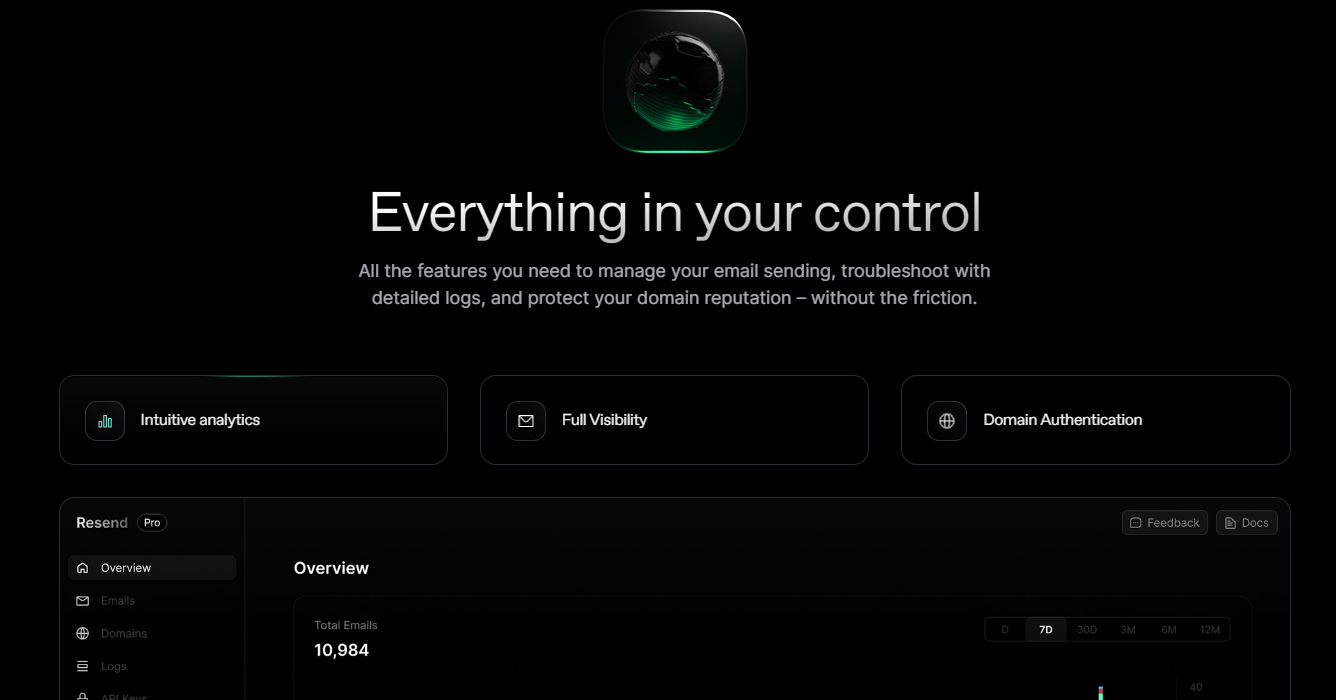
您可以使用 React 建立和傳送電子郵件。 2023 年最受炒作的產品之一。
開始使用以下 npm 指令。
npm install @react-email/components -E這是將其與 next.js 專案整合的方法。
import { EmailTemplate } from '@/components/email-template';
import { Resend } from 'resend';

const resend = new Resend(process.env.RESEND_API_KEY);

export async function POST() {
  const { data, error } = await resend.emails.send({
    from: '[email protected]',
    to: '[email protected]',
    subject: 'Hello world',
    react: EmailTemplate({ firstName: 'John' }),
  });

  if (error) {
    return Response.json({ error });
  }

  return Response.json(data);
}您可以閱讀文件。
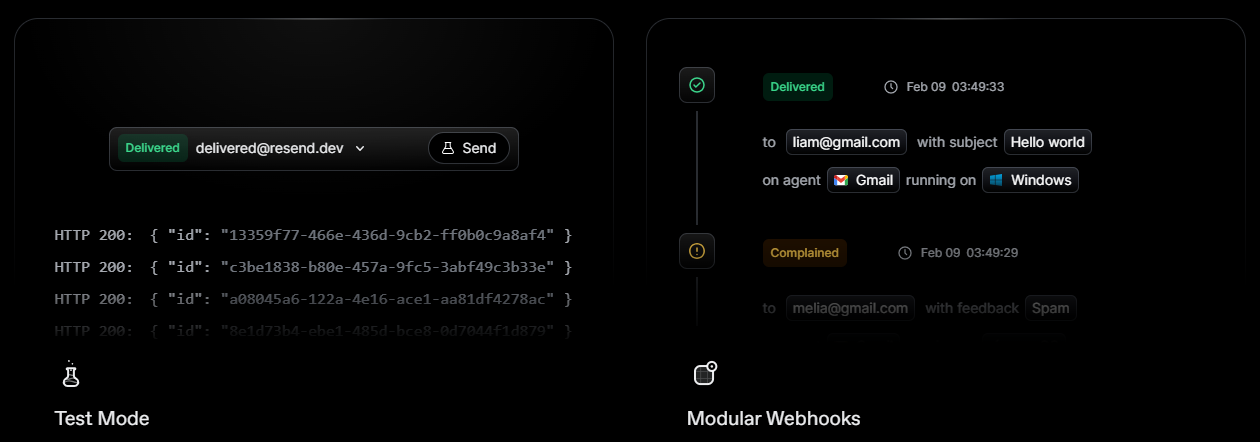
基本概念是一個簡單、優雅的介面,讓您可以在幾分鐘內開始發送電子郵件。它可以透過適用於您最喜歡的程式語言的 SDK 直接融入您的程式碼中。
哇!如此長的專案清單。
我知道您有更多想法,分享它們,讓我們一起建造:D
如今建立全端應用程式並不難,但每個應用程式都可以透過有效地使用優秀的開源專案來解決任何問題來增加這一獨特因素。
例如,您可以建立一些提供通知或建立 UI 流來抓取資料的東西。
我希望其中一些內容對您的開發之旅有用。他們擁有一流的開發人員經驗;你可以依賴他們。
由於您將要建造東西,因此您可以在這裡找到一些瘋狂的想法。
祝你有美好的一天!直到下一次。
原文出處:https://dev.to/copilotkit/im-building-a-full-stack-app-here-are-the-libraries-im-going-to-use-51nk
1) --- 會變成分隔線(上一行必須是空白)
2) # 會變成一級標題
3) ## 會變成二級標題
4) ### 會變成三級標題
5) **粗體文字**會顯示粗體文字
6) ```當第一行與最後一行會顯示程式碼
7) 請搜尋 Markdown 語法,了解各種格式