

您會在本文中找到什麼?
電子郵件通知是讓使用者了解應用程式所執行操作的最常用方法。典型的通知包括:有人追蹤您、有人喜歡您的貼文、有人查看了您的內容。在這篇文章中,我們將探索如何使用 Next.js、Resend 和 Trigger.dev 建立一個簡單的非同步電子郵件通知系統。
我們將使用 Next.js 作為框架來建立我們的應用程式。我們將使用 Resend 發送電子郵件,並使用 Trigger.dev 非同步卸載和發送電子郵件。

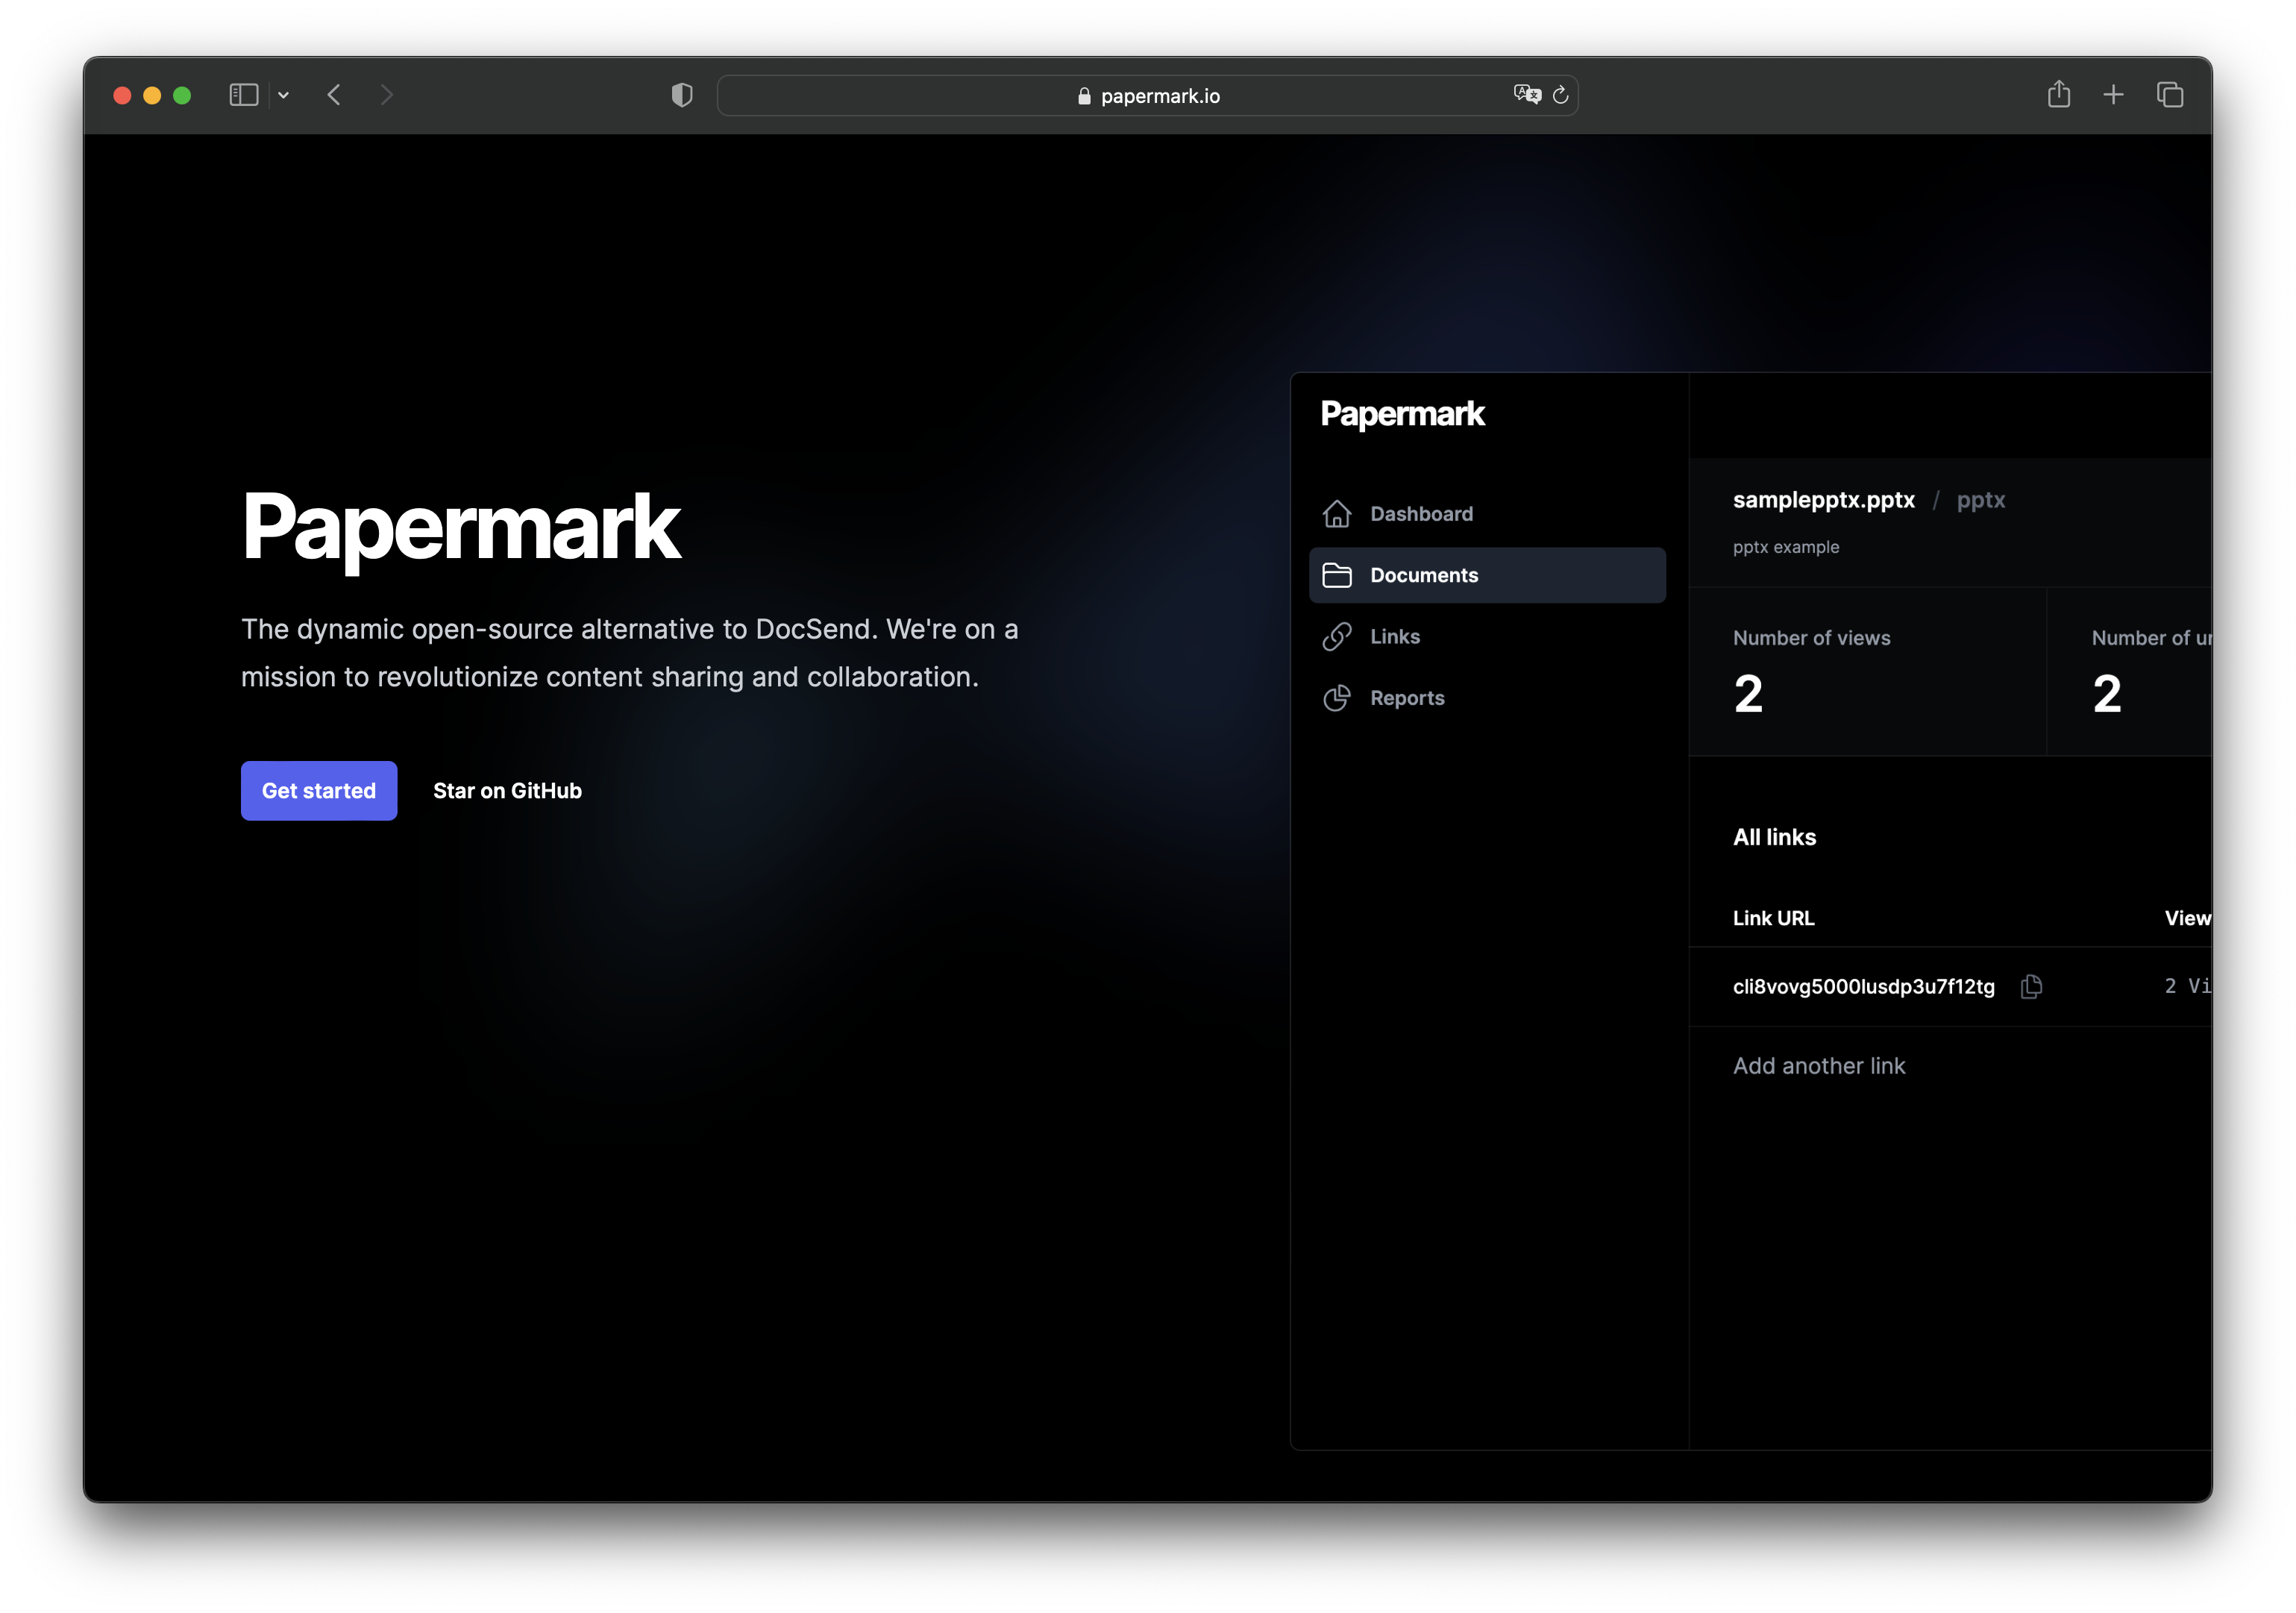
Papermark - 開源 DocSend 替代品。
在我們開始之前,讓我與您分享 Papermark。它是 DocSend 的開源替代方案,可幫助您安全地共享文件並從查看者那裡獲取即時的逐頁分析。全部都是開源的!
如果您能給我們一顆星星,我會非常高興!別忘了在留言區分享你的想法❤️
https://github.com/mfts/papermark
設定專案
讓我們繼續為我們的電子郵件後台通知系統設定專案環境。我們將建立一個 Next.js 應用程式,並設定為重新發送,最重要的是,設定觸發器來處理非同步電子郵件通知。
使用 TypeScript 和 Tailwindcss 設定 Next.js
我們將使用「create-next-app」產生一個新的 Next.js 專案。我們還將使用 TypeScript 和 Tailwind CSS,因此請確保在出現提示時選擇這些選項。
npx create-next-app

# ---
# you'll be asked the following prompts
What is your project named?  my-app
Would you like to add TypeScript with this project?  Y/N
# select `Y` for typescript
Would you like to use ESLint with this project?  Y/N
# select `Y` for ESLint
Would you like to use Tailwind CSS with this project? Y/N
# select `Y` for Tailwind CSS
Would you like to use the `src/ directory` with this project? Y/N
# select `N` for `src/` directory
What import alias would you like configured? `@/*`
# enter `@/*` for import alias
安裝重新傳送和 React-Email
Resend 是開發人員優先的事務性電子郵件服務。我們將使用它向我們的用戶發送電子郵件。 react-email 是一個 React 元件庫,可以輕鬆建立漂亮的電子郵件。
npm install resend react-email安裝觸發器
Trigger 是 TypeScript 的後台作業框架。它允許您從主應用程式中卸載長時間執行的任務並非同步執行它們。我們將使用它非同步發送電子郵件。
觸發器 CLI 是在新的或現有的 Next.js 專案中設定觸發器的最簡單方法。有關更多訊息,請查看他們的文件。
npx @trigger.dev/cli@latest init建立應用程式
現在我們已經完成了設置,我們準備開始建立我們的應用程式。我們將介紹的主要功能是:
-
設定重新發送電子郵件
-
編寫API路由來發送電子郵件
-
新增觸發器作業以使電子郵件發送非同步
1 設定重新傳送電子郵件
首先,我們需要設定重新發送來發送電子郵件。我們將在專案中建立一個新檔案「resend-notification.ts」並新增以下程式碼。
// lib/emails/resend-notification.ts
import { Resend } from "resend";
import { NotificationEmail } from "@/components/emails/notification";

const resend = new Resend(process.env.RESEND_API_KEY!);

export async function sendNotificationEmail({
  name,
  email,
}: {
  name: string | null | undefined;
  email: string | null | undefined;
}) {
  const emailTemplate = NotificationEmail({ name });
  try {
    // Send the email using the Resend API
    await resend.emails.send({
      from: "Marc from Papermark <[email protected]>",
      to: email as string,
      subject: "You have a new view on your document!",
      react: emailTemplate,
    });
  } catch (error) {
    // Log any errors and re-throw the error
    console.log({ error });
    throw error;
  }
}
使用「react-email」的通知電子郵件範本將如下所示:
// components/emails/notification.tsx
import React from "react";
import {
  Body,
  Button,
  Container,
  Head,
  Heading,
  Html,
  Preview,
  Section,
  Text,
  Tailwind,
} from "@react-email/components";

export default function ViewedDocument({
  name,
}: {
  name: string | null | undefined;
}) {
  return (
    <Html>
      <Head />
      <Preview>See who visited your document</Preview>
      <Tailwind>
        <Body className="bg-white my-auto mx-auto font-sans">
          <Container className="my-10 mx-auto p-5 w-[465px]">
            <Heading className="text-2xl font-normal text-center p-0 mt-4 mb-8 mx-0">
              <span className="font-bold tracking-tighter">Papermark</span>
            </Heading>
            <Heading className="mx-0 my-7 p-0 text-center text-xl font-semibold text-black">
              New Document Visitor
            </Heading>
            <Text className="text-sm leading-6 text-black">
              Your document was just viewed by someone.
            </Text>
            <Text className="text-sm leading-6 text-black">
              You can get the detailed engagement insights like time-spent per
              page and total duration for this document on Papermark.
            </Text>
            <Section className="my-8 text-center">
              <Button
                className="bg-black rounded text-white text-xs font-semibold no-underline text-center"
                href={`${process.env.NEXT_PUBLIC_BASE_URL}/documents`}
                style={{ padding: "12px 20px" }}>
                See my document insights
              </Button>
            </Section>
            <Text className="text-sm">
              Cheers,
              <br />
              The Papermark Team
            </Text>
          </Container>
        </Body>
      </Tailwind>
    </Html>
  );
}
2 撰寫API路由發送電子郵件
現在,我們已經準備好了電子郵件範本。我們可以使用它向我們的用戶發送電子郵件。我們將建立一個無伺服器函數,該函數會取得使用者的“姓名”和“電子郵件”,並使用我們之前建立的“sendNotificationEmail”函數向他們發送電子郵件。
// pages/api/send-notification.ts
import { NextApiRequest, NextApiResponse } from "next";
import prisma from "@/lib/prisma";
import { sendViewedDocumentEmail } from "@/lib/emails/resend-notification";

export const config = {
  maxDuration: 60,
};

export default async function handle(
  req: NextApiRequest,
  res: NextApiResponse
) {
  // We only allow POST requests
  if (req.method !== "POST") {
    res.status(405).json({ message: "Method Not Allowed" });
    return;
  }

  // POST /api/send-notification
  try {
    const { viewId } = req.body as {
      viewId: string;
    };

    // Fetch the link to verify the settings
    const view = await prisma.view.findUnique({
      where: {
        id: viewId,
      },
      select: {
        document: {
          select: {
            owner: {
              select: {
                email: true,
                name: true,
              },
            },
          },
        },
      },
    });

    if (!view) {
      res.status(404).json({ message: "View / Document not found." });
      return;
    }

    // send email to document owner that document
    await sendViewedDocumentEmail({
      email: view.document.owner.email as string,
      name: view.document.owner.name as string,
    });

    res.status(200).json({ message: "Successfully sent notification", viewId });
    return;
  } catch (error) {
    console.log("Error:", error);
    return res.status(500).json({ message: (error as Error).message });
  }
}
3 新增觸發器作業,使電子郵件傳送非同步
我們的電子郵件發送功能已準備就緒,但我們不想同步發送電子郵件,因此要等到電子郵件發送後應用程式才會回應使用者。我們希望將電子郵件傳送任務轉移到後台作業。我們將使用觸發器來做到這一點。
在設定中,Trigger CLI 在我們的專案中建立了一個「jobs」目錄。我們將在該目錄中建立一個新檔案“notification-job.ts”並新增以下程式碼。
// jobs/notification-job.ts
import { client } from "@/trigger";
import { eventTrigger, retry } from "@trigger.dev/sdk";
import { z } from "zod";

client.defineJob({
  id: "send-notification",
  name: "Send Notification",
  version: "0.0.1",
  trigger: eventTrigger({
    name: "link.viewed",
    schema: z.object({
      viewId: z.string(),
    }),
  }),
  run: async (payload, io, ctx) => {
    const { viewId } = payload;

    // get file url from document version
    const notification = await io.runTask(
      "send-notification",
      async () => {
        const response = await fetch(
          `${process.env.NEXT_PUBLIC_BASE_URL}/api/send-notification`,
          {
            method: "POST",
            body: JSON.stringify({ viewId }),
            headers: {
              "Content-Type": "application/json",
            },
          }
        );

        if (!response.ok) {
          await io.logger.error("Failed to send notification", { payload });
          return;
        }

        const { message } = (await response.json()) as {
          message: string;
        };

        await io.logger.info("Notification sent", { message, payload });
        return { message };
      },
      { retry: retry.standardBackoff }
    );

    return {
      success: true,
      message: "Successfully sent notification",
    };
  },
});
將匯出新增至作業索引文件,否則觸發器將不知道該作業。雖然是小細節,但連我都忘記了這一點,並花了一個小時尋找錯誤。
// jobs/index.ts
export * from "./notification-job";
獎勵:防止惡意存取 API 路由
我們已準備好 API 路由,但我們不想允許任何人存取它。我們希望確保只有我們的應用程式可以存取它。我們將使用一個簡單的標頭身份驗證金鑰來做到這一點。
在觸發器作業中,我們將標頭加入到請求中:
// jobs/notification-job.ts
..
...
const response = await fetch(
  `${process.env.NEXT_PUBLIC_BASE_URL}/api/jobs/send-notification`,
  {
    method: "POST",
    body: JSON.stringify({ viewId }),
    headers: {
      "Content-Type": "application/json",
      Authorization: `Bearer ${process.env.INTERNAL_API_KEY}`, // <- add the authenication header with a local env variable
    },
  },
);
...
..
在 API 路由中,我們將在「try {} catch {}」區塊之前檢查 API 金鑰是否符合:
// pages/api/send-notification.ts
..
...
// Extract the API Key from the Authorization header
const authHeader = req.headers.authorization;
const token = authHeader?.split(" ")[1]; // Assuming the format is "Bearer [token]"

// Check if the API Key matches
if (token !== process.env.INTERNAL_API_KEY) {
  res.status(401).json({ message: "Unauthorized" });
  return;
}
...
..
確保將“INTERNAL_API_KEY”新增至“.env”檔案中。
# .env
INTERNAL_API_KEY="YOUR_API_KEY"
結論
瞧!我們已經準備好非同步電子郵件通知系統。我們現在可以非同步向用戶發送電子郵件,而不會影響用戶等待時間。我們還可以使用觸發器從主應用程式中卸載許多我們不希望用戶等待的其他任務。
感謝您的閱讀。我是 Marc,開源倡導者。我正在建立 papermark.io - DocSend 的開源替代品。
繼續編碼!
幫幫我!
如果您覺得這篇文章有幫助,並且對觸發器和後台任務有了更好的理解,如果您能給我們一顆星,我將非常高興!別忘了在評論中分享你的想法❤️
https://github.com/mfts/papermark

原文出處:https://dev.to/mfts/building-background-email-notifications-with-nextjs-resend-and-triggerdev-4cem
1) --- 會變成分隔線(上一行必須是空白)
2) # 會變成一級標題
3) ## 會變成二級標題
4) ### 會變成三級標題
5) **粗體文字**會顯示粗體文字
6) ```當第一行與最後一行會顯示程式碼
7) 請搜尋 Markdown 語法,了解各種格式