🔧 阿川の電商水電行

長話短說;博士
我們都已經看到了 ChatGPT 的功能(這對任何人來說都不陌生)。
很多文章都是使用 ChatGPT 一遍又一遍地寫的。
實際上,DEV 上的文章有一半是用 ChatGPT 寫的。
你可以使用一些[AI內容偵測器](https://copyleaks.com/ai-content- detector)來檢視。
問題是,ChatGPT 永遠不會產生一些非凡的內容,除了它內部已經有(經過訓練/微調)的內容。
但有一種方法可以超越目前使用 RAG(OpenAI 助理)訓練的內容。
上一篇,我們討論了在您的文件上「訓練」ChatGPT;今天,讓我們看看如何從中製作出很多內容。我們將:
-
使用 Docusaurus 建立新的部落格系統。
-
詢問 ChatGPT,為我們寫一篇與文件相關的部落格文章。

你的後台工作平台🔌
Trigger.dev 是一個開源程式庫,可讓您使用 NextJS、Remix、Astro 等為您的應用程式建立和監控長時間執行的作業!

請幫我們一顆星🥹。
這將幫助我們建立更多這樣的文章💖
{% cta https://github.com/triggerdotdev/trigger.dev %} 為 Trigger.dev 儲存庫加註星標 ⭐️ {% endcta %}
上次回顧 ⏰
-
我們建立了一個作業來取得文件 XML 並提取所有 URL。
-
我們抓取了每個網站的 URL 並提取了標題和內容。
-
我們將所有內容儲存到文件中並將其發送給 ChatGPT 助手。
-
我們建立了一個 ChatBot 畫面來詢問 ChatGPT 有關文件的資訊。
您可以在此處找到上一個[教學]的完整原始程式碼(https://github.com/triggerdotdev/blog/tree/main/openai-assistant)。

稍作修改⚙️
上次,我們建立了一個文件助理。我們寫:
You are a documentation assistant, loaded with documentation from ' + payload.url + ', return everything in an MD format.讓我們將其更改為部落格作者,請轉到“jobs/process.documentation.ts”第 92 行,並將其替換為以下內容:
You are a content writer assistant. You have been loaded with documentation from ${payload.url}, you write blog posts based on the documentation and return everything in the following MD format:
---
slug: [post-slug]
title: [post-title]
---

[post-content]
使用“slug”和“title”非常重要,因為這是 Docusaurus 的格式 - 我們的部落格系統可以接受(當然,我們也以 MD 格式發送所有輸出)

多庫龍🦖
您可以使用多種類型的部落格系統!
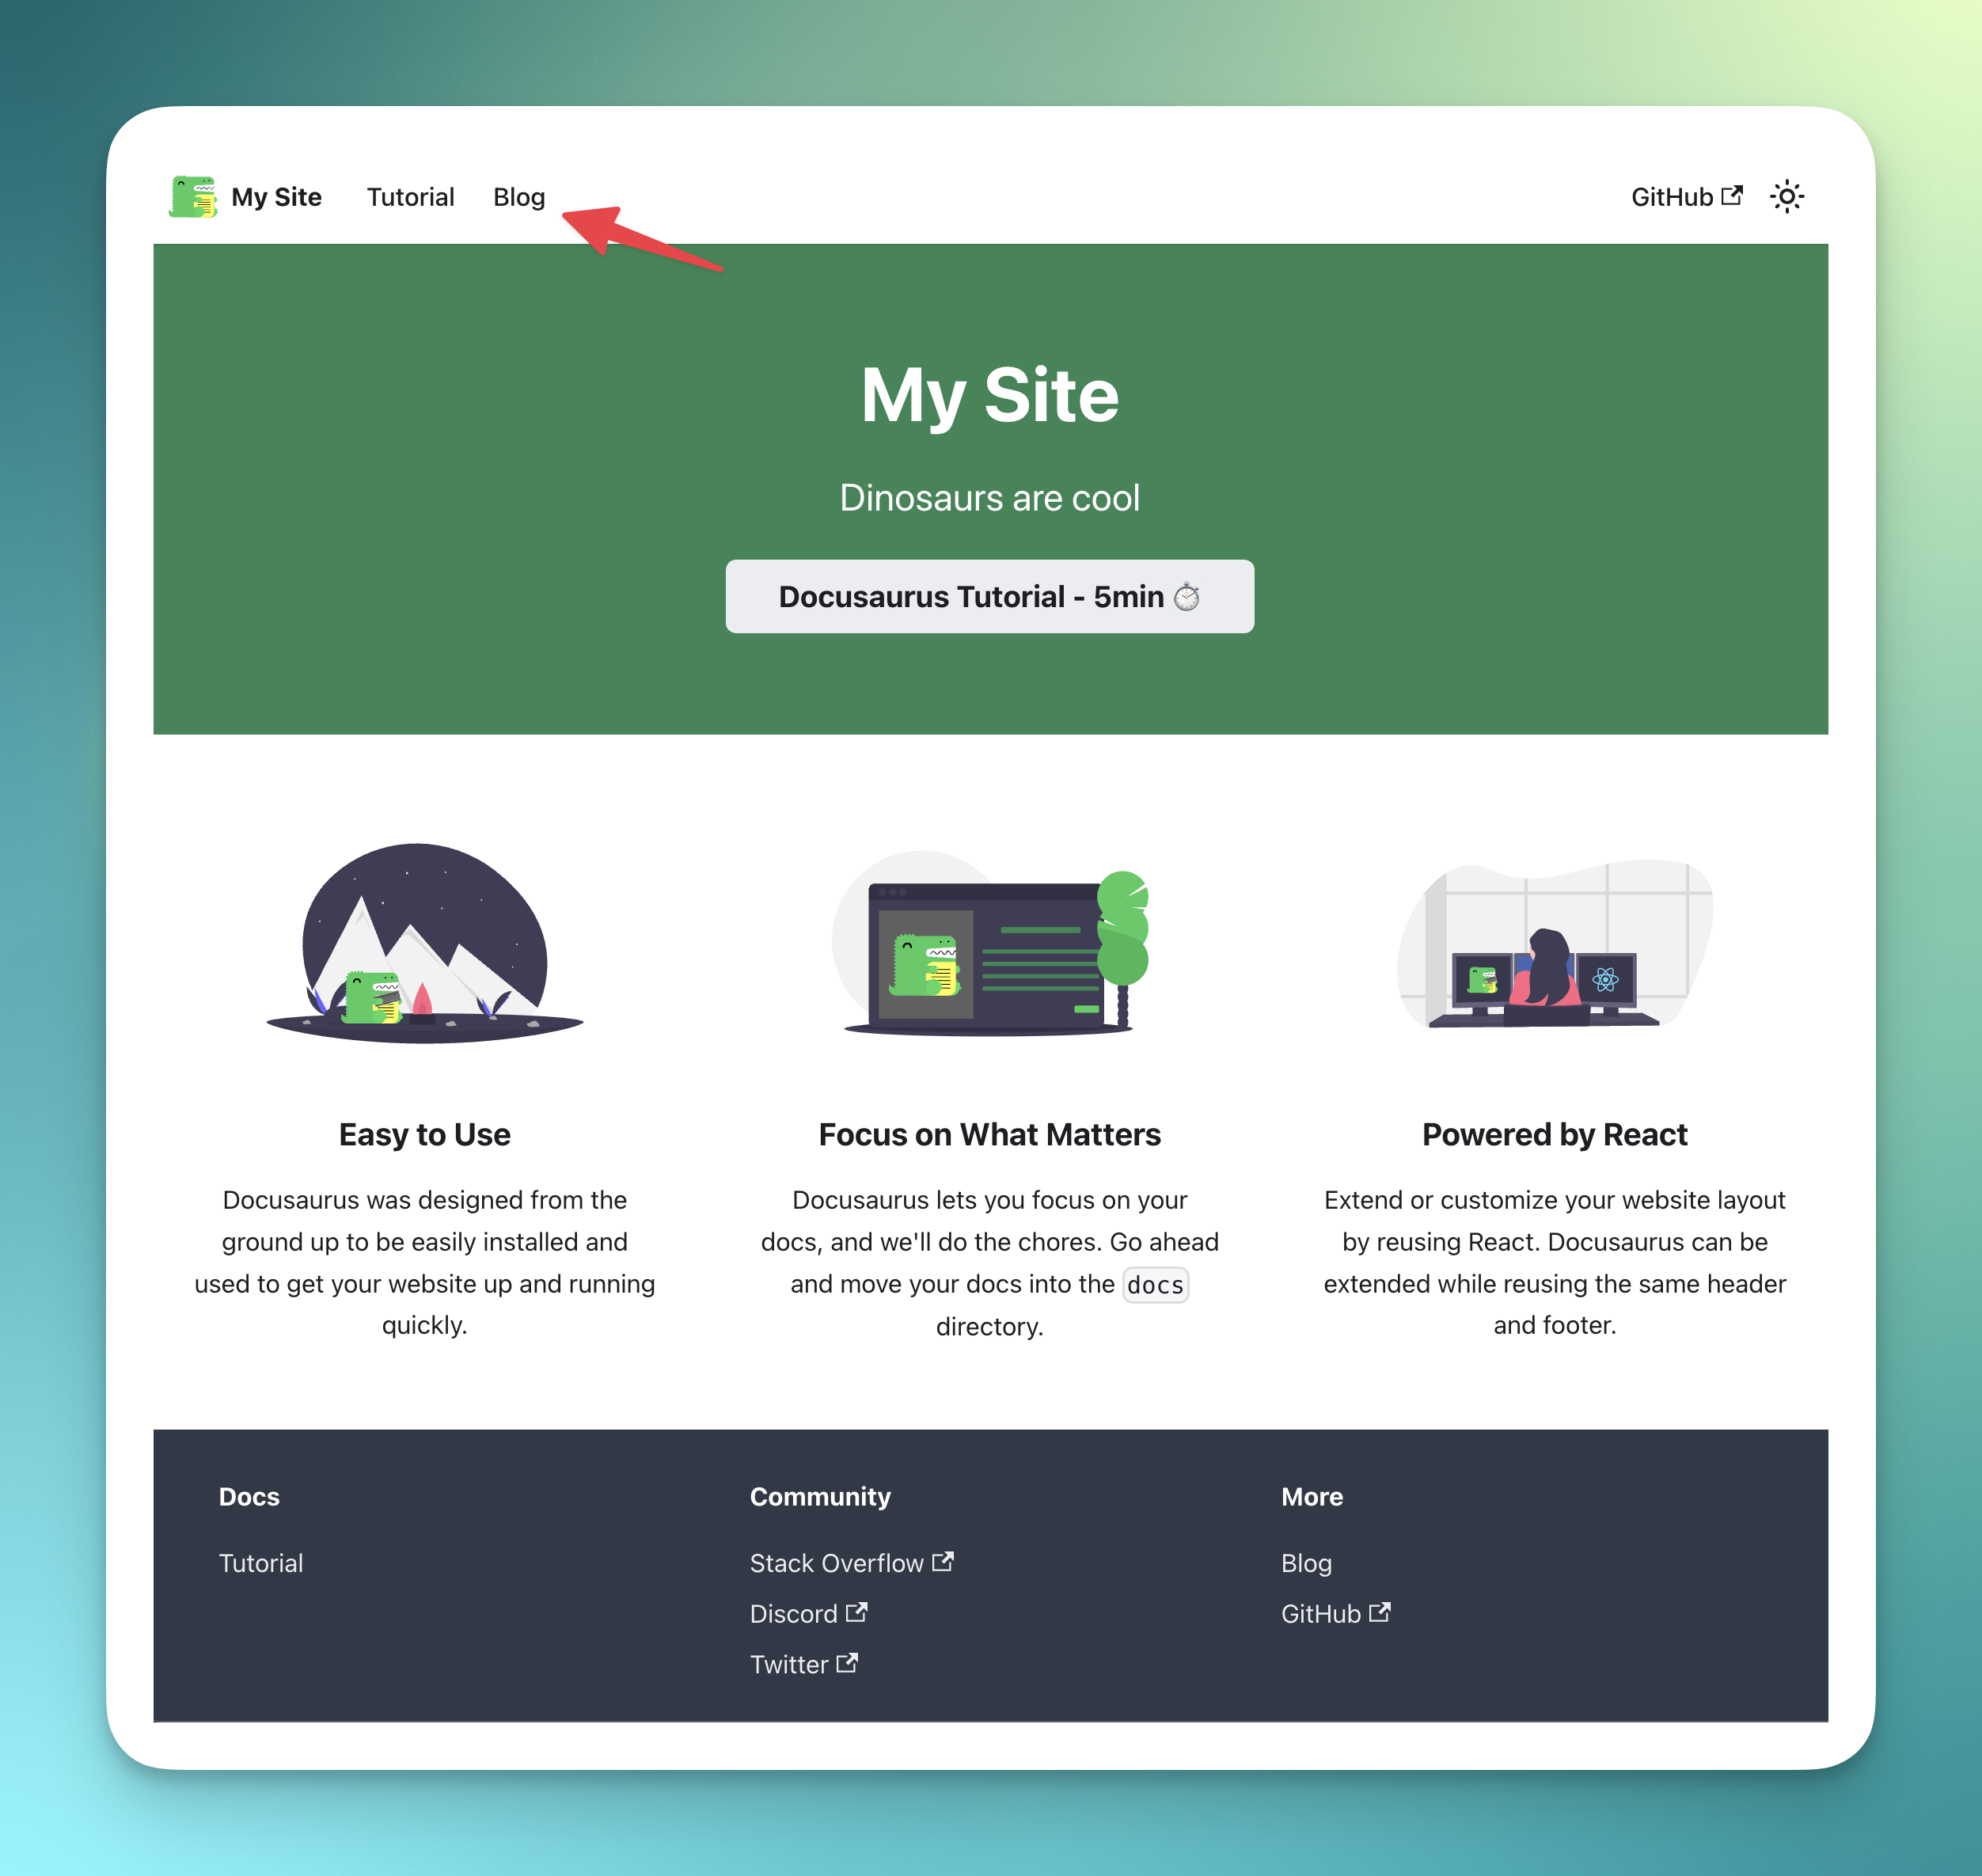
對於我們的用例,我們將使用 Docusaurus,它可以讀取基於 MD 的格式(我們從 ChatGPT 請求的輸出)。 我們可以透過執行來安裝 Docusaurus:
npx create-docusaurus@latest blog classic --typescript 接下來,我們可以進入已建立的目錄並執行以下命令:
npm run start這將啟動 Docusaurus。你可以關註一下。還有一個名為“blog”的附加目錄,其中包含所有部落格文章;這是我們保存 ChatGPT 產生的部落格文章的地方。

產生部落格 📨
我們需要創造一個就業機會
-
取得部落格標題
-
使用 ChatGPT 產生完整的部落格文章
-
將其保存到我們部落格上的 MD 文件中
我們可以輕鬆地使用 ChatGPT 來實現這一點!
前往“jobs”資料夾並新增一個名為“process.blog.ts”的新檔案。新增以下程式碼:
import { eventTrigger } from "@trigger.dev/sdk";
import { client } from "@openai-assistant/trigger";
import {object, string} from "zod";
import {openai} from "@openai-assistant/helper/open.ai";
import {writeFileSync} from "fs";
import slugify from "slugify";

client.defineJob({
  // This is the unique identifier for your Job, it must be unique across all Jobs in your project.
  id: "process-blog",
  name: "Process Blog",
  version: "0.0.1",
  // This is triggered by an event using eventTrigger. You can also trigger Jobs with webhooks, on schedules, and more: https://trigger.dev/docs/documentation/concepts/triggers/introduction
  trigger: eventTrigger({
    name: "process.blog.event",
    schema: object({
      title: string(),
      aId: string(),
    })
  }),
  integrations: {
    openai
  },
  run: async (payload, io, ctx) => {
      const {title, aId} = payload;
      const thread = await io.openai.beta.threads.create('create-thread');

      await io.openai.beta.threads.messages.create('create-message', thread.id, {
          content: `
           title: ${title}
          `,
          role: 'user',
      });

      const run = await io.openai.beta.threads.runs.createAndWaitForCompletion('run-thread', thread.id, {
          model: 'gpt-4-1106-preview',
          assistant_id: payload.aId,
      });

      if (run.status !== "completed") {
          console.log('not completed');
          throw new Error(`Run finished with status ${run.status}: ${JSON.stringify(run.last_error)}`);
      }

      const messages = await io.openai.beta.threads.messages.list("list-messages", run.thread_id, {
          query: {
              limit: "1"
          }
      });

      return io.runTask('save-blog', async () => {
          const content = messages[0].content[0];
          if (content.type === 'text') {
              const fileName = slugify(title, {lower: true, strict: true, trim: true});
              writeFileSync(`./blog/blog/${fileName}.md`, content.text.value)
              return {fileName};
          }
      });
  },
});-
我們加入了一些必要的變數:
-
title部落格文章標題 -
aId上一篇文章中新增的助手 ID。
-
-
我們為助手建立了一個新線程(
io.openai.beta.threads.create) - 我們無法在沒有任何線程的情況下質疑它。與之前的教程不同,在這裡,我們對每個請求建立一個新線程。我們不需要對話中最後一條訊息的上下文。 -
然後,我們使用部落格標題為線程(
io.openai.beta.threads.messages.create)新增訊息。我們不需要提供額外的說明 - 我們已經在第一部分完成了該部分😀 -
我們執行
io.openai.beta.threads.runs.createAndWaitForCompletion來啟動進程 - 通常,您需要某種每分鐘執行一次的遞歸來檢查作業是否完成,但是 [Trigger.dev]( http://Trigger .dev)已經加入了一種執行進程並同時等待它的方法🥳 -
我們在查詢正文中執行帶有“limit: 1”的“io.openai.beta.threads.messages.list”,以從對話中獲取第一則訊息(在ChatGPT 結果中,第一則訊息是最後一條訊息) 。
-
然後,我們使用「writeFileSync」從 ChatGPT 取得的值來儲存新建立的部落格 - 確保您擁有正確的部落格路徑。
轉到“jobs/index.ts”並加入以下行:
export * from "./process.blog";現在,讓我們建立一個新的路由來觸發該作業。
前往“app/api”,建立一個名為“blog”的新資料夾,並在一個名為“route.tsx”的新檔案中
新增以下程式碼:
import {client} from "@openai-assistant/trigger";

export async function POST(request: Request) {
    const payload = await request.json();
    if (!payload.title || !payload.aId) {
        return new Response(JSON.stringify({error: 'Missing parameters'}), {status: 400});
    }

    // We send an event to the trigger to process the documentation
    const {id: eventId} = await client.sendEvent({
        name: "process.blog.event",
        payload
    });

    return new Response(JSON.stringify({eventId}), {status: 200});
}-
我們檢查標題和助理 ID 是否存在。
-
我們在 Trigger.dev 中觸發事件並發送訊息。
-
我們將事件 ID 傳送回客戶端,以便我們可以追蹤作業的進度。

前端🎩
沒什麼好做的!
在我們的「components」目錄中,建立一個名為「blog.component.tsx」的新檔案和以下程式碼:
"use client";

import {FC, useCallback, useEffect, useState} from "react";
import {ExtendedAssistant} from "@openai-assistant/components/main";
import {SubmitHandler, useForm} from "react-hook-form";
import {useEventRunDetails} from "@trigger.dev/react";

interface Blog {
    title: string,
    aId: string;
}

export const BlogComponent: FC<{list: ExtendedAssistant[]}> = (props) => {
    const {list} = props;
    const {register, formState, handleSubmit} = useForm<Blog>();
    const [event, setEvent] = useState<string | undefined>(undefined);

    const addBlog: SubmitHandler<Blog> = useCallback(async (param) => {
        const {eventId} = await (await fetch('/api/blog', {
            method: 'POST',
            headers: {
                'Content-Type': 'application/json'
            },
            body: JSON.stringify(param)
        })).json();

        setEvent(eventId);
    }, []);

    return (
        <>
        <form className="flex flex-col gap-3 mt-5" onSubmit={handleSubmit(addBlog)}>
            <div className="flex flex-col gap-1">
                <div className="font-bold">Assistant</div>
                <select className="border border-gray-200 rounded-xl py-2 px-3" {...register('aId', {required: true})}>
                    {list.map(val => (
                        <option key={val.id} value={val.aId}>{val.url}</option>
                    ))}
                </select>
            </div>
            <div className="flex flex-col gap-1">
                <div className="font-bold">Title</div>
                <input className="border border-gray-200 rounded-xl py-2 px-3" placeholder="Blog title" {...register('title', {required: true})} />
            </div>
            <button className="border border-gray-200 rounded-xl py-2 px-3 bg-gray-100 hover:bg-gray-200" disabled={formState.isSubmitting}>Create blog</button>
        </form>
        {!!event && (
            <Blog eventId={event} />
        )}
        </>
    )
}

export const Blog: FC<{eventId: string}> = (props) => {
    const {eventId} = props;
    const { data, error } = useEventRunDetails(eventId);

    if (data?.status !== 'SUCCESS') {
        return <div className="pointer bg-yellow-300 border-yellow-500 p-1 px-3 text-yellow-950 border rounded-2xl">Loading</div>
    }
    return (
        <div>
            <a href={`http://localhost:3000/blog/${data.output.fileName}`}>Check blog post</a>
        </div>
    )
};-
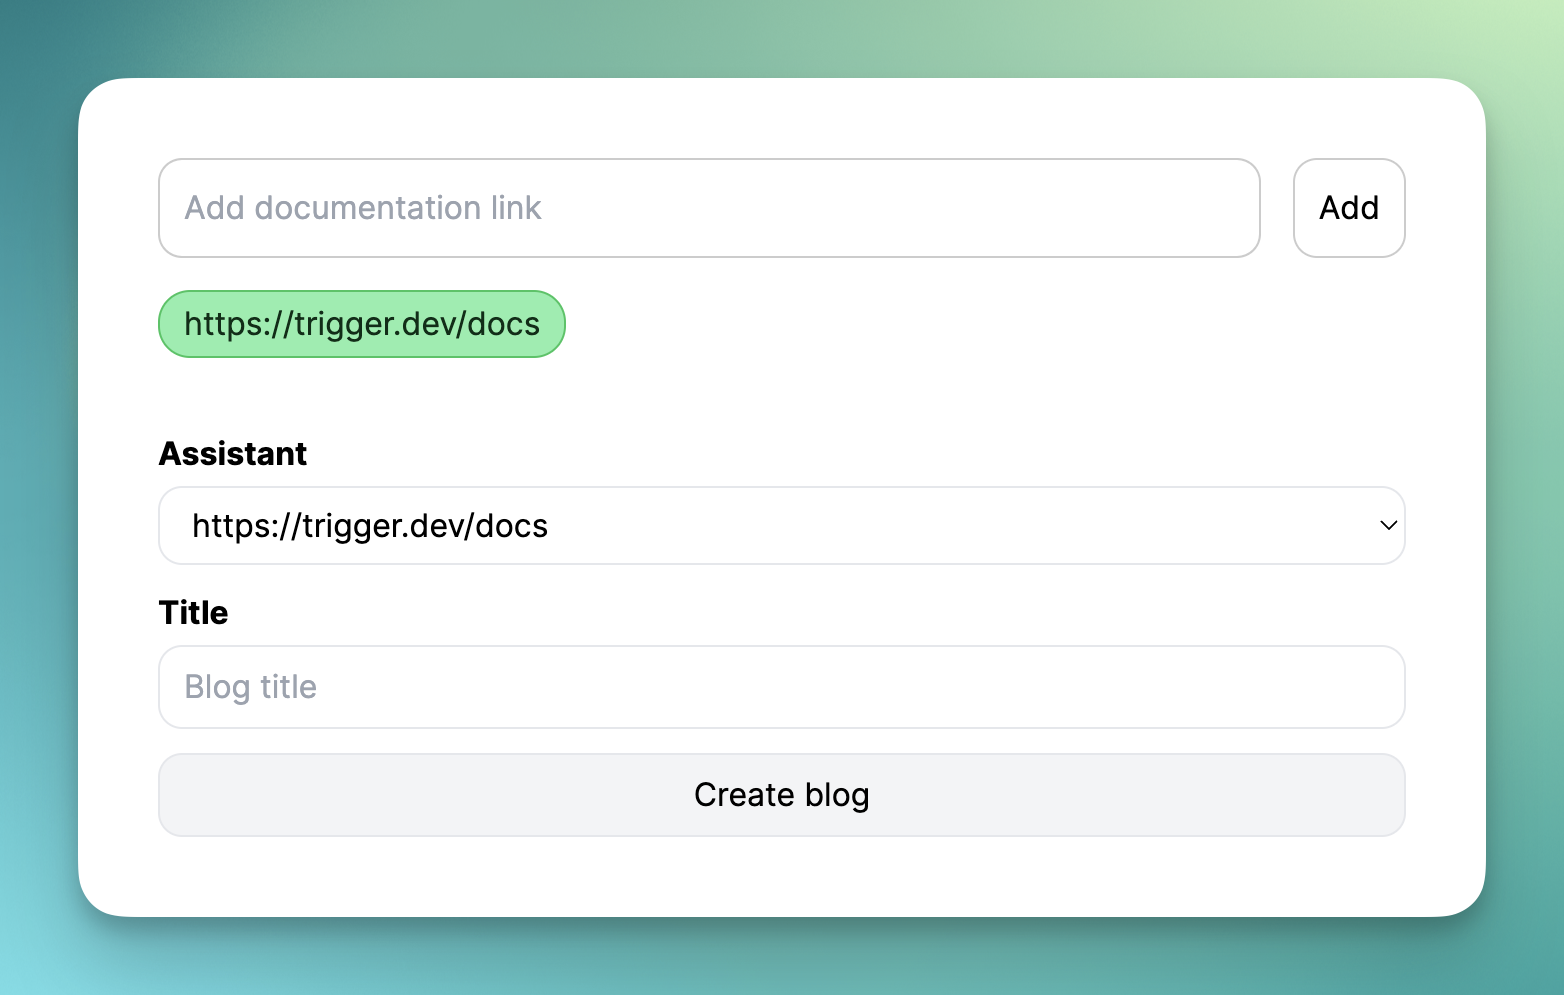
我們使用「react-hook-form」來輕鬆控制我們的輸入。
-
我們讓使用者選擇他們想要使用的助手。
-
我們建立一個包含文章標題的新輸入。
-
我們將所有內容傳送到先前建立的路由並傳回作業的「eventId」。
-
我們建立一個新的「<Blog />」元件,該元件顯示載入直到事件完成,並使用新建立的教程新增指向我們部落格的連結。
將元件加入我們的“components/main.tsx”檔案中:
{assistantState.filter(f => !f.pending).length > 0 && <BlogComponent list={assistantState} />}我們完成了!
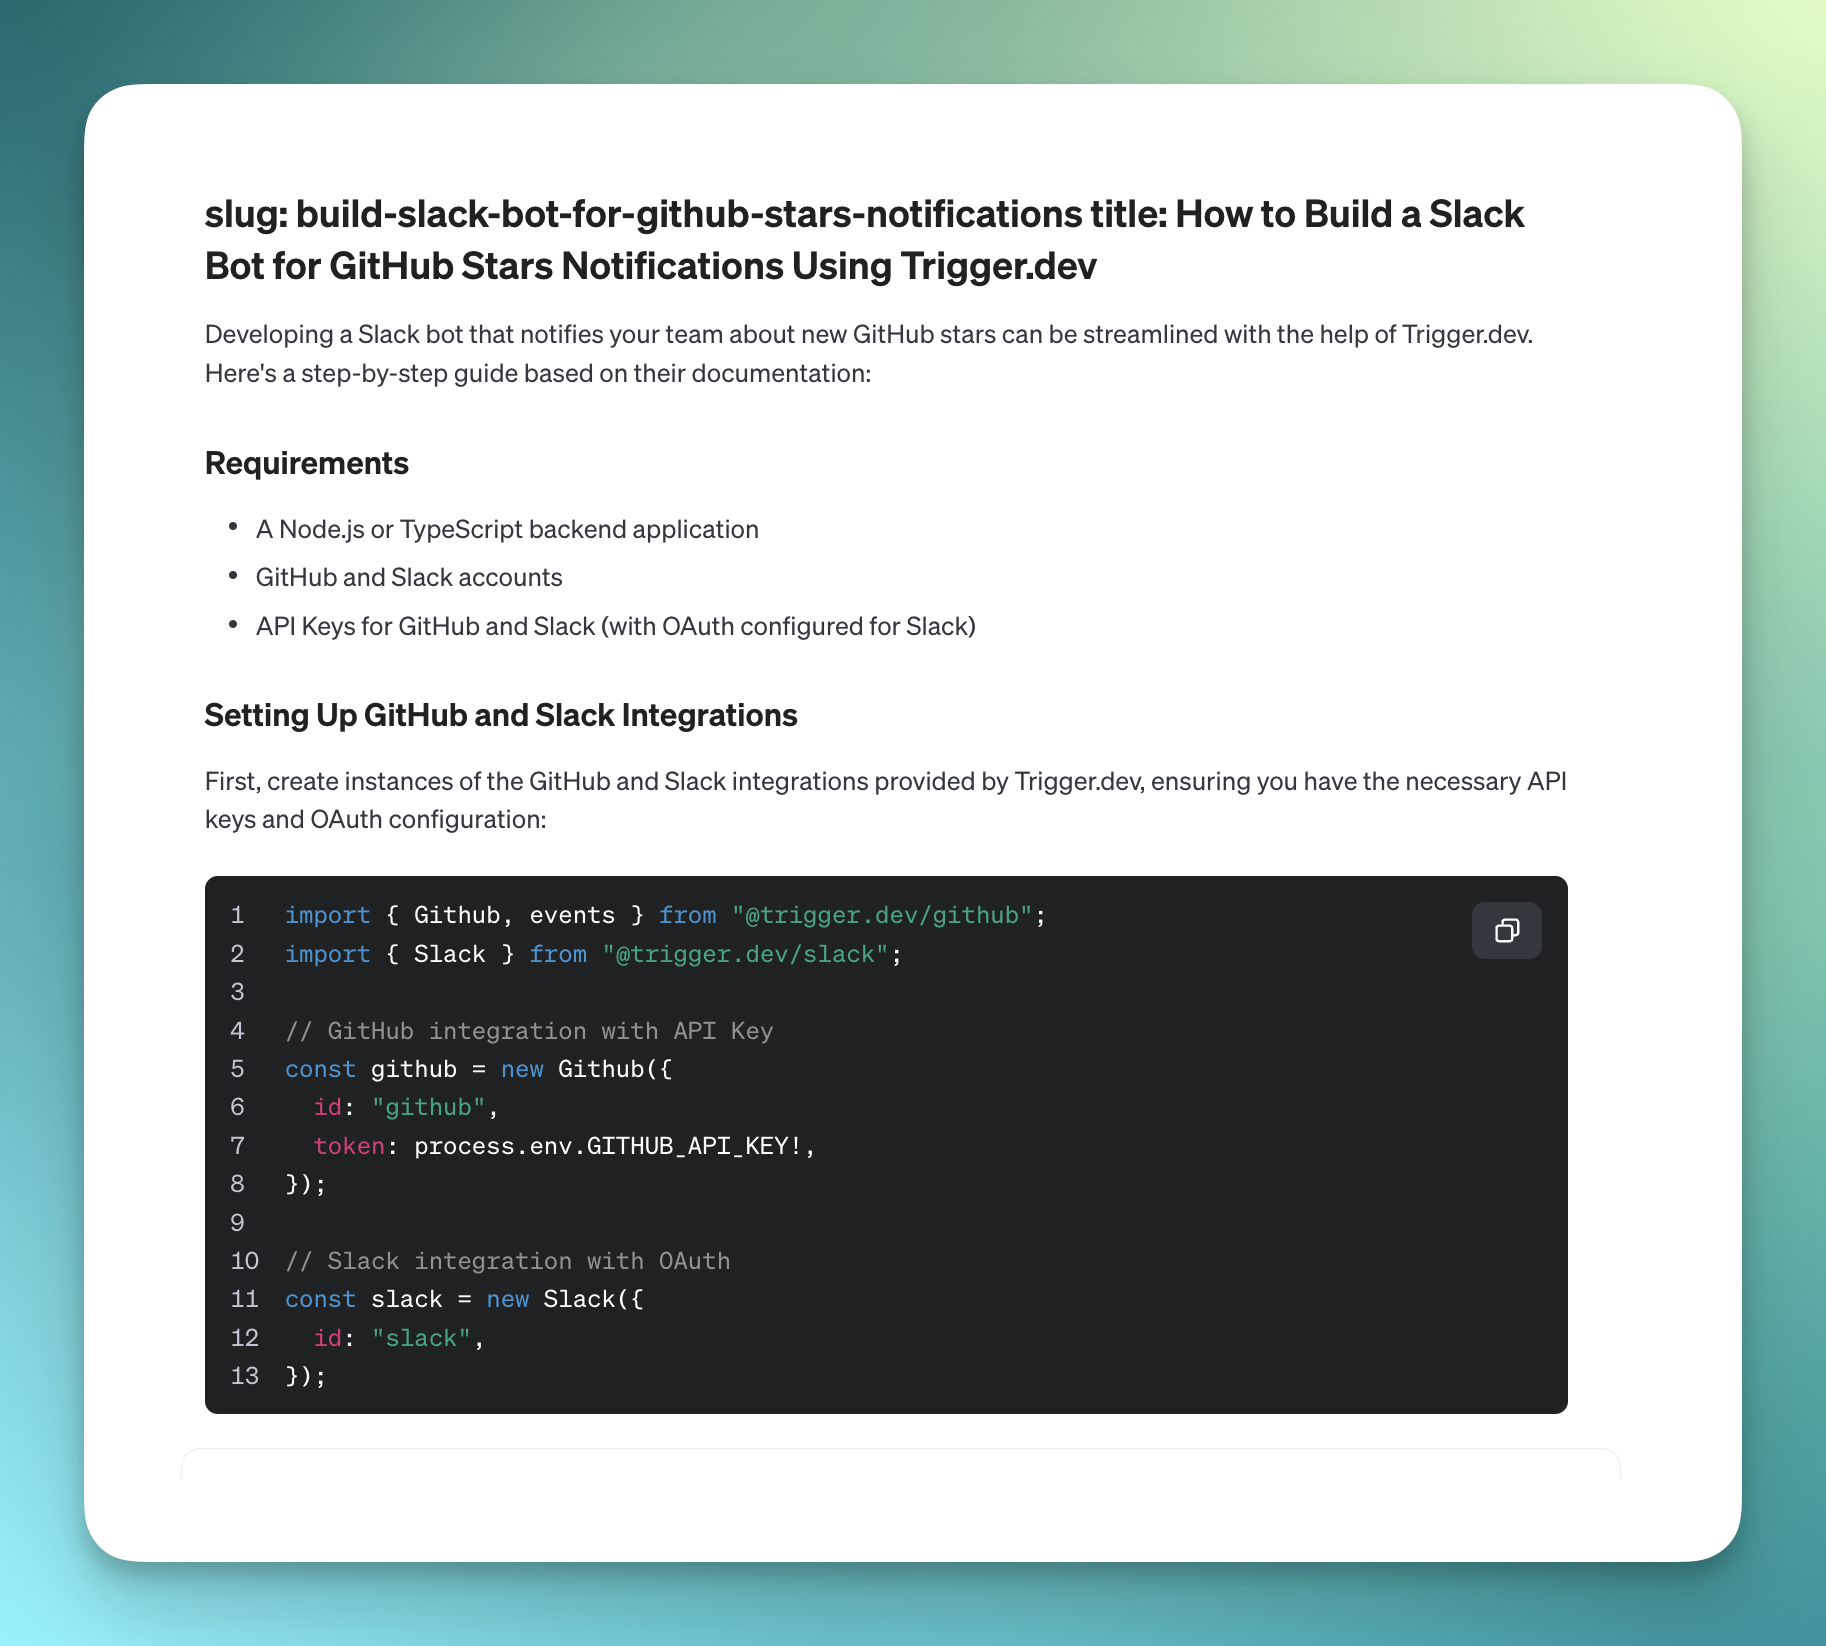
現在,讓我們新增部落格標題並點擊「生成」。

讓我們聯絡吧! 🔌
作為開源開發者,您可以加入我們的社群 做出貢獻並與維護者互動。請隨時造訪我們的 GitHub 儲存庫,貢獻並建立與 Trigger.dev 相關的問題。
本教學的源程式碼可在此處取得:
https://github.com/triggerdotdev/blog/tree/main/openai-blog-writer
感謝您的閱讀!
原文出處:https://dev.to/triggerdotdev/generate-blogs-with-chatgpt-assistant-1894
1) --- 會變成分隔線(上一行必須是空白)
2) # 會變成一級標題
3) ## 會變成二級標題
4) ### 會變成三級標題
5) **粗體文字**會顯示粗體文字
6) ```當第一行與最後一行會顯示程式碼
7) 請搜尋 Markdown 語法,了解各種格式