🔧 阿川の電商水電行

長話短說
在本文中,您將學習如何建立由 AI 驅動的 PowerPoint 應用程式,該應用程式可以搜尋網路以自動製作有關任何主題的簡報。
我們將介紹使用:
-
用於應用程式框架的 Next.js 🖥️
-
法學碩士 OpenAI 🧠
-
LangChain 和 Tavily 的網路搜尋人工智慧代理🤖
-
使用 CopilotKit 將 AI 整合到您的應用程式中 🪁

CopilotKit:為您的應用程式建立人工智慧副駕駛
CopilotKit 是開源人工智慧副駕駛平台。我們可以輕鬆地將強大的人工智慧整合到您的 React 應用程式中。
建造:
-
ChatBot:上下文感知的應用內聊天機器人,可以在應用程式內執行操作 💬
-
CopilotTextArea:人工智慧驅動的文字字段,具有上下文感知自動完成和插入功能📝
-
聯合代理:應用程式內人工智慧代理,可以與您的應用程式和使用者互動🤖

{% cta https://github.com/CopilotKit/CopilotKit %} Star CopilotKit ⭐️ {% endcta %}
現在回到文章。
(本文是我們三週前發表的一篇文章的進展,但您無需閱讀該文章即可理解這一點)。
先決條件
在開始建立應用程式之前,讓我們先查看建置應用程式所需的依賴項或套件
copilotkit/react-core :CopilotKit 前端包,帶有 React hooks,用於向副駕駛提供應用程式狀態和操作(AI 功能)
copilotkit/react-ui :聊天機器人側邊欄 UI 的 CopilotKit 前端包
copilotkit/react-textarea :CopilotKit 前端包,用於在演講者筆記中進行人工智慧輔助文字編輯。
LangChainJS :一個用於開發由語言模型支援的應用程式的框架。
Tavily Search API :幫助將法學碩士和人工智慧應用程式連接到可信賴的即時知識的 API。
安裝所有專案包和依賴項
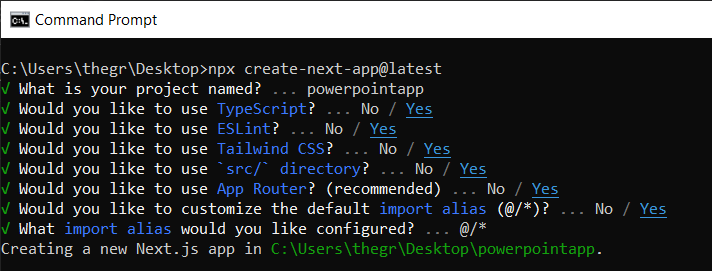
在安裝所有專案包和依賴項之前,我們首先在終端機上執行以下命令來建立 Nextjs 專案。
npx create-next-app@latest然後系統會提示您選擇一些選項。請隨意標記它們,如下所示。
之後,使用您選擇的文字編輯器開啟新建立的 Nextjs 專案。然後在命令列中執行以下命令來安裝所有專案包和依賴項。
npm i @copilotkit/backend @copilotkit/shared @langchain/langgraph @copilotkit/react-core
@copilotkit/react-ui @copilotkit/react-textarea @heroicons/react
建立 PowerPoint 應用程式前端
讓我們先建立一個名為Slide.tsx的檔案。該文件將包含顯示和編輯投影片內容的程式碼,包括其title 、 body text 、 background image和spoken narration text 。
要建立該文件,請前往/[root]/src/app並建立一個名為components的資料夾。在 Components 資料夾中,建立Slide.tsx檔案。
之後,在文件頂部加入以下程式碼。程式碼定義了兩個名為SlideModel和SlideProps的 TypeScript 介面。
"use client";

// Define an interface for the model of a slide, specifying the expected structure of a slide object.
export interface SlideModel {
  title: string;
  content: string;
  backgroundImageDescription: string;
  spokenNarration: string;
}

// Define an interface for the properties of a component or function that manages slides.
export interface SlideProps {
  slide: SlideModel;
  partialUpdateSlide: (partialSlide: Partial<SlideModel>) => void;
}接下來,在上面的程式碼下面加入以下程式碼。程式碼定義了一個名為Slide功能元件,它接受SlideProps類型的 props。
// Define a functional component named Slide that accepts props of type SlideProps.
export const Slide = (props: SlideProps) => {
    // Define a constant for the height of the area reserved for speaker notes.
    const heightOfSpeakerNotes = 150;

    // Construct a URL for the background image using the description from slide properties, dynamically fetching an image from Unsplash.
    const backgroundImage =
      'url("https://source.unsplash.com/featured/?' +
      encodeURIComponent(props.slide.backgroundImageDescription) +
      '")';

    // Return JSX for the slide component.
    return (
      <>
        {/* Slide content container with dynamic height calculation to account for speaker notes area. */}
        <div
          className="w-full relative bg-slate-200"
          style={{
            height: `calc(100vh - ${heightOfSpeakerNotes}px)`, // Calculate height to leave space for speaker notes.
          }}
        >
          {/* Container for the slide title with centered alignment and styling. */}
          <div
            className="h-1/5 flex items-center justify-center text-5xl text-white text-center z-10"
          >
            {/* Textarea for slide title input, allowing dynamic updates. */}
            <textarea
              className="text-2xl bg-transparent text-black p-4 text-center font-bold uppercase italic line-clamp-2 resize-none flex items-center"
              style={{
                border: "none",
                outline: "none",
              }}
              value={props.slide.title}
              placeholder="Title"
              onChange={(e) => {
                props.partialUpdateSlide({ title: e.target.value });
              }}
            />
          </div>

          {/* Container for the slide content with background image. */}
          <div className="h-4/5 flex"
            style={{
              backgroundImage,
              backgroundSize: "cover",
              backgroundPosition: "center",
            }}
          >
            {/* Textarea for slide content input, allowing dynamic updates and styled for readability. */}
            <textarea
              className="w-full text-3xl text-black font-medium p-10 resize-none bg-red mx-40 my-8 rounded-xl text-center"
              style={{
                lineHeight: "1.5",
              }}
              value={props.slide.content}
              placeholder="Body"
              onChange={(e) => {
                props.partialUpdateSlide({ content: e.target.value });
              }}
            />
          </div>
        </div>

        {/* Textarea for entering spoken narration with specified height and styling for consistency. */}
        <textarea
          className=" w-9/12 h-full bg-transparent text-5xl p-10 resize-none bg-gray-500 pr-36"
          style={{
            height: `${heightOfSpeakerNotes}px`,
            background: "none",
            border: "none",
            outline: "none",
            fontFamily: "inherit",
            fontSize: "inherit",
            lineHeight: "inherit",
          }}
          value={props.slide.spokenNarration}
          onChange={(e) => {
            props.partialUpdateSlide({ spokenNarration: e.target.value });
          }}
        />
      </>
    );
};之後,我們現在會建立一個名為Presentation.tsx的檔案。
該文件將包含初始化和更新投影片狀態、渲染目前投影片以及根據目前狀態動態啟用或停用按鈕實現導覽和投影片管理操作的程式碼。
要建立該文件,請將另一個文件新增至元件資料夾中,並將其命名為Presentation.tsx ,然後使用下列程式碼在檔案頂部匯入React hooks 、 icons 、 SlideModel和Slide元件。
"use client";

import { useCallback, useMemo, useState } from "react";
import {
  BackwardIcon,
  ForwardIcon,
  PlusIcon,
  SparklesIcon,
  TrashIcon
} from "@heroicons/react/24/outline";
import { SlideModel, Slide } from "./Slide";之後,在上面的程式碼下面加入以下程式碼。程式碼定義了一個ActionButton功能元件,它將呈現具有可自訂屬性的按鈕元素。
export const ActionButton = ({
  disabled, onClick, className, children,
}: {
  disabled: boolean;
  onClick: () => void;
  className?: string;
  children: React.ReactNode;
}) => {
  return (
    <button
      disabled={disabled}
      className={`bg-blue-500 text-white font-bold py-2 px-4 rounded
      ${disabled ? "opacity-50 cursor-not-allowed" : "hover:bg-blue-700"}
      ${className}`}
      onClick={onClick}
    >
      {children}
    </button>
  );
};
然後在上面的程式碼下面加入下面的程式碼。程式碼定義了一個名為「Presentation」的功能元件,用於初始化投影片的狀態並定義一個用於更新目前投影片的函數。
// Define the Presentation component as a functional component.
export const Presentation = () => {
    // Initialize state for slides with a default first slide and a state to track the current slide index.
    const [slides, setSlides] = useState<SlideModel[]>([
      {
        title: `Welcome to our presentation!`, // Title of the first slide.
        content: 'This is the first slide.', // Content of the first slide.
        backgroundImageDescription: "hello", // Description for background image retrieval.
        spokenNarration: "This is the first slide. Welcome to our presentation!", // Spoken narration text for the first slide.
      },
    ]);
    const [currentSlideIndex, setCurrentSlideIndex] = useState(0); // Current slide index, starting at 0.

    // Use useMemo to memoize the current slide object to avoid unnecessary recalculations.
    const currentSlide = useMemo(() => slides[currentSlideIndex], [slides, currentSlideIndex]);

    // Define a function to update the current slide. This function uses useCallback to memoize itself to prevent unnecessary re-creations.
    const updateCurrentSlide = useCallback(
      (partialSlide: Partial<SlideModel>) => {
        // Update the slides state by creating a new array with the updated current slide.
        setSlides((slides) => [
          ...slides.slice(0, currentSlideIndex), // Copy all slides before the current one.
          { ...slides[currentSlideIndex], ...partialSlide }, // Merge the current slide with the updates.
          ...slides.slice(currentSlideIndex + 1), // Copy all slides after the current one.
        ]);
      },
      [currentSlideIndex, setSlides] // Dependencies for useCallback.
    );

    // The JSX structure for the Presentation component.
    return (
      <div className="relative">
        {/* Render the current slide by passing the currentSlide and updateCurrentSlide function as props. */}
        <Slide slide={currentSlide} partialUpdateSlide={updateCurrentSlide} />

        {/* Container for action buttons located at the top-left corner of the screen. */}
        <div className="absolute top-0 left-0 mt-6 ml-4 z-30">
          {/* Action button to add a new slide. Disabled state is hardcoded to true for demonstration. */}
          <ActionButton
            disabled={true}
            onClick={() => {
              // Define a new slide object.
              const newSlide: SlideModel = {
                title: "Title",
                content: "Body",
                backgroundImageDescription: "random",
                spokenNarration: "The speaker's notes for this slide.",
              };
              // Update the slides array to include the new slide.
              setSlides((slides) => [
                ...slides.slice(0, currentSlideIndex + 1),
                newSlide,
                ...slides.slice(currentSlideIndex + 1),
              ]);
              // Move to the new slide by updating the currentSlideIndex.
              setCurrentSlideIndex((i) => i + 1);
            }}
            className="rounded-r-none"
          >
            <PlusIcon className="h-6 w-6" /> {/* Icon for the button. */}
          </ActionButton>

          {/* Another action button, currently disabled and without functionality. */}
          <ActionButton
            disabled={true}
            onClick={async () => { }} // Placeholder async function.
            className="rounded-l-none ml-[1px]"
          >
            <SparklesIcon className="h-6 w-6" /> {/* Icon for the button. */}
          </ActionButton>
        </div>

        {/* Container for action buttons at the top-right corner for deleting slides, etc. */}
        <div className="absolute top-0 right-0 mt-6 mr-24">
          <ActionButton
            disabled={slides.length === 1} // Disable button if there's only one slide.
            onClick={() => {}} // Placeholder function for the button action.
            className="ml-5 rounded-r-none"
          >
            <TrashIcon className="h-6 w-6" /> {/* Icon for the button. */}
          </ActionButton>
        </div>

        {/* Display current slide number and total slides at the bottom-right corner. */}
        <div
          className="absolute bottom-0 right-0 mb-20 mx-24 text-xl"
          style={{
            textShadow: "1px 1px 0 #ddd, -1px -1px 0 #ddd, 1px -1px 0 #ddd, -1px 1px 0 #ddd",
          }}
        >
          Slide {currentSlideIndex + 1} of {slides.length} {/* Current slide and total slides. */}
        </div>

        {/* Container for navigation buttons (previous and next) at the bottom-right corner. */}
        <div className="absolute bottom-0 right-0 mb-6 mx-24">
          {/* Button to navigate to the previous slide. */}
          <ActionButton
            className="rounded-r-none"
            disabled={
              currentSlideIndex === 0 ||
              true} // Example condition to disable button; 'true' is just for demonstration.
            onClick={() => {
              setCurrentSlideIndex((i) => i - 1); // Update currentSlideIndex to move to the previous slide.
            }}
          >
            <BackwardIcon className="h-6 w-6" /> {/* Icon for the button. */}
          </ActionButton>
          {/* Button to navigate to the next slide. */}
          <ActionButton
            className="mr-[1px] rounded-l-none"
            disabled={
              true ||
              currentSlideIndex + 1 === slides.length} // Example condition to disable button; 'true' is just for demonstration.
            onClick={async () => {
              setCurrentSlideIndex((i) => i + 1); // Update currentSlideIndex to move to the next slide.
            }}
          >
            <ForwardIcon className="h-6 w-6" /> {/* Icon for the button. */}
          </ActionButton>
        </div>
      </div>
    );
  };
要在瀏覽器上呈現 PowerPoint 應用程式,請前往/[root]/src/app/page.tsx檔案並新增以下程式碼。
"use client";

import "./style.css";
import { Presentation } from "./components/Presentation";

export default function AIPresentation() {
  return (
    <Presentation  />
  );
}
如果您想要在 Powerpoint 應用程式前端新增樣式,請在/[root]/src/app資料夾中建立名為style.css的檔案。
然後導航到此 gist 文件,複製 CSS 程式碼,並將其新增至 style.css 檔案。
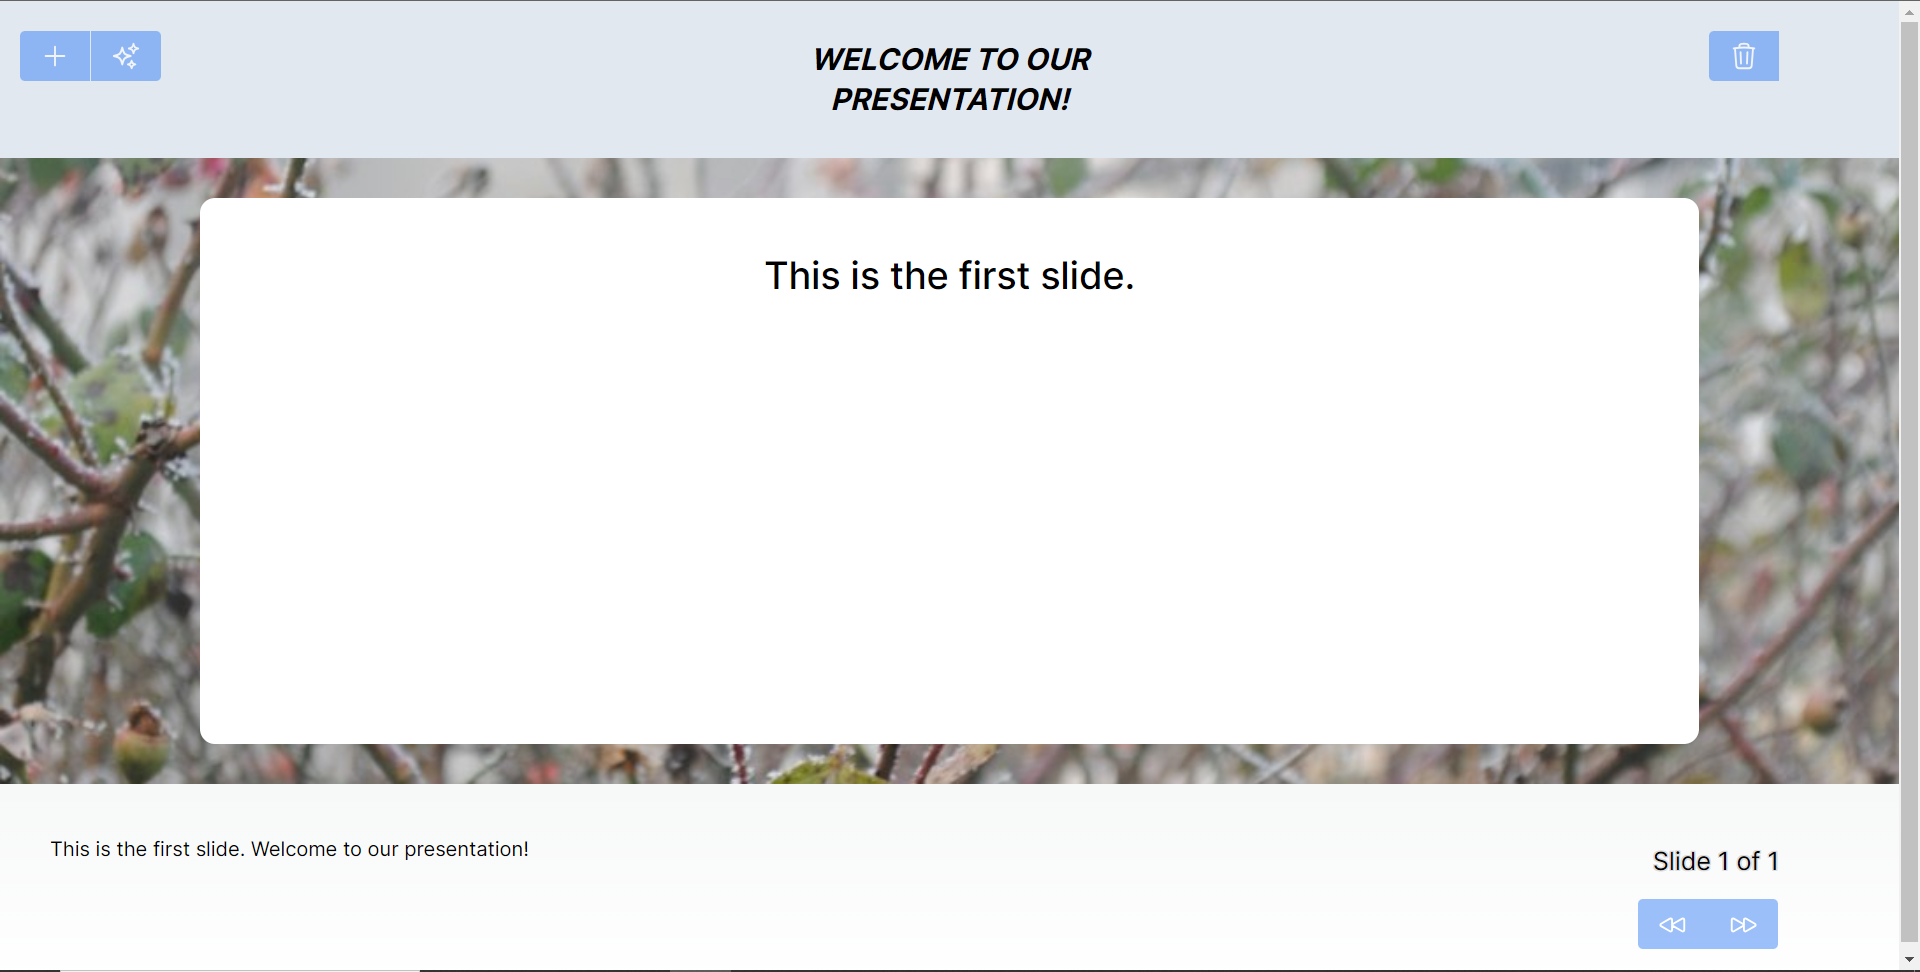
最後,在命令列上執行命令npm run dev ,然後導航到 http://localhost:3000/。
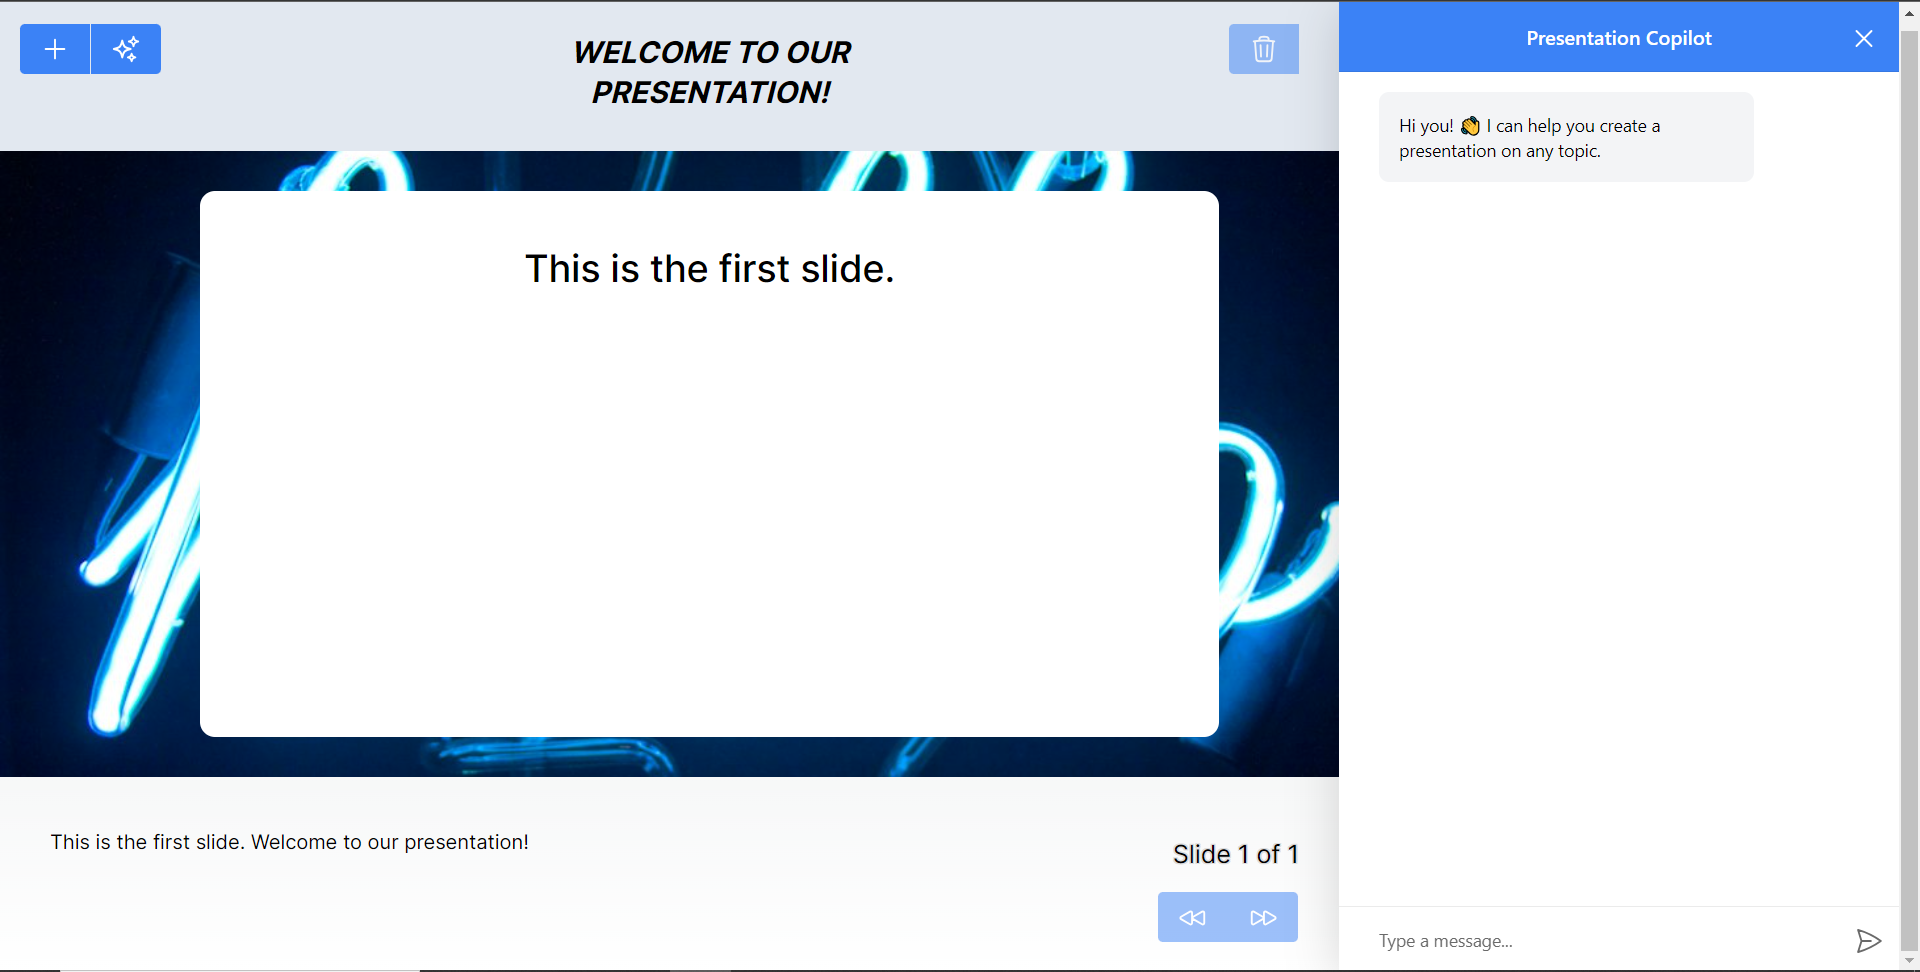
現在您應該在瀏覽器上查看 PowerPoint 應用程式,如下所示。
將 PowerPoint 應用程式與 CopilotKit 後端集成
讓我們先在根目錄中建立一個名為.env.local的檔案。然後在保存 ChatGPT 和 Tavily Search API 金鑰的檔案中加入下面的環境變數。
OPENAI_API_KEY="Your ChatGPT API key"
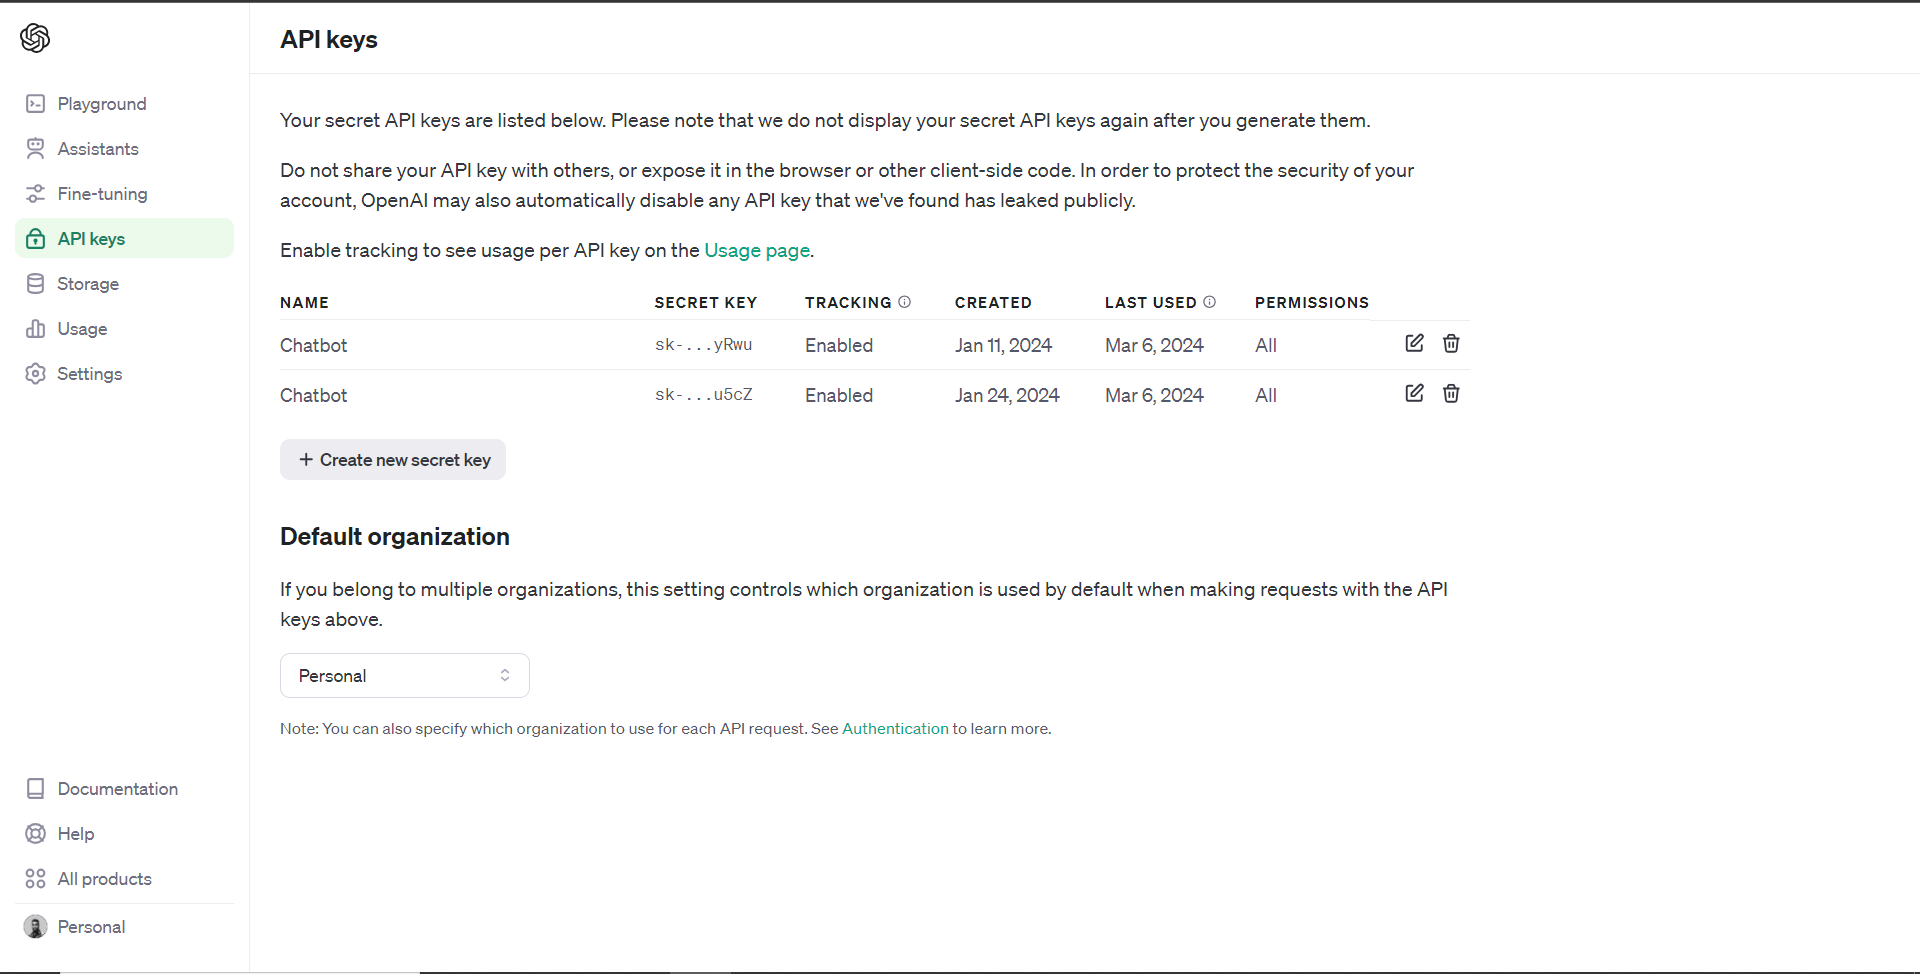
TAVILY_API_KEY="Your Tavily Search API key"若要取得 ChatGPT API 金鑰,請導覽至 https://platform.openai.com/api-keys。
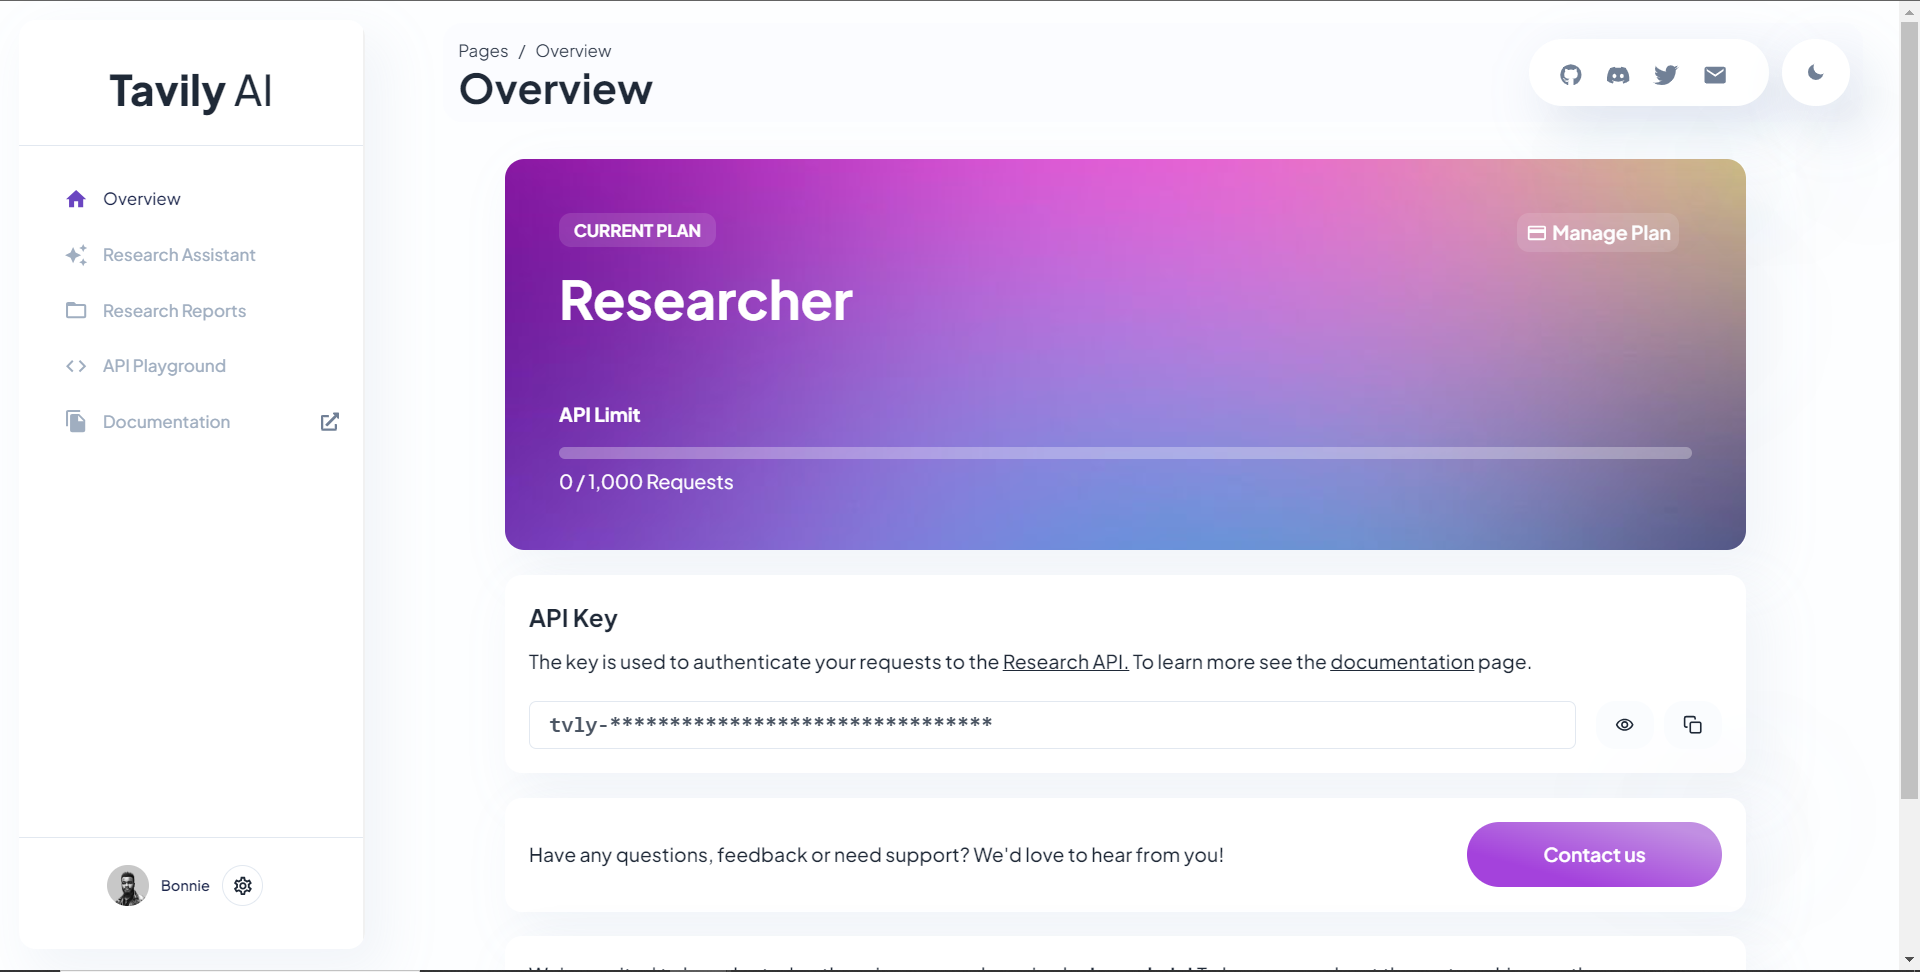
若要取得 Tavilly Search API 金鑰,請導覽至 https://app.tavily.com/home
之後,轉到/[root]/src/app並建立一個名為api的資料夾。在api資料夾中,建立一個名為copilotkit的資料夾。
在copilotkit資料夾中,建立一個名為research.ts的檔案。然後導航到該 Research.ts gist 文件,複製程式碼,並將其新增至research.ts檔案中
接下來,在/[root]/src/app/api/copilotkit資料夾中建立一個名為route.ts的檔案。該文件將包含設定後端功能來處理 POST 請求的程式碼。它有條件地包括對給定主題進行研究的“研究”操作。
現在在文件頂部導入以下模組。
import { CopilotBackend, OpenAIAdapter } from "@copilotkit/backend"; // For backend functionality with CopilotKit.
import { researchWithLangGraph } from "./research"; // Import a custom function for conducting research.
import { AnnotatedFunction } from "@copilotkit/shared"; // For annotating functions with metadata.
在上面的程式碼下面,定義一個執行時環境變數和一個註解的函數,以便使用下面的程式碼進行研究。
// Define a runtime environment variable, indicating the environment where the code is expected to run.
export const runtime = "edge";

// Define an annotated function for research. This object includes metadata and an implementation for the function.
const researchAction: AnnotatedFunction<any> = {
  name: "research", // Function name.
  description: "Call this function to conduct research on a certain topic. Respect other notes about when to call this function", // Function description.
  argumentAnnotations: [ // Annotations for arguments that the function accepts.
    {
      name: "topic", // Argument name.
      type: "string", // Argument type.
      description: "The topic to research. 5 characters or longer.", // Argument description.
      required: true, // Indicates that the argument is required.
    },
  ],
  implementation: async (topic) => { // The actual function implementation.
    console.log("Researching topic: ", topic); // Log the research topic.
    return await researchWithLangGraph(topic); // Call the research function and return its result.
  },
};
然後在上面的程式碼下加入下面的程式碼來定義處理POST請求的非同步函數。
// Define an asynchronous function that handles POST requests.
export async function POST(req: Request): Promise<Response> {
  const actions: AnnotatedFunction<any>[] = []; // Initialize an array to hold actions.

  // Check if a specific environment variable is set, indicating access to certain functionality.
  if (process.env["TAVILY_API_KEY"]) {
    actions.push(researchAction); // Add the research action to the actions array if the condition is true.
  }

  // Instantiate CopilotBackend with the actions defined above.
  const copilotKit = new CopilotBackend({
    actions: actions,
  });

  // Use the CopilotBackend instance to generate a response for the incoming request using an OpenAIAdapter.
  return copilotKit.response(req, new OpenAIAdapter());
}
將 PowerPoint 應用程式與 CopilotKit 前端集成
讓我們先導入/[root]/src/app/components/Slide.tsx檔案頂部的useMakeCopilotActionable掛鉤。
import { useMakeCopilotActionable } from "@copilotkit/react-core";在 Slide 函數中,新增以下程式碼,該程式碼使用useMakeCopilotActionable掛鉤來設定一個名為updateSlide的操作,該操作具有特定參數以及根據提供的值更新投影片的實作。
useMakeCopilotActionable({
        // Defines the action name. This is a unique identifier for the action within the application.
        name: "updateSlide",
        // Describes what the action does. In this case, it updates the current slide.
        description: "Update the current slide.",
        // Details the arguments that the action accepts. Each argument has a name, type, description, and a flag indicating if it's required.
        argumentAnnotations: [
        {
            name: "title", // The argument name.
            type: "string", // The data type of the argument.
            description: "The title of the slide. Should be a few words long.", // Description of the argument.
            required: true, // Indicates that this argument must be provided for the action to execute.
        },
        {
            name: "content",
            type: "string",
            description: "The content of the slide. Should generally consists of a few bullet points.",
            required: true,
        },
        {
            name: "backgroundImageDescription",
            type: "string",
            description: "What to display in the background of the slide. For example, 'dog', 'house', etc.",
            required: true,
        },
        {
            name: "spokenNarration",
            type: "string",
            description: "The spoken narration for the slide. This is what the user will hear when the slide is shown.",
            required: true,
        },
        ],
        // The implementation of the action. This is a function that will be called when the action is executed.
        implementation: async (title, content, backgroundImageDescription, spokenNarration) => {
        // Calls a function passed in through props to partially update the slide with new values for the specified properties.
        props.partialUpdateSlide({
            title,
            content,
            backgroundImageDescription,
            spokenNarration,
        });
        },
    }, [props.partialUpdateSlide]); // Dependencies array for the custom hook or function. This ensures that the action is re-initialized only when `props.partialUpdateSlide` changes.
之後,請前往/[root]/src/app/components/Presentation.tsx檔案並使用下面的程式碼匯入頂部的 CopilotKit 前端套件。
import { useCopilotContext } from "@copilotkit/react-core";
import { CopilotTask } from "@copilotkit/react-core";
import {
  useMakeCopilotActionable,
  useMakeCopilotReadable
} from "@copilotkit/react-core";在演示函數中,加入以下程式碼,該程式碼使用useMakeCopilotReadable掛鉤加入Slides和currentSlide幻燈片陣列作為應用程式內聊天機器人的上下文。掛鉤使副駕駛可以讀取簡報中的整個幻燈片集合以及當前幻燈片的資料。
useMakeCopilotReadable("These are all the slides: " + JSON.stringify(slides));
  useMakeCopilotReadable(
    "This is the current slide: " + JSON.stringify(currentSlide)
);在useMakeCopilotReadable掛鉤下方,新增以下程式碼,該程式碼使用useCopilotActionable掛鉤來設定名為appendSlide的操作,其中包含說明和加入多張幻燈片的實作函數。
useMakeCopilotActionable(
        {
          // Defines the action's metadata.
          name: "appendSlide", // Action identifier.
          description: "Add a slide after all the existing slides. Call this function multiple times to add multiple slides.",
          // Specifies the arguments that the action takes, including their types, descriptions, and if they are required.
          argumentAnnotations: [
            {
              name: "title", // The title of the new slide.
              type: "string",
              description: "The title of the slide. Should be a few words long.",
              required: true,
            },
            {
              name: "content", // The main content or body of the new slide.
              type: "string",
              description: "The content of the slide. Should generally consist of a few bullet points.",
              required: true,
            },
            {
              name: "backgroundImageDescription", // Description for fetching or generating the background image of the new slide.
              type: "string",
              description: "What to display in the background of the slide. For example, 'dog', 'house', etc.",
              required: true,
            },
            {
              name: "spokenNarration", // Narration text that will be read aloud during the presentation of the slide.
              type: "string",
              description: "The text to read while presenting the slide. Should be distinct from the slide's content, and can include additional context, references, etc. Will be read aloud as-is. Should be a few sentences long, clear, and smooth to read.",
              required: true,
            },
          ],
          // The function to execute when the action is triggered. It creates a new slide with the provided details and appends it to the existing slides array.
          implementation: async (title, content, backgroundImageDescription, spokenNarration) => {
            const newSlide: SlideModel = { // Constructs the new slide object.
              title,
              content,
              backgroundImageDescription,
              spokenNarration,
            };

            // Updates the slides state by appending the new slide to the end of the current slides array.
            setSlides((slides) => [...slides, newSlide]);
          },
        },
        [setSlides] // Dependency array for the hook. This action is dependent on the `setSlides` function, ensuring it reinitializes if `setSlides` changes.
);在上面的程式碼下方,定義一個名為context的變數,該變數使用名為useCopilotContext的自訂掛鉤從 copilot 上下文中檢索當前上下文。
const context = useCopilotContext();之後,定義一個名為generateSlideTask的函數,它包含一個名為CopilotTask的類別。 CopilotTask類別定義用於產生與簡報的整體主題相關的新投影片的指令
const generateSlideTask = new CopilotTask({
   instructions: "Make the next slide related to the overall topic of the presentation. It will be inserted after the current slide. Do NOT carry any research",
});然後在上面的程式碼下面初始化一個名為generateSlideTaskRunning的狀態變數,預設值為false。
const [generateSlideTaskRunning, **setGenerateSlideTaskRunning**] = useState(false);之後,使用下面的程式碼更新簡報元件中的操作按鈕,以透過新增、刪除和導覽投影片來新增動態互動。
// The JSX structure for the Presentation component.
    return (
        <div className="relative">
        {/* Renders the current slide using a Slide component with props for the slide data and a method to update it. */}
        <Slide slide={currentSlide} partialUpdateSlide={updateCurrentSlide} />

        {/* Container for action buttons positioned at the top left corner of the relative parent */}
        <div className="absolute top-0 left-0 mt-6 ml-4 z-30">
            {/* ActionButton to add a new slide. It is disabled when a generateSlideTask is running to prevent concurrent modifications. */}
            <ActionButton
            disabled={generateSlideTaskRunning}
            onClick={() => {
                const newSlide: SlideModel = {
                title: "Title",
                content: "Body",
                backgroundImageDescription: "random",
                spokenNarration: "The speaker's notes for this slide.",
                };
                // Inserts the new slide immediately after the current slide and updates the slide index to point to the new slide.
                setSlides((slides) => [
                ...slides.slice(0, currentSlideIndex + 1),
                newSlide,
                ...slides.slice(currentSlideIndex + 1),
                ]);
                setCurrentSlideIndex((i) => i + 1);
            }}
            className="rounded-r-none"
            >
            <PlusIcon className="h-6 w-6" />
            </ActionButton>

            {/* ActionButton to generate a new slide based on the current context, also disabled during task running. */}
            <ActionButton
            disabled={generateSlideTaskRunning}
            onClick={async () => {
                setGenerateSlideTaskRunning(true); // Indicates the task is starting.
                await generateSlideTask.run(context); // Executes the task with the current context.
                setGenerateSlideTaskRunning(false); // Resets the flag when the task is complete.
            }}
            className="rounded-l-none ml-[1px]"
            >
            <SparklesIcon className="h-6 w-6" />
            </ActionButton>
        </div>

        {/* Container for action buttons at the top right, including deleting the current slide and potentially other actions. */}
        <div className="absolute top-0 right-0 mt-6 mr-24">
            {/* ActionButton for deleting the current slide, disabled if a task is running or only one slide remains. */}
            <ActionButton
            disabled={generateSlideTaskRunning || slides.length === 1}
            onClick={() => {
                console.log("delete slide");
                // Removes the current slide and resets the index to the beginning as a simple handling strategy.
                setSlides((slides) => [
                ...slides.slice(0, currentSlideIndex),
                ...slides.slice(currentSlideIndex + 1),
                ]);
                setCurrentSlideIndex((i) => 0);
            }}
            className="ml-5 rounded-r-none"
            >
            <TrashIcon className="h-6 w-6" />
            </ActionButton>
        </div>

        {/* Display showing the current slide index and the total number of slides. */}
        <div
            className="absolute bottom-0 right-0 mb-20 mx-24 text-xl"
            style={{
            textShadow: "1px 1px 0 #ddd, -1px -1px 0 #ddd, 1px -1px 0 #ddd, -1px 1px 0 #ddd",
            }}
        >
            Slide {currentSlideIndex + 1} of {slides.length}
        </div>

        {/* Navigation buttons to move between slides, disabled based on the slide index or if a task is running. */}
        <div className="absolute bottom-0 right-0 mb-6 mx-24">
            {/* Button to move to the previous slide, disabled if on the first slide or a task is running. */}
            <ActionButton
            className="rounded-r-none"
            disabled={generateSlideTaskRunning || currentSlideIndex === 0}
            onClick={() => {
                setCurrentSlideIndex((i) => i - 1);
            }}
            >
            <BackwardIcon className="h-6 w-6" />
            </ActionButton>
            {/* Button to move to the next slide, disabled if on the last slide or a task is running. */}
            <ActionButton
            className="mr-[1px] rounded-l-none"
            disabled={generateSlideTaskRunning || currentSlideIndex + 1 === slides.length}
            onClick={async () => {
                setCurrentSlideIndex((i) => i + 1);
            }}
            >
            <ForwardIcon className="h-6 w-6" />
            </ActionButton>
        </div>
        </div>
);現在讓我們轉到/[root]/src/app/page.tsx文件,使用下面的程式碼匯入 CopilotKit 前端包和文件頂部的樣式。
import {
  CopilotKit,
} from "@copilotkit/react-core";
import { CopilotSidebar } from "@copilotkit/react-ui";
import "@copilotkit/react-ui/styles.css";
import "@copilotkit/react-textarea/styles.css";然後使用CopilotKit和CopilotSidebar來包裝Presentation元件,如下所示。
export default function AIPresentation() {
return (
<CopilotKit url="/api/copilotkit/">
<CopilotSidebar
instructions="Help the user create and edit a powerpoint-style presentation. IMPORTANT NOTE: SOMETIMES you may want to research a topic, before taking further action. BUT FIRST ASK THE USER if they would like you to research it. If they answer 'no', do your best WITHOUT researching the topic first."
defaultOpen={true}
labels={{
title: "Presentation Copilot",
initial:
"Hi you! 👋 I can help you create a presentation on any topic.",
}}
clickOutsideToClose={false}
>
<Presentation />
</CopilotSidebar>
</CopilotKit>
);
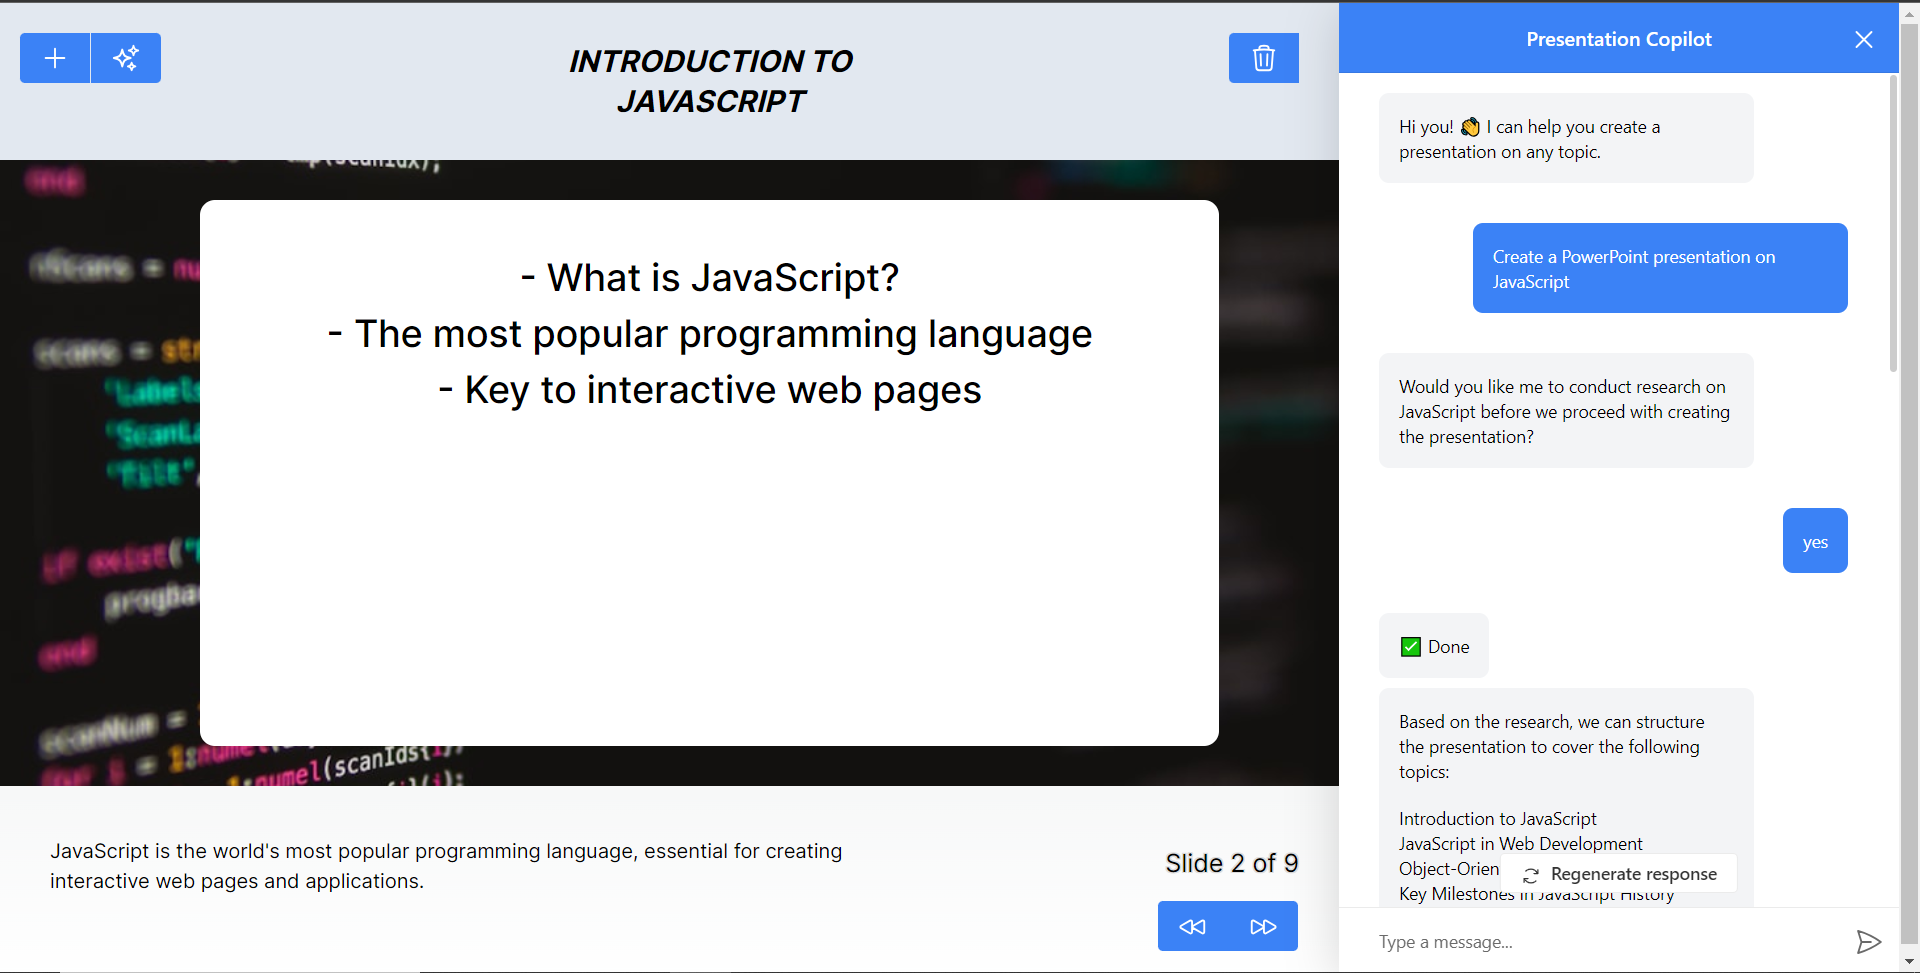
}之後,執行開發伺服器並導航到 http://localhost:3000/。您應該會看到應用程式內聊天機器人已整合到 PowerPoint Web 應用中。
最後,給右側的聊天機器人一個提示,例如“在 JavaScript 上建立 PowerPoint 簡報”,聊天機器人將開始產生回應,完成後,使用底部的前進按鈕瀏覽產生的幻燈片。
注意:如果聊天機器人沒有立即產生投影片,請根據其回應給予適當的後續提示。
結論
總而言之,您可以使用 CopilotKit 建立應用內 AI 聊天機器人,該機器人可以查看當前應用程式狀態並在應用程式內執行操作。 AI 聊天機器人可以與您的應用程式前端、後端和第三方服務對話。
完整的原始碼:https://github.com/TheGreatBonnie/aipoweredpowerpointapp
1) --- 會變成分隔線(上一行必須是空白)
2) # 會變成一級標題
3) ## 會變成二級標題
4) ### 會變成三級標題
5) **粗體文字**會顯示粗體文字
6) ```當第一行與最後一行會顯示程式碼
7) 請搜尋 Markdown 語法,了解各種格式