🔧 阿川の電商水電行

長話短說
在本文中,您將學習如何使用 Nextjs、CopilotKit 和 OpenAI 建立人工智慧驅動的 PowerPoint 應用程式。我們將涵蓋:
-
利用 ChatGPT 建立您的 PowerPoint 簡報📊
-
與您的 PowerPoint 簡報聊天💬
-
將音訊和圖像新增至您的 PowerPoint 簡報🔉

CopilotKit:建構深度整合的應用內人工智慧聊天機器人💬
CopilotKit 是開源人工智慧副駕駛平台。我們可以輕鬆地將強大的人工智慧聊天機器人整合到您的 React 應用程式中。完全可定制和深度集成。
{% cta https://github.com/CopilotKit/CopilotKit %} Star CopilotKit ⭐️ {% endcta %}
*在布胡布上
現在回到文章。
先決條件
要開始學習本教程,您需要在電腦上安裝以下軟體:
-
文字編輯器(例如 Visual Studio Code)
-
Node.js
-
套件管理器
使用 NextJS 建立 PowerPoint 應用程式前端
步驟 1:使用下列指令 Git 複製 PowerPoint 應用程式樣板。
git clone https://github.com/TheGreatBonnie/aipoweredpowerpointpresentation步驟 2:在文字編輯器上開啟 PowerPoint 應用程式樣板,並使用下列指令安裝所有專案相依性。
npm install步驟3: • 前往根目錄****並建立一個名為.env.local的檔案。在該文件中,加入下面保存您的 ChatGPT API 金鑰的環境變數。
OPENAI_API_KEY="Your ChatGPT API Key”步驟4:在命令列執行命令npm run dev 。導航至 http://localhost:3000/,您應該會看到 PowerPoint 應用程式前端。

建立 PowerPoint 投影片功能
步驟 1:前往/[root]/src/app/components ,並建立一個名為present.tsx的檔案。然後在文件頂部導入以下相依性。
"use client";

import { useCopilotContext } from "@copilotkit/react-core";
import { CopilotTask } from "@copilotkit/react-core";
import {
  useMakeCopilotActionable,
  useMakeCopilotReadable,
} from "@copilotkit/react-core";
import { useEffect, useState } from "react";
import "./../presentation/styles.css";
import Markdown from "react-markdown";
步驟 2:定義一個名為 Slide 的 TypeScript 接口,其中包含 PowerPoint 簡報投影片的標題和內容屬性。
// Define slide interface
interface Slide {
  title: string;
  content: string;

}
步驟 3:建立一個名為Presentation函數,並使用usestate 初始化名為allSlides和currentSlideIndex狀態變數usestate.變數allSlides將保存幻燈片陣列,而currentSlideIndex將保存目前幻燈片索引。
export function Presentation (){
  const [allSlides, setAllSlides] = useState<Slide[]>([]);
  const [currentSlideIndex, setCurrentSlideIndex] = useState<number>(0);
}
步驟 4:在Presentation函數中,使用useMakeCopilotReadable掛鉤新增投影片的allSlides陣列作為應用程式內聊天機器人的上下文。
useMakeCopilotReadable("Powerpoint presentation slides: " + JSON.stringify(allSlides));步驟 5:使用useMakeCopilotActionable掛鉤設定一個名為createNewPowerPointSlide操作,其中包含描述和更新allSlides和currentSlideIndex狀態變數的實作函數,如下所示。
useMakeCopilotActionable(
        {
          name: "createNewPowerPointSlide",
          description: "create slides for a powerpoint presentation. Call this function multiple times to present multiple slides.",
          argumentAnnotations: [
            {
              name: "slideTitle",
              type: "string",
              description: "The topic to display in the presentation slide. Use simple markdown to outline your speech, like a headline.",
              required: true,
            },
            {
              name: "content",
              type: "string",
              description: "The content to display in the presentation slide. Use simple markdown to outline your speech, like lists, paragraphs, etc.",
              required: true
            },

          ],

          implementation: async (newSlideTitle, newSlideContent) => {
            const newSlide: Slide = { title: newSlideTitle, content: newSlideContent};
            const updatedSlides = [...allSlides, newSlide];
            setAllSlides(updatedSlides);
            setCurrentSlideIndex(updatedSlides.length - 1);

          },
        },
        [],
);步驟6:定義一個名為displayCurrentSlide的函數,用於在前端顯示目前投影片索引。
// Display current slide
      const displayCurrentSlide = () => {
        const slide = allSlides[currentSlideIndex];
        return slide ? (

          <div
          className="h-screen flex flex-col justify-center items-center text-5xl text-white bg-cover bg-center bg-no-repeat p-10 text-center"
          style={{
              textShadow: "1px 1px 0 #000, -1px -1px 0 #000, 1px -1px 0 #000, -1px 1px 0 #000",
            }}
          >
          <Markdown className="markdown">{slide.title}</Markdown>
          <Markdown className="markdown">{slide.content}</Markdown>
        </div>
        ) : (
          <div className="h-screen flex flex-col justify-center items-center text-5xl text-white bg-cover bg-center bg-no-repeat p-10 text-center">
            No Slide To Display
          </div>
        );
      };
步驟 7: 定義一個名為 addSlide 的函數,該函數包含一個名為 CopilotTask 的類別。 CopilotTask 類別定義新增投影片的功能。
// Add new slide function
  const addSlide = new CopilotTask({
    instructions: "create a new slide",
    actions: [
      {
        name: "newSlide",
        description: "Make a new slide related to the current topic.",
        argumentAnnotations: [
          {
            name: "title",
            type: "string",
            description: "The title to display in the presentation slide.",
            required: true,
          },
          {
            name: "content",
            type: "string",
            description: "The title to display in the presentation slide.",
            required: true,
          },
        ],

        implementation: async (newSlideTitle,newSlideContent,) => {
          const newSlide: Slide = {title: newSlideTitle,content: newSlideContent,};
          const updatedSlides = [...allSlides, newSlide];
          setAllSlides(updatedSlides);
          setCurrentSlideIndex(updatedSlides.length - 1);
        },
      },
    ],
  });

  const context = useCopilotContext();

  const [randomSlideTaskRunning, setRandomSlideTaskRunning] = useState(false);
步驟 8:定義兩個函數 goBack 和 goForward。 goBack 函數定義導覽到上一張投影片的功能,而 goForward 函數定義導覽到下一張投影片的功能。
// Button click handlers for navigation
      const goBack = () => setCurrentSlideIndex((prev) => Math.max(0, prev - 1));
      const goForward = () => setCurrentSlideIndex((prev) => Math.min(allSlides.length - 1, prev + 1));
步驟9:傳回一個呼叫displayCurrentSlide函數的元件,並包含呼叫addSlide、goBack和goForward函數的按鈕。
return (
        <div>
          {displayCurrentSlide()}
          <button
            disabled={randomSlideTaskRunning}
            className={`absolute bottom-12 left-0 mb-4 ml-4 bg-blue-500 text-white font-bold py-2 px-4 rounded
            ${randomSlideTaskRunning ? "opacity-50 cursor-not-allowed" : "hover:bg-blue-700"}`}
            onClick={async () => {
              try {
                setRandomSlideTaskRunning(true);
                await addSlide.run(context);
              } finally {
                setRandomSlideTaskRunning(false);
              }
            }}
          >
            {randomSlideTaskRunning ? "Loading slide..." : "Add Slide +"}
          </button>
          <button
          className={`absolute bottom-0 left-0 mb-4 ml-4 bg-blue-500 text-white font-bold py-2 px-4 rounded
          ${randomSlideTaskRunning ? "opacity-50 cursor-not-allowed" : "hover:bg-blue-700"}`}
          onClick={goBack}>Prev</button>
          <button
          className={`absolute bottom-0 left-20 mb-4 ml-4 bg-blue-500 text-white font-bold py-2 px-4 rounded
          ${randomSlideTaskRunning ? "opacity-50 cursor-not-allowed" : "hover:bg-blue-700"}`}
          onClick={goForward}>Next</button>
        </div>
      );
步驟10:在Presentation資料夾中,將以下程式碼加入page.tsx檔案。
"use client";

import {
  CopilotKit
} from "@copilotkit/react-core";
import { CopilotSidebar } from "@copilotkit/react-ui";
import {Presentation} from "../components/present";
import "./styles.css";

let globalAudio: any = undefined;
let globalAudioEnabled = false;

const Demo = () => {
  return (
    <CopilotKit url="/api/copilotkit/openai">
      <CopilotSidebar
        defaultOpen={true}
        labels={{
          title: "Presentation Copilot",
          initial: "Hi you! 👋 I can give you a presentation on any topic.",
        }}
        clickOutsideToClose={false}
        onSubmitMessage={async (message) => {
          if (!globalAudioEnabled) {
            globalAudio.play();
            globalAudio.pause();
          }
          globalAudioEnabled = true;
        }}
      >
        <Presentation/>
      </CopilotSidebar>
    </CopilotKit>
  );
};

export default Demo;
步驟11:導覽至http://localhost:3000/,點擊「開始」按鈕,您將被重定向到與聊天機器人整合的演示頁面,如下所示。
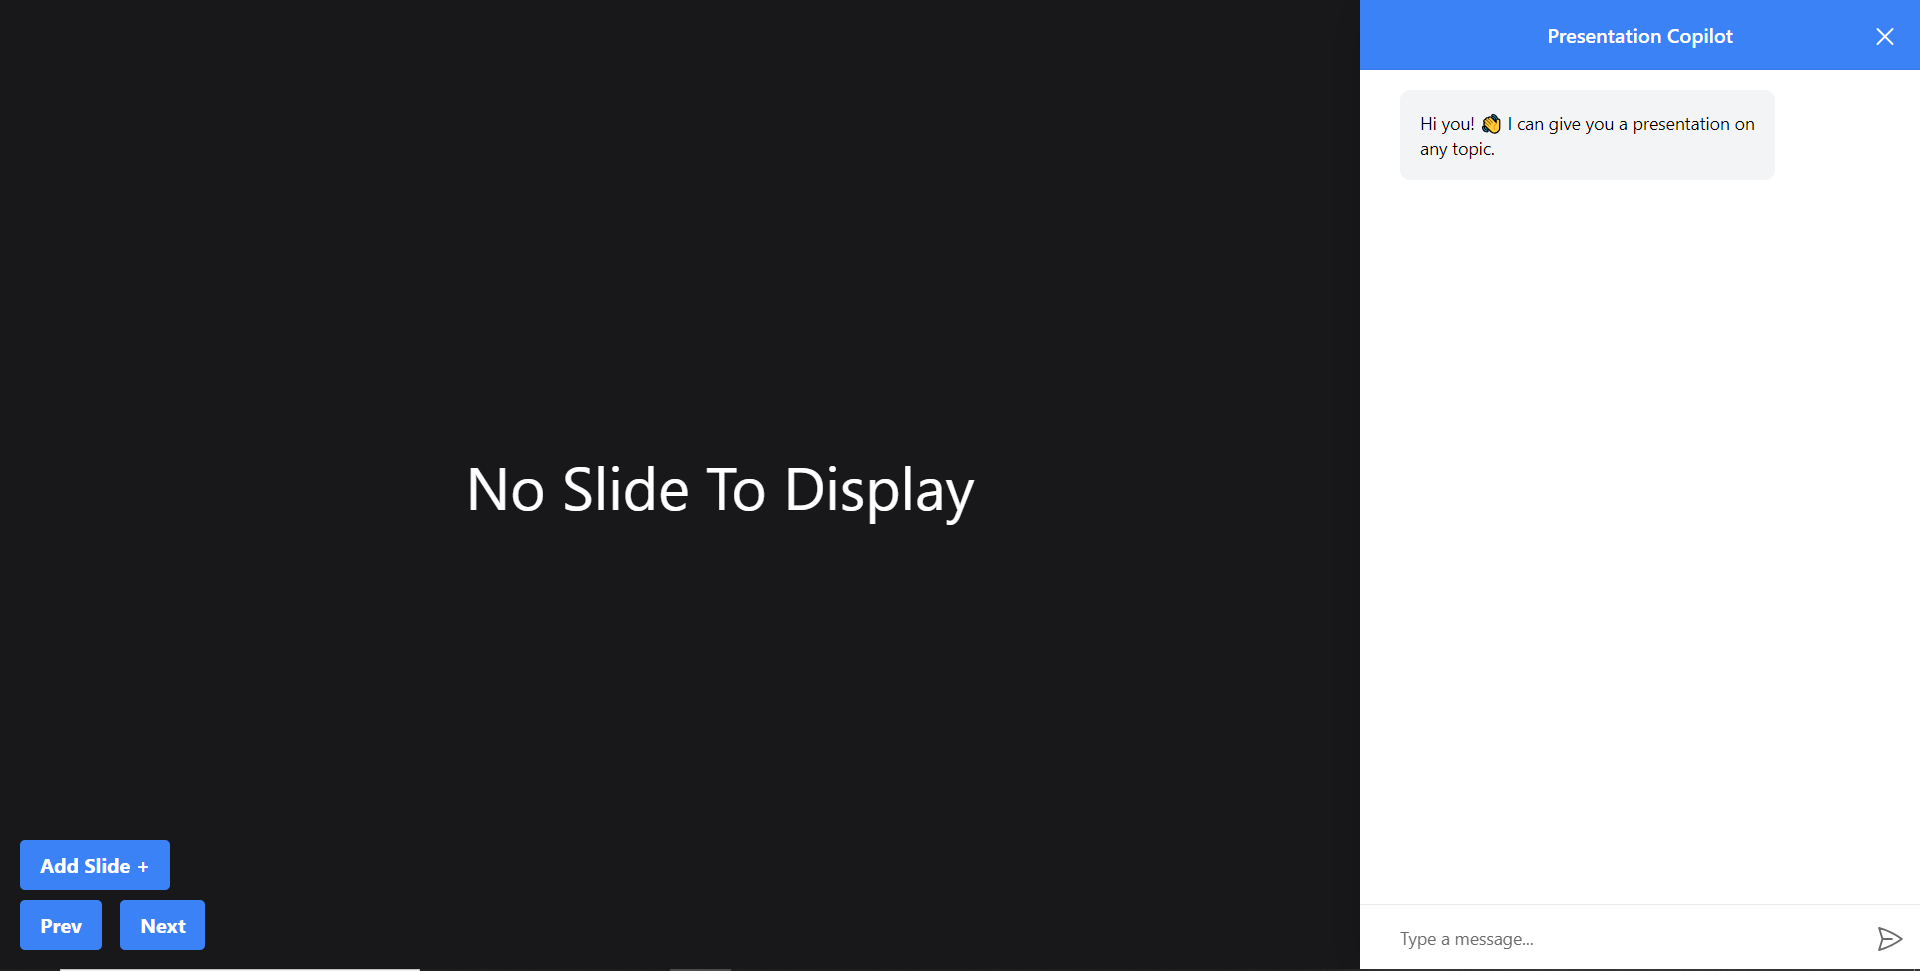
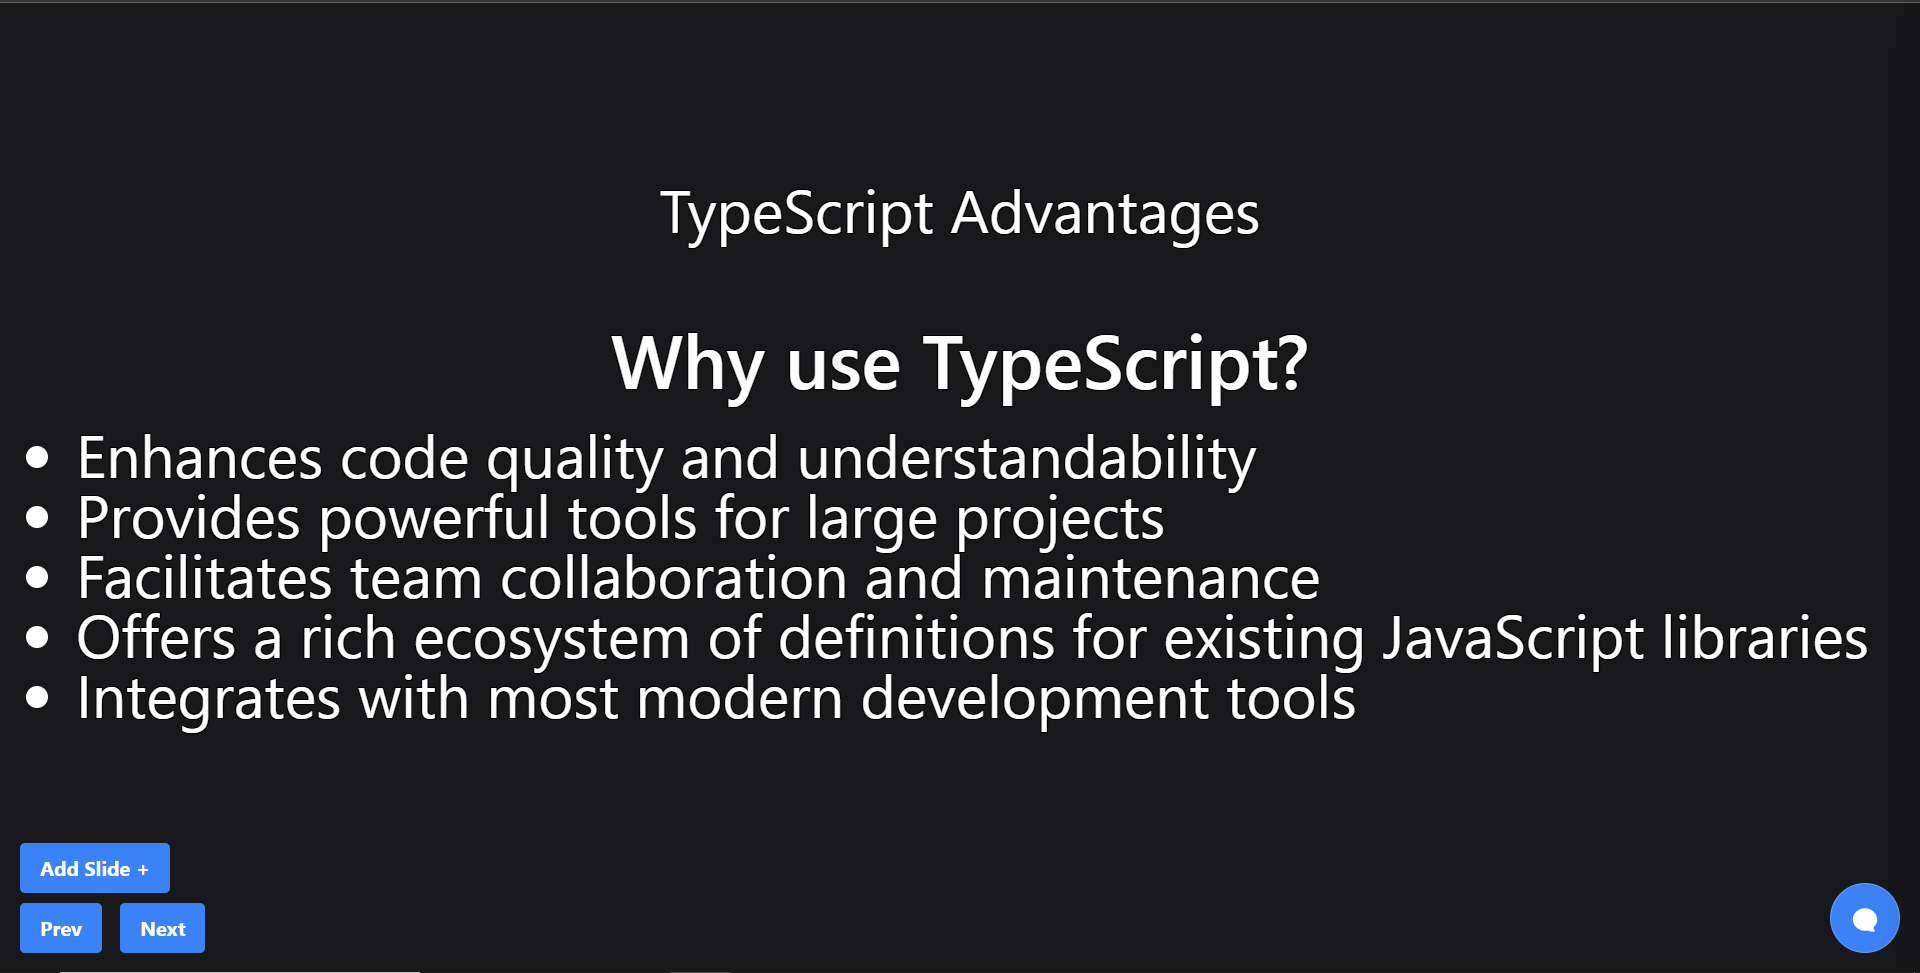
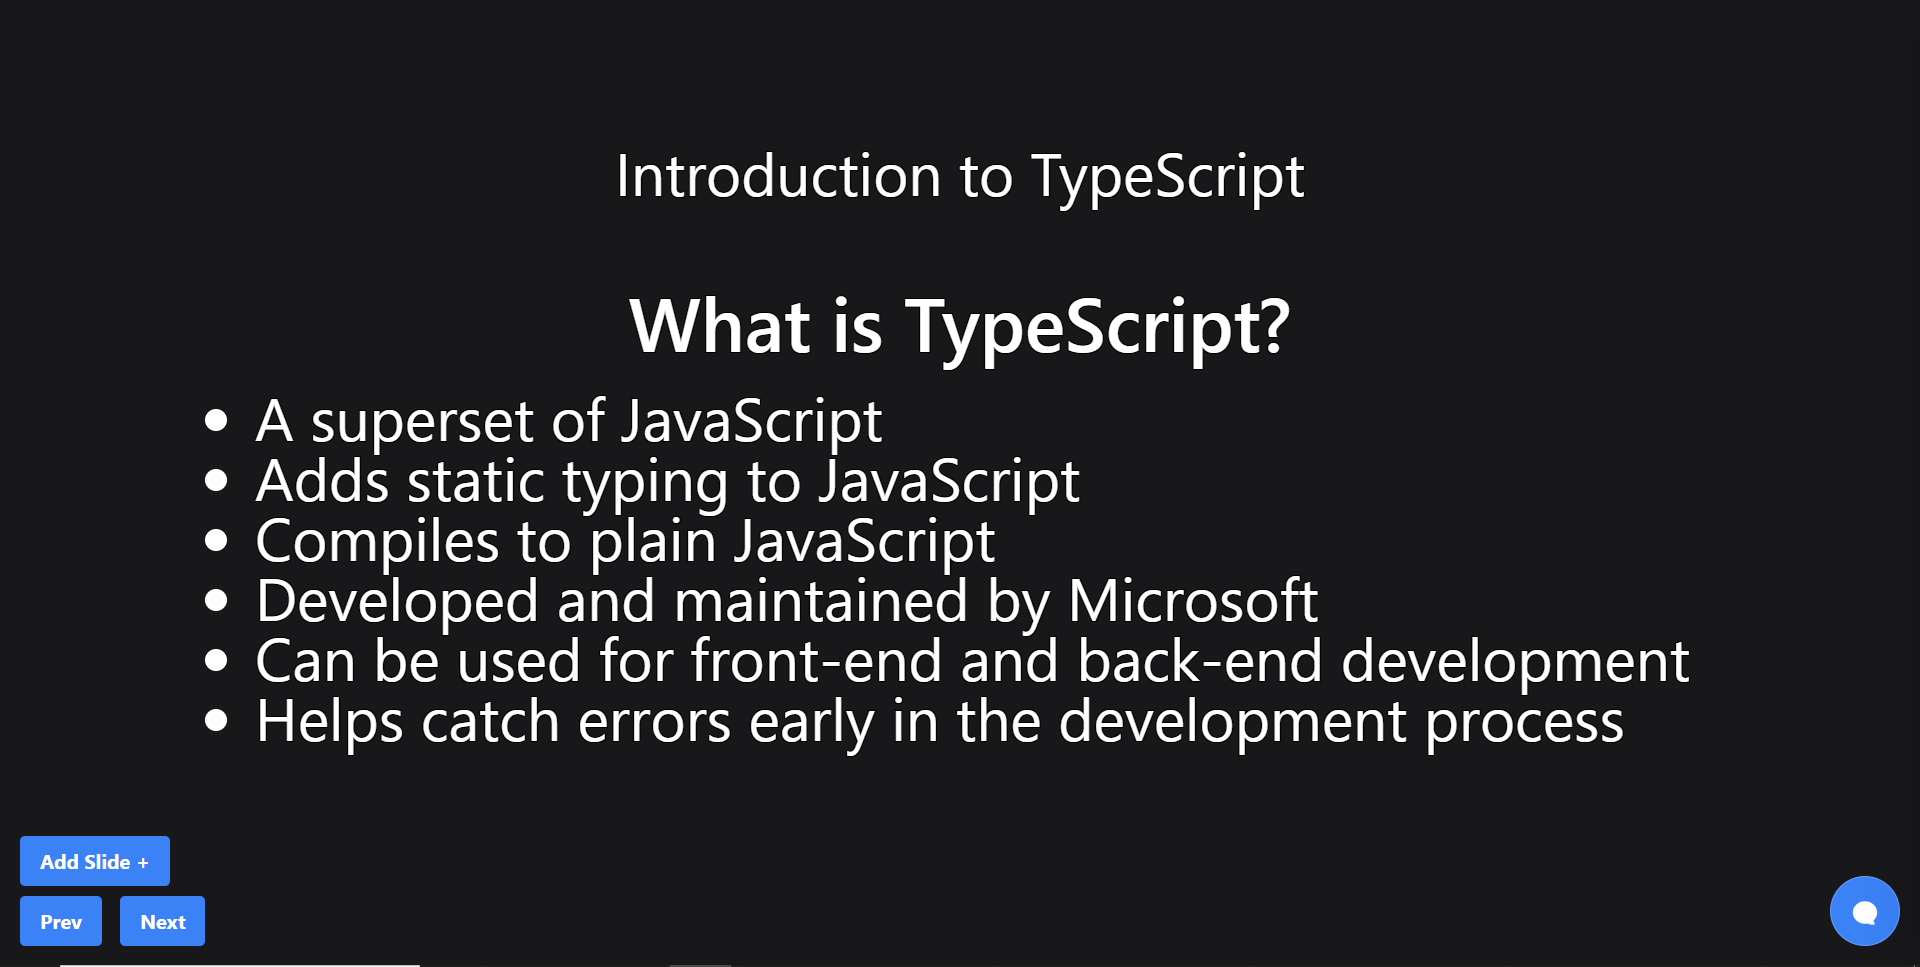
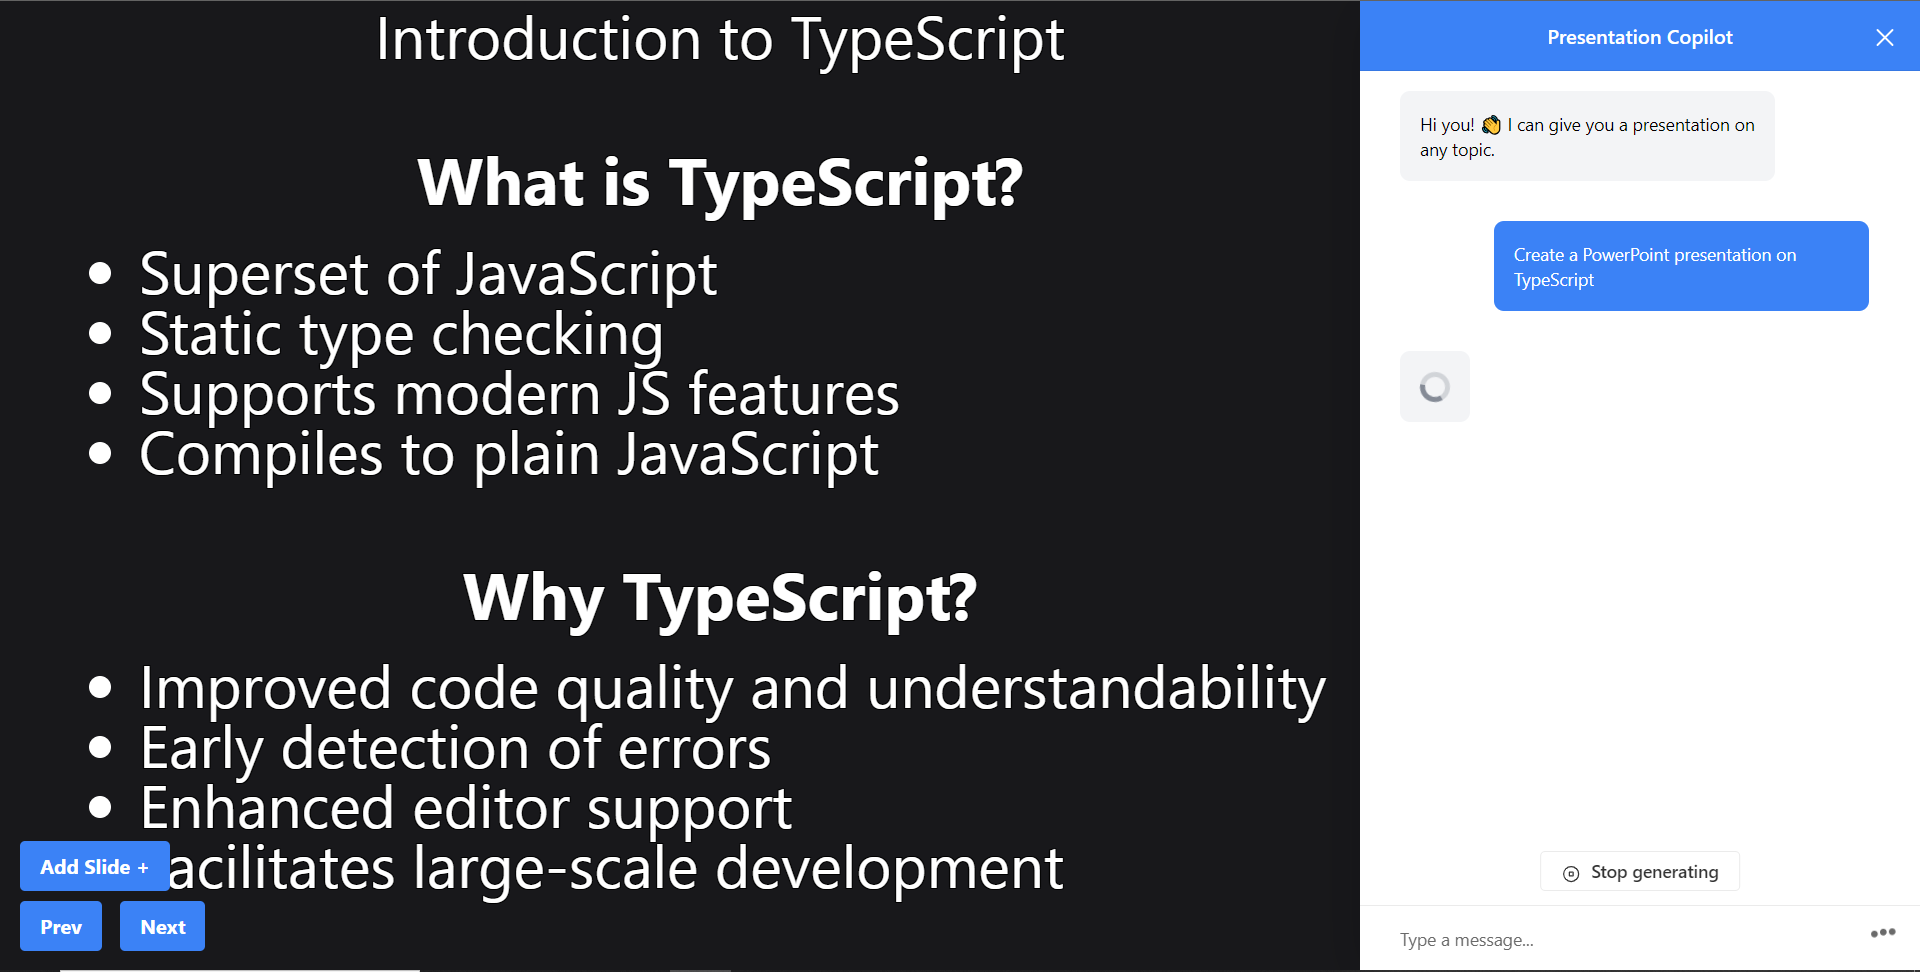
步驟12:給右側的聊天機器人一個提示,例如「在TypeScript上建立PowerPoint簡報」聊天機器人將開始產生回應,完成後,它將在頁面左側顯示產生的PowerPoint投影片,如下圖所示

步驟 13:關閉聊天機器人窗口,然後按一下新增投影片 + 按鈕將新投影片新增至 PowerPoint 簡報中,如下所示。
第 14 步:按一下「上一張」按鈕,您將導覽至上一張投影片。如果您按一下「下一步」按鈕,您將導覽至下一張投影片。
建立 PowerPoint 投影片 自動語音功能
步驟1:在present.tsx檔案中,宣告一個名為globalAudio的變數,如下所示。
let globalAudio: any = undefined;步驟2:在Presentation元件中,宣告一個useEffect鉤子,用一個新的Audio物件初始化globalAudio ,如下所示。
useEffect(() => {
        if (!globalAudio) {
          globalAudio = new Audio();
        }
      }, []);
步驟 3:更新 useMakeCopilotActionable 掛鉤,透過 API 將 PowerPoint 幻燈片文字轉換為語音,如下所示。
useMakeCopilotActionable(
        {
          name: "createNewPowerPointSlide",
          description: "create slides for a powerpoint presentation. Call this function multiple times to present multiple slides.",
          argumentAnnotations: [
            {
              name: "slideTitle",
              type: "string",
              description: "The topic to display in the presentation slide. Use simple markdown to outline your speech, like a headline.",
              required: true,
            },
            {
              name: "content",
              type: "string",
              description: "The content to display in the presentation slide. Use simple markdown to outline your speech, like lists, paragraphs, etc.",
              required: true
            },

            {
                name: "speech",
                type: "string",
                description: "An informative speech about the current slide.",
                required: true,
            },
          ],

          implementation: async (newSlideTitle, newSlideContent, speech) => {
            const newSlide: Slide = { title: newSlideTitle, content: newSlideContent };
            const updatedSlides = [...allSlides, newSlide];
            setAllSlides(updatedSlides);
            setCurrentSlideIndex(updatedSlides.length - 1);

            const encodedText = encodeURIComponent(speech);
            const url = `/api/tts?text=${encodedText}`;
            globalAudio.src = url;
            await globalAudio.play();
            await new Promise<void>((resolve) => {
                globalAudio.onended = function () {
                resolve();
                };
            });
            await new Promise((resolve) => setTimeout(resolve, 500));
          },
        },
        [],
      );
步驟 4:更新 addSlide 函數,透過 API 將新的 PowerPoint 投影片文字轉換為語音,如下所示。
// Add new slide function
      const addSlide = new CopilotTask({
        instructions: "create a new slide",
        actions: [
          {
          name: "newSlide",
          description: "Make a new slide related to the current topic.",
          argumentAnnotations: [
            {
              name: "title",
              type: "string",
              description:"The title to display in the presentation slide.",
              required: true,
            },
            {
              name: "content",
              type: "string",
              description:"The title to display in the presentation slide.",
              required: true,
            },

            {
                name: "speech",
                type: "string",
                description: "An informative speech about the current slide.",
                required: true,
            },
          ],

          implementation: async (newSlideTitle, newSlideContent, speech) => {
            const newSlide: Slide = { title: newSlideTitle, content: newSlideContent };
            const updatedSlides = [...allSlides, newSlide];
            setAllSlides(updatedSlides);
            setCurrentSlideIndex(updatedSlides.length - 1);

            const encodedText = encodeURIComponent(speech);
            const url = `/api/tts?text=${encodedText}`;
            globalAudio.src = url;
            await globalAudio.play();
            await new Promise<void>((resolve) => {
                globalAudio.onended = function () {
                resolve();
                };
            });
            await new Promise((resolve) => setTimeout(resolve, 500));
          },
        }
        ]
      });
步驟 5: 再次向聊天機器人發出「在 TypeScript 上建立 PowerPoint 簡報」提示,您應該會聽到簡報投影片的聲音。
建立圖像生成功能
步驟1:在present.tsx檔案中,新增一個名為backgroundImage的新屬性來鍵入介面Slide,如下所示。
// Define slide interface
interface Slide {
  title: string;
  content: string;
  backgroundImage: string;
}
步驟 2:更新 useMakeCopilotActionable 掛鉤以產生 PowerPoint 簡報投影片的圖片。
useMakeCopilotActionable(
        {
          name: "createPowerPointSlides",
          description: "create slides for a powerpoint presentation. Call this function multiple times to present multiple slides.",
          argumentAnnotations: [
            {
              name: "slideTitle",
              type: "string",
              description: "The topic to display in the presentation slide. Use simple markdown to outline your speech, like a headline.",
              required: true,
            },
            {
              name: "content",
              type: "string",
              description: "The content to display in the presentation slide. Use simple markdown to outline your speech, like lists, paragraphs, etc.",
              required: true
            },
            {
                name: "backgroundImage",
                type: "string",
                description: "What to display in the background of the slide (i.e. 'dog' or 'house').",
                required: true,
              },
            {
                name: "speech",
                type: "string",
                description: "An informative speech about the current slide.",
                required: true,
            },
          ],

          implementation: async (newSlideTitle, newSlideContent, newSlideBackgroundImage, speech) => {
            const newSlide: Slide = { title: newSlideTitle, content: newSlideContent, backgroundImage: newSlideBackgroundImage };
            const updatedSlides = [...allSlides, newSlide];
            setAllSlides(updatedSlides);
            setCurrentSlideIndex(updatedSlides.length - 1);

            const encodedText = encodeURIComponent(speech);
            const url = `/api/tts?text=${encodedText}`;
            globalAudio.src = url;
            await globalAudio.play();
            await new Promise<void>((resolve) => {
                globalAudio.onended = function () {
                resolve();
                };
            });
            await new Promise((resolve) => setTimeout(resolve, 500));
          },
        },
        [],
      );
步驟 2:更新 addSlide 函數以產生新的 PowerPoint 簡報投影片的圖片。
步驟3:更新slide.tsx檔案中的Slide元件以透過unsplash.com產生映像
// Add new slide function
      const addSlide = new CopilotTask({
        instructions: "create a new slide",
        functions: [
          {
          name: "newSlide",
          description: "Make a new slide related to the current topic.",
          argumentAnnotations: [
            {
              name: "title",
              type: "string",
              description:"The title to display in the presentation slide.",
              required: true,
            },
            {
              name: "content",
              type: "string",
              description:"The title to display in the presentation slide.",
              required: true,
            },
            {
                name: "backgroundImage",
                type: "string",
                description: "What to display in the background of the slide (i.e. 'dog' or 'house').",
                required: true,
              },
            {
                name: "speech",
                type: "string",
                description: "An informative speech about the current slide.",
                required: true,
            },
          ],

          implementation: async (newSlideTitle, newSlideContent, newSlideBackgroundImage, speech) => {
            const newSlide: Slide = { title: newSlideTitle, content: newSlideContent, backgroundImage: newSlideBackgroundImage };
            const updatedSlides = [...allSlides, newSlide];
            setAllSlides(updatedSlides);
            setCurrentSlideIndex(updatedSlides.length - 1);

            const encodedText = encodeURIComponent(speech);
            const url = `/api/tts?text=${encodedText}`;
            globalAudio.src = url;
            await globalAudio.play();
            await new Promise<void>((resolve) => {
                globalAudio.onended = function () {
                resolve();
                };
            });
            await new Promise((resolve) => setTimeout(resolve, 500));
          },
        }
        ]
      });
步驟 3:更新 displayCurrentSlide 函數以將背景圖像新增至 PowerPoint 簡報投影片中。
// Display current slide
const displayCurrentSlide = () => {
const slide = allSlides[currentSlideIndex];
return slide ? (
<div
className="h-screen flex flex-col justify-center items-center text-5xl text-white bg-cover bg-center bg-no-repeat p-10 text-center"
style={{
backgroundImage: 'url("https://source.unsplash.com/featured/?' + encodeURIComponent(allSlides[currentSlideIndex].backgroundImage) + '")',
textShadow: "1px 1px 0 #000, -1px -1px 0 #000, 1px -1px 0 #000, -1px 1px 0 #000",
}}
>
<Markdown className="markdown">{slide.title}</Markdown>
<Markdown className="markdown">{slide.content}</Markdown>
</div>
) : (
<div className="h-screen flex flex-col justify-center items-center text-5xl text-white bg-cover bg-center bg-no-repeat p-10 text-center">
No Slide To Display
</div>
);
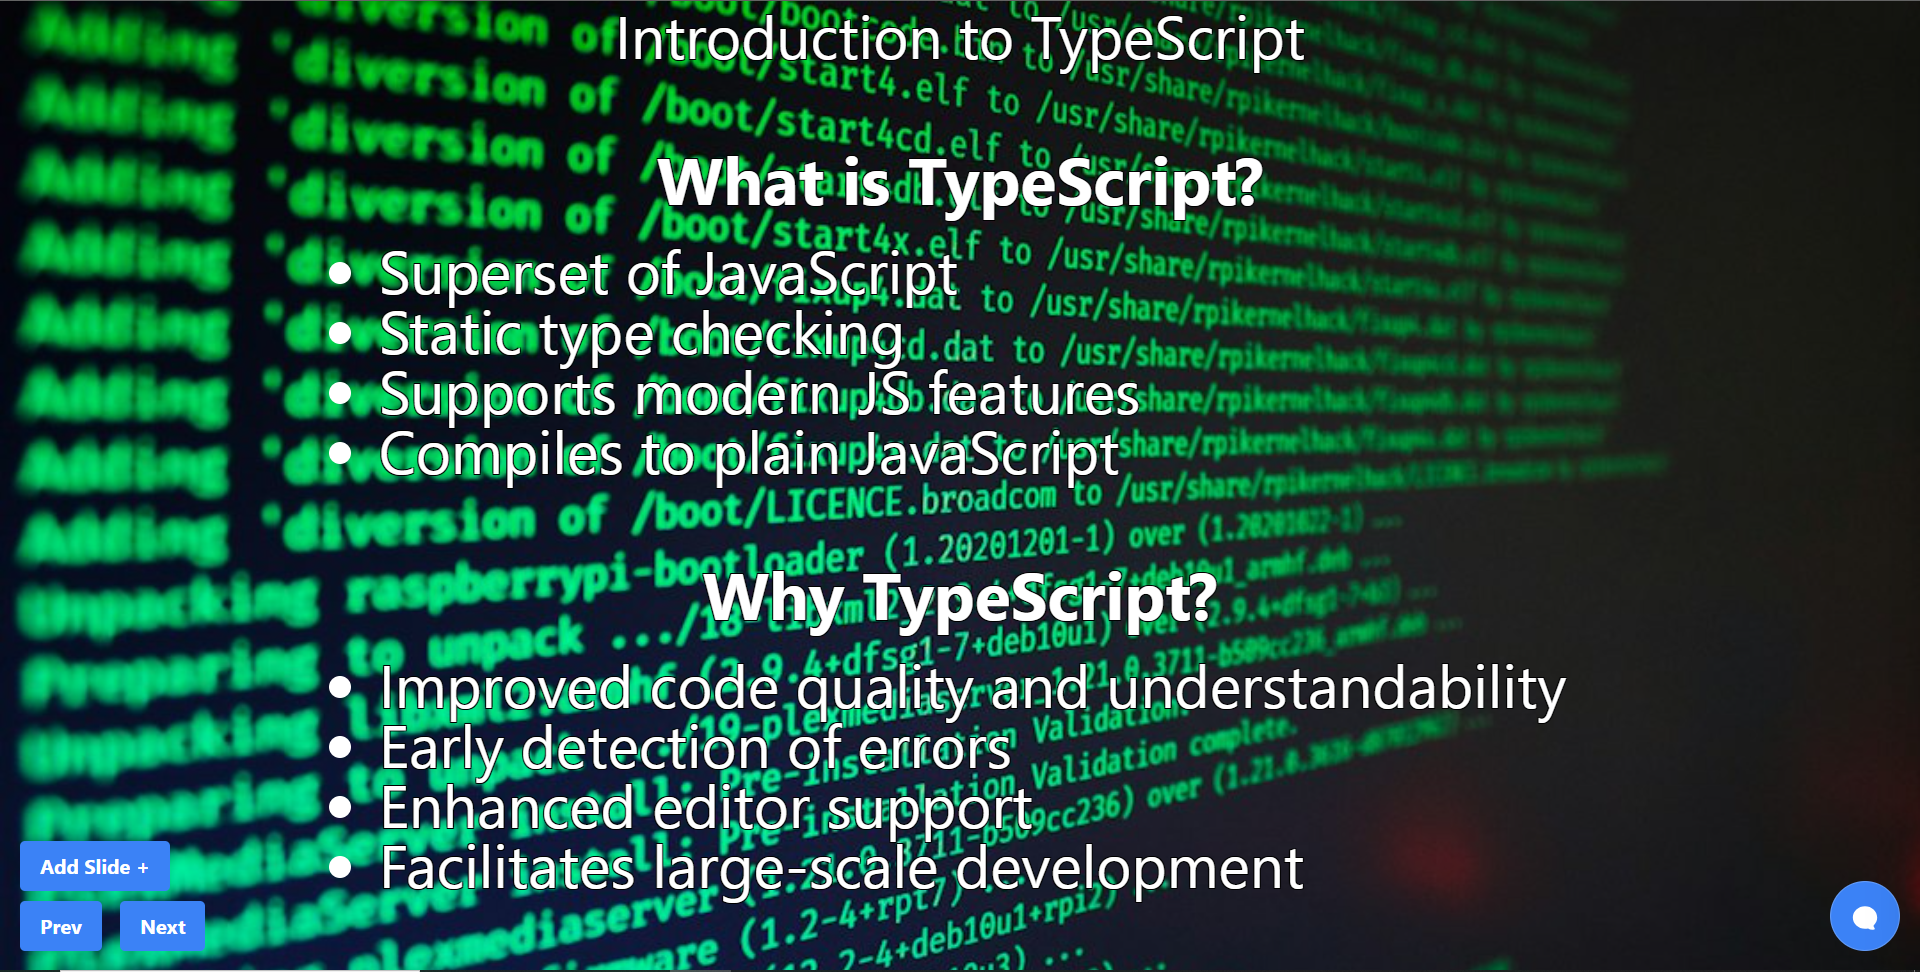
};步驟 4:前往 Web 應用程式,您應該會看到背景圖像已新增至 PowerPoint 投影片中。
結論
總而言之,您可以使用 CopilotKit 建立應用內 AI 聊天機器人,該機器人可以查看當前應用程式狀態並在應用程式內執行操作。 AI 聊天機器人可以與您的應用程式前端、後端和第三方服務對話。
筆記:
-
告訴聊天機器人要寫什麼
-
建立包含文字、圖片和自動語音的幻燈片。
這是全部實作程式碼:
你可以拿程式碼寫文章,一定要截圖。
確保按照邏輯實現的順序寫文章:
- 首先,外部 React 元件(
page.tsx中的HelloWorld元件)
- cover `CopilotKit` and `CopliotSidebar`
- 然後覆蓋
Presentation反應元件而不加入 Copilot 功能
- include the `Slide` react component
-
最後,在建立基本的 React 應用程式後,加入描述 Copilot 特定功能的部分(
useMakeCopilotReadable和useMakeCopilotActionable) -
最後,介紹生成音訊+影像的函數。保持描述非常簡短,只需說“我們透過瀏覽器audio-gen API產生音訊”和“我們透過
unsplash.com產生圖像”
執行演示:
-
請參閱文件/貢獻指南,以了解如何執行 CopilotKit 儲存庫中包含的範例應用程式:https://docs.copilotkit.ai/contribute/quickstart-contribute
-
執行
-
前往
/helloworld頁面
結論
總而言之,您可以使用 CopilotKit 建立應用內 AI 聊天機器人,該機器人可以查看當前應用程式狀態並在應用程式內執行操作。 AI 聊天機器人可以與您的應用程式前端、後端和第三方服務對話。
對於完整的源程式碼:
https://github.com/TheGreatBonnie/aipoweredpresentation
感謝@theGreatBonnie 在本文中所做的出色工作。
別忘了...
{% cta https://github.com/CopilotKit/CopilotKit %} Star CopilotKit ⭐️ {% endcta %}
原文出處:https://dev.to/copilotkit/how-to-build-ai-powered-powerpoint-app-nextjs-openai-copilotkit-ji2
1) --- 會變成分隔線(上一行必須是空白)
2) # 會變成一級標題
3) ## 會變成二級標題
4) ### 會變成三級標題
5) **粗體文字**會顯示粗體文字
6) ```當第一行與最後一行會顯示程式碼
7) 請搜尋 Markdown 語法,了解各種格式