🔧 阿川の電商水電行
多年來我一直在建立和使用人工智慧應用程式。在建立任何人工智慧應用程式時,我使用多個第三方工具和程式庫來簡化整個開發過程。
在這篇部落格中,我策劃了 9 個超級方便但鮮為人知的工具,我用它們來簡化工作。
請隨意為您的專案探索和嘗試這些工具。

-
Composio 👑-人工智慧整合和工具平台

想像一下,您有能力建立自己的 AI 代理並將其無縫整合到 Discord、Trello、Jira 或 Slack 等工具中。這就是 Composio!
它是一個開源平台,可以讓您輕鬆且易於存取地在應用程式中加入 AI 功能。無論您是自訂 AI 代理程式還是將其插入您最喜歡的工具中,Composio 都能滿足您的需求。
Composio 的一些用例:
-
建立編碼代理以優化 Github 儲存庫中的程式碼
-
為您的 Slack 頻道和 Discord 伺服器建立 AI 機器人,它們可以自主與使用者互動並回應他們的查詢。
-
AI代理提供報告或文件摘要
開始使用 Composio。
pip install composio-core新增 GitHub 整合。
composio add githubComposio 為您管理使用者身份驗證和授權。
以下是使用 Composio 的 GitHub 整合自動為 GitHub 儲存庫加註星標的範例:
from openai import OpenAI
from composio_openai import ComposioToolSet, App

openai_client = OpenAI(api_key=OPENAI_API_KEY)

# Initialise the Composio Tool Set
composio_toolset = ComposioToolSet(api_key=COMPOSIO_API_KEY)

## Step 4
# Get GitHub tools that are pre-configured
actions = composio_toolset.get_actions(actions=[Action.GITHUB_ACTIVITY_STAR_REPO_FOR_AUTHENTICATED_USER])

## Step 5
my_task = "Star a repo ComposioHQ/composio on GitHub"

# Create a chat completion request to decide on the action
response = openai_client.chat.completions.create(
model="gpt-4-turbo",
tools=actions, # Passing actions we fetched earlier.
messages=[
    {"role": "system", "content": "You are a helpful assistant."},
    {"role": "user", "content": my_task}
  ]
)
使用此 Python 程式碼建立一個自動為 GitHub 儲存庫加註星標的 AI 代理程式。
查看 Composio文件以了解更多資訊。探索使用 Composio 建構的更高級範例。
{% cta https://dub.composio.dev/FZLK76b %}在 Composio Repo 上加註星標⭐ {% endcta %}
-
Letta - 建立有狀態的 LLM 應用程式

Letta 是您建立由大型語言模型 (LLM) 支援的智慧、有狀態應用程式的首選平台。這就像賦予人工智慧系統記憶,以便它們能夠提供長期、個人化和情境感知的結果。
此外,它是開源且與模型無關的,這意味著您可以整合任何 LLM 並透過自訂工具、長期記憶和外部資料來源對其進行增強。這就像給你的人工智慧一個有記憶的大腦!
您可以建置:
-
需要長期記憶的個人化聊天機器人****
-
連接到任何自訂工具的人工智慧代理
-
人工智慧代理可自動化工作流程,例如管理電子郵件等
開始使用萊塔
安裝 Letta 庫。
pip install letta您可以使用 Letta CLI 建立代理程式。
letta run它將開始建立一個人工智慧代理。
執行letta伺服器來存取這個新建立的AI代理。
letta server讓我們向該代理程式發送訊息。
from letta import create_client

# connect to the server
client = create_client(base_url="http://localhost:8283")

# send a message to the agent
response = client.send_message(
    agent_id="agent-09950586-6313-421c-bf7e-2bba03c30826",
    role="user",
    message="hey!! how are you?"
)使用letta server ,可以建立代理開發環境(ADE)來建立和管理代理。
查看 Letta文件以了解更多資訊。
{% cta https://github.com/letta-ai/letta %}給 Letta Repo 加上星標⭐ {% endcta %}
-
Rasa - 建構對話式人工智慧體驗

Rasa 是一個開源平台,可以讓建立進階對話式 AI 應用程式變得輕而易舉。借助 Rasa,您可以建立真正理解自然語言的智慧聊天機器人和虛擬助理。
它為您提供開發、培訓和部署智慧、情境感知人工智慧助理所需的所有工具和基礎設施,讓您感覺真正像人類一樣。
Rasa 的入門非常簡單。
使用此儲存庫建立程式碼空間。
新增您的 API 金鑰。
RASA_PRO_LICENSE='your_rasa_pro_license_key_here'
OPENAI_API_KEY='your_openai_api_key_here'
從您的檔案載入這些環境變數。
source .env啟動您的 python 環境。
source .venv/bin/activate程式碼空間已準備就緒;您現在可以使用Rasa。要建立您的第一個 CALM 助手,請查看教學課程。
查看 Rasa文件以了解更多資訊。
{% cta https://github.com/RasaHQ/ %}給Rasa Repo加註星標⭐ {% endcta %}
-
Taipy - 建立 AI Web 應用程式
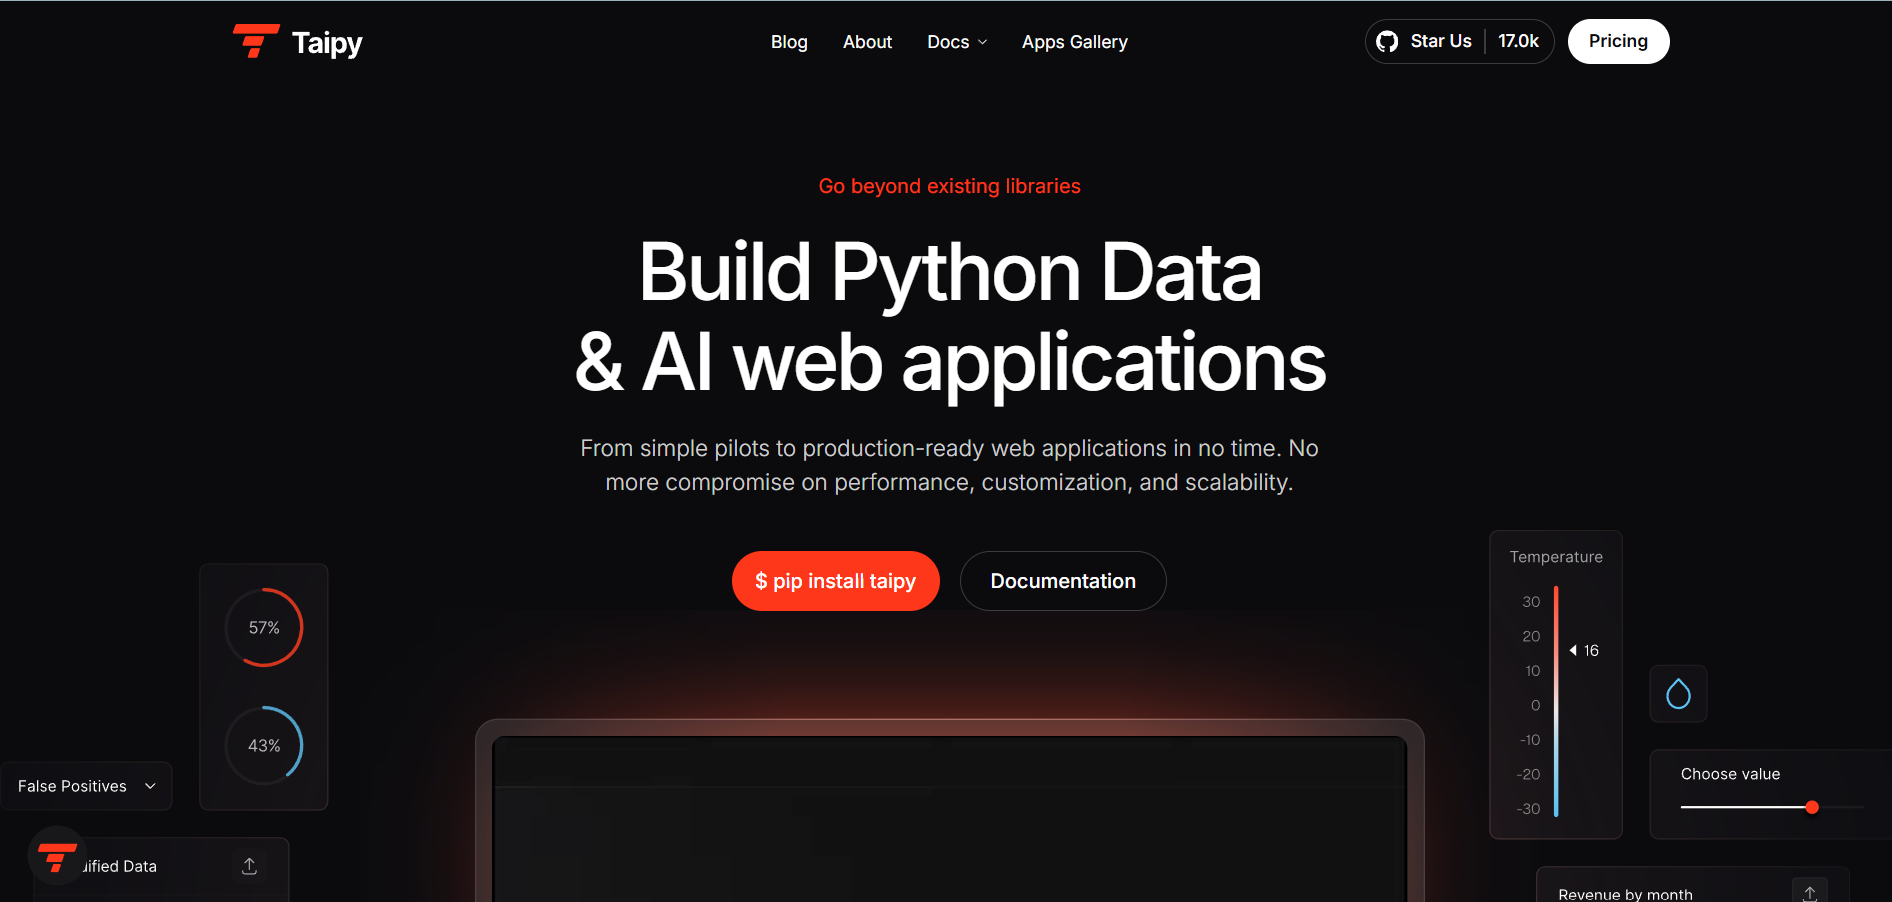
Taipy 是一個開源 Python 庫,旨在簡化開發過程並保持用戶友好。 Taipy 提供了建構資料驅動的 Web 應用程式的工具。
它提供了簡化工作流程、儀表板和其他資料驅動應用程式開發的工具。 Taipy主要用於建立涉及機器學習模型和互動式使用者介面的端到端解決方案,使部署人工智慧應用程式變得更加容易。
以下是您如何開始使用 Taipy。
安裝 Taipy 庫。
pip install taipy現在,使用 Taipy 建立圖形使用者介面 (GUI)。
導入 Taipy 函式庫以及其他必要的函式庫。
from taipy.gui import Gui
import taipy.gui.builder as tgb
from math import cos, exp
建立效用函數
value = 10

def compute_data(decay:int)->list:
    return [cos(i/6) * exp(-i*decay/600) for i in range(100)]

def slider_moved(state):
    state.data = compute_data(state.value)
使用 Taipy 方法建構 GUI。
with tgb.Page() as page:
    tgb.text(value="# Taipy Getting Started", mode="md")
    tgb.text(value="Value: {value}")
    tgb.slider(value="{value}", on_change=slider_moved)
    tgb.chart(data="{data}")

data = compute_data(value)

if __name__ == "__main__":
    Gui(page=page).run(title="Dynamic chart")
最後,使用以下命令執行該文件。
taipy run main.py查看 Taipy文件以探索更多資訊。另請參閱 Taipy 的其他教學。
{% cta https://github.com/Avaiga/taipy %} Star the Taipy Repo⭐ {% endcta %}
-
Flowise - 簡化人工智慧驅動的工作流程的建立
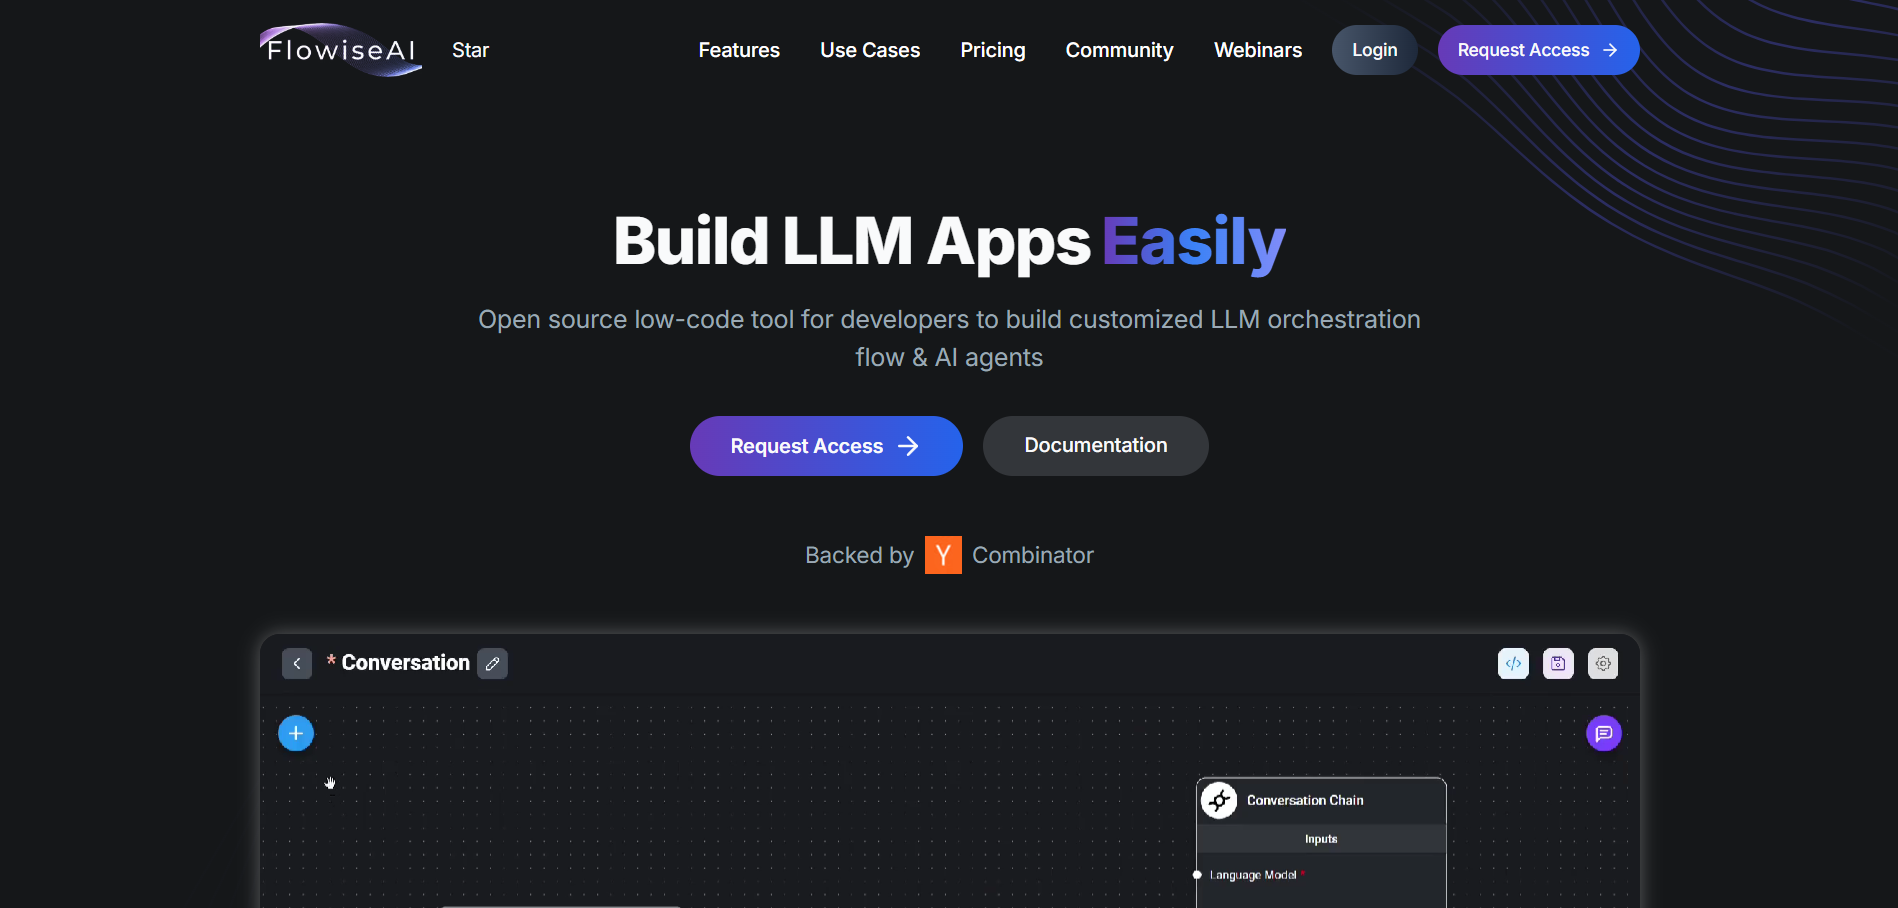
FlowiseAI 是一個開源平台,讓建立和部署人工智慧驅動的工作流程變得更加簡單。它專為資料科學家和開發人員而建置,可幫助您管理機器學習模型、自動化流程並將 AI 無縫整合到業務應用程式中。從設計到擴展工作流程,FlowiseAI 都能滿足您的需求。
它允許使用者輕鬆自動化和管理涉及模型訓練、部署和推理的工作流程。
開始使用 Flowise。
克隆 Flowise 儲存庫
git clone https://github.com/FlowiseAI/Flowise.git導航到Flowise目錄。
cd Flowise安裝必要的依賴項。
pnpm install建構程式碼。
pnpm build最後,執行應用程式。
pnpm start要了解有關 Flowise 的更多訊息,請存取他們的文件。
{% cta https://github.com/FlowiseAI/Flowise %} 為 Flowise 倉庫加註星標⭐ {% endcta %}
-
WandB - 微調您的 AI 模型
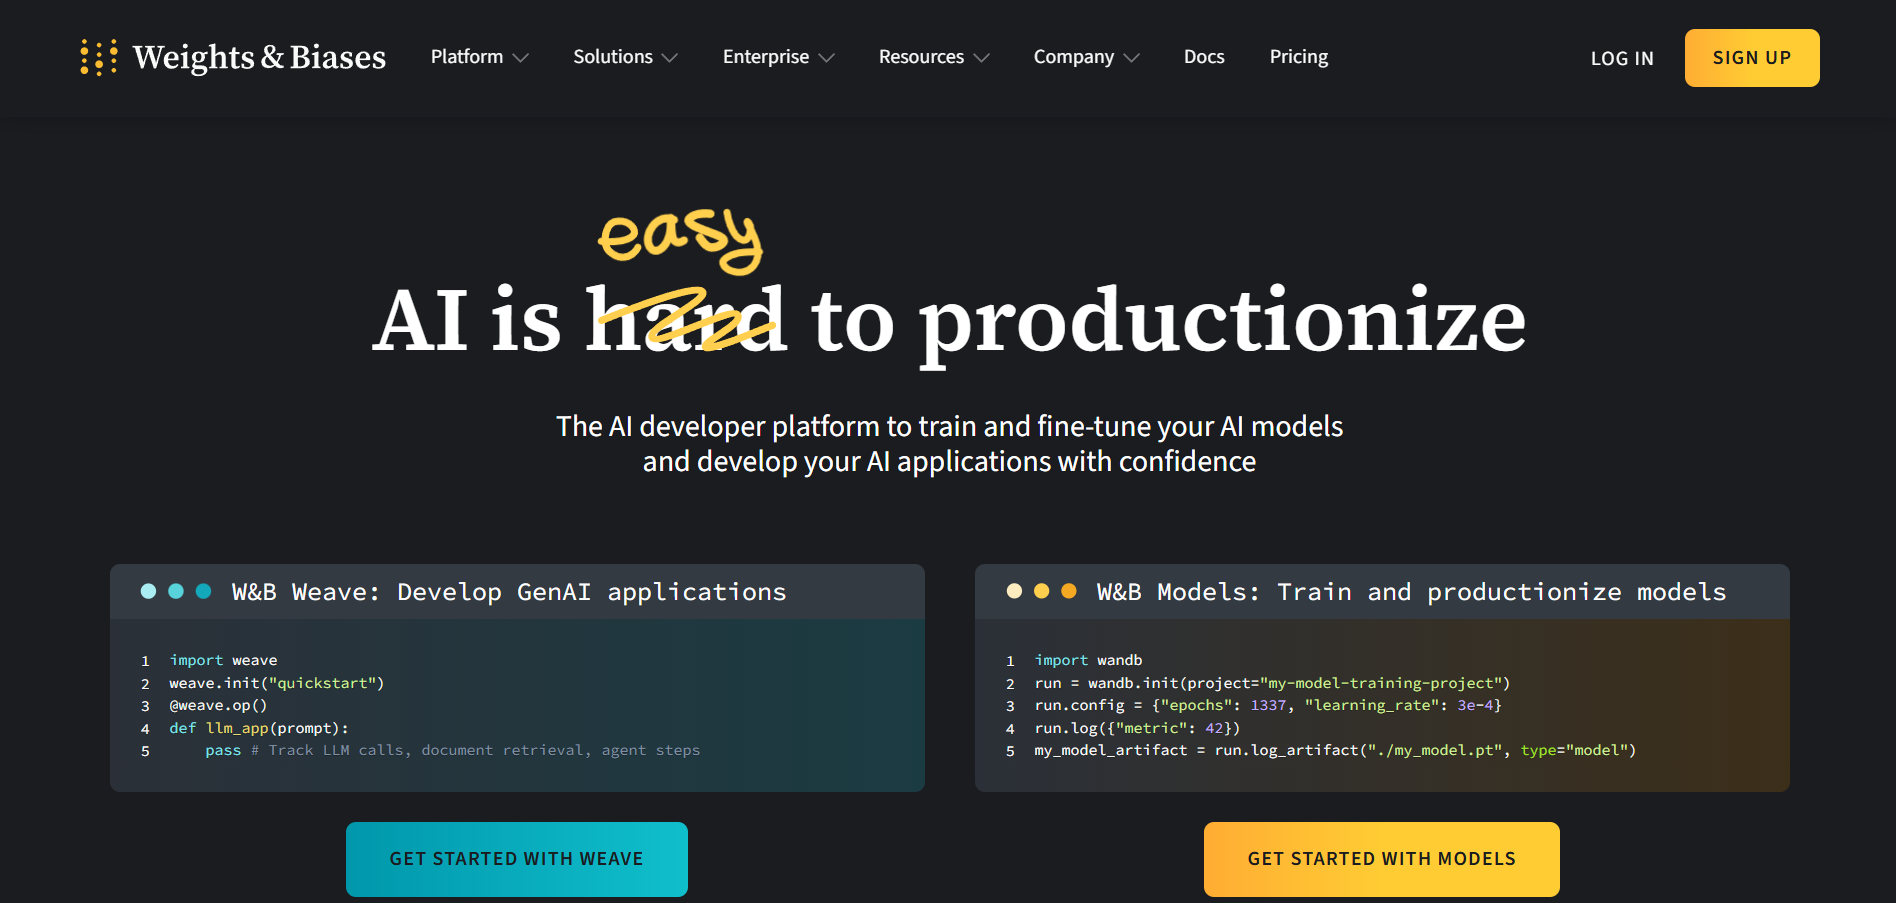
向權重和偏差 (WandB) 打個招呼,它是您追蹤和管理機器學習實驗的首選工具。它使監控模型、比較版本和分析效能變得非常容易。借助 WandB,您可以在一個地方建立報告、與團隊分享結果以及組織您的工作。
它非常適合更快地建立更好的人工智慧模型並更有效地協作。
以下是您在專案中使用 WandB 的方法。
安裝 WandB 庫。
!pip install wandb登入萬達。
wandb.login()您需要提供 API 金鑰才能成功登入。在此產生 API 金鑰。
在 Python 腳本中初始化 WandB 物件。
run = wandb.init(
    # Set the project where this run will be logged
    project="my-awesome-project",
    # Track hyperparameters and run metadata
    config={
        "learning_rate": 0.01,
        "epochs": 10,
    },
)
這是整個程式碼:
# train.py
import wandb
import random  # for demo script

wandb.login()

epochs = 10
lr = 0.01

run = wandb.init(
    # Set the project where this run will be logged
    project="my-awesome-project",
    # Track hyperparameters and run metadata
    config={
        "learning_rate": lr,
        "epochs": epochs,
    },
)

offset = random.random() / 5
print(f"lr: {lr}")

# simulating a training run
for epoch in range(2, epochs):
    acc = 1 - 2**-epoch - random.random() / epoch - offset
    loss = 2**-epoch + random.random() / epoch + offset
    print(f"epoch={epoch}, accuracy={acc}, loss={loss}")
    wandb.log({"accuracy": acc, "loss": loss})

# run.log_code()
現在,您可以導航至 WandB 儀表板並查看指標。
透過其文件了解有關 WandB 的更多資訊。
{% cta https://github.com/wandb/wandb %} 為 Wandb 倉庫加註星標⭐ {% endcta %}
-
Ludwig - 建立自訂 AI 模型
Ludwig,使用 Python 建立的開源深度學習工具,讓每個人都可以使用機器學習——即使您不是編碼專家。借助其簡單的介面,您可以輕鬆建立、訓練和部署模型,因此您可以專注於結果,而不必擔心幕後的複雜細節。
從路德維希開始。
安裝路德維希庫。
pip install ludwig導入必要的庫。
config = {
    "input_features": [
        {
            "name": "sepal_length_cm",
            "type": "number"
        },
        {
            "name": "sepal_width_cm",
            "type": "number"
        },
        {
            "name": "petal_length_cm",
            "type": "number"
        },
        {
            "name": "petal_width_cm",
            "type": "number"
        }
    ],
    "output_features": [
        {
            "name": "class",
            "type": "category"
        }
    ]
}
model = LudwigModel(config)
data = pd.read_csv("data.csv")
train_stats, _, model_dir = model.train(data)
載入模型。
model = LudwigModel.load(model_dir)捕獲預測。
predictions = model.predict(data)您的LLM模型已成功建立。
想了解更多嗎?查看路德維希文件。
{% cta https://github.com/ludwig-ai/ludwig %} 給 Ludwig Repo 加上星標⭐ {% endcta %}
-
Feast - 用於生產機器學習的特徵存儲
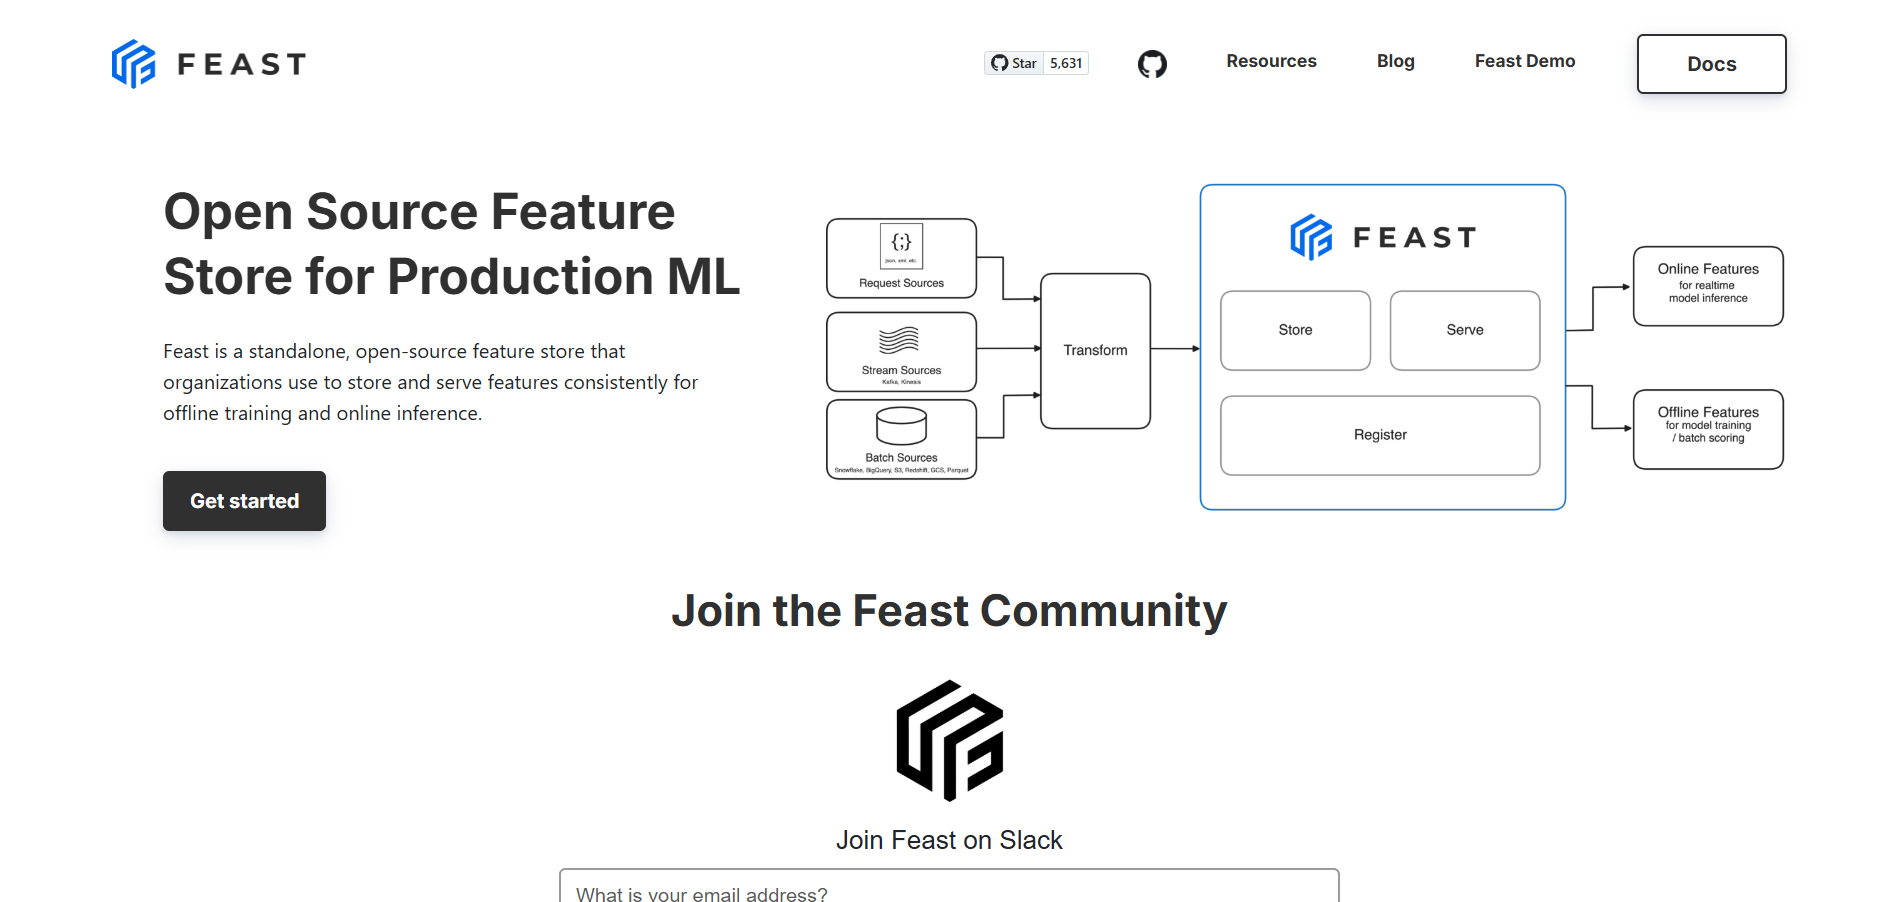
Feast,專為機器學習應用程式建置的開源特徵儲存。它充當儲存、管理和服務 ML 模型的特徵(資料屬性)的平台。借助 Feast,無論您是在訓練模型還是為模型提供服務,您都可以有效率地存取資料。
它可以無縫整合到機器學習工作流程中,使資料科學家和工程師能夠存取培訓和生產環境中的功能。
開始享用盛宴。
pip install feast為您的專案建立一個 Feast 儲存庫。
feast init my_project
cd my_project/feature_repo
產生用於訓練您的專案的訓練資料。
from datetime import datetime
import pandas as pd

from feast import FeatureStore

# Note: see https://docs.feast.dev/getting-started/concepts/feature-retrieval for
# more details on how to retrieve for all entities in the offline store instead
entity_df = pd.DataFrame.from_dict(
    {
        # entity's join key -> entity values
        "driver_id": [1001, 1002, 1003],
        # "event_timestamp" (reserved key) -> timestamps
        "event_timestamp": [
            datetime(2021, 4, 12, 10, 59, 42),
            datetime(2021, 4, 12, 8, 12, 10),
            datetime(2021, 4, 12, 16, 40, 26),
        ],
        # (optional) label name -> label values. Feast does not process these
        "label_driver_reported_satisfaction": [1, 5, 3],
        # values we're using for an on-demand transformation
        "val_to_add": [1, 2, 3],
        "val_to_add_2": [10, 20, 30],
    }
)

store = FeatureStore(repo_path=".")

training_df = store.get_historical_features(
    entity_df=entity_df,
    features=[
        "driver_hourly_stats:conv_rate",
        "driver_hourly_stats:acc_rate",
        "driver_hourly_stats:avg_daily_trips",
        "transformed_conv_rate:conv_rate_plus_val1",
        "transformed_conv_rate:conv_rate_plus_val2",
    ],
).to_df()

print("----- Feature schema -----\n")
print(training_df.info())

print()
print("----- Example features -----\n")
print(training_df.head())
將批量功能引入您的線上商店。
CURRENT_TIME=$(date -u +"%Y-%m-%dT%H:%M:%S")
# For mac
LAST_YEAR=$(date -u -v -1y +"%Y-%m-%dT%H:%M:%S")
# For Linux
# LAST_YEAR=$(date -u -d "last year" +"%Y-%m-%dT%H:%M:%S")

feast materialize-incremental $LAST_YEAR $CURRENT_TIME
取得特徵向量進行推理。
from pprint import pprint
from feast import FeatureStore

store = FeatureStore(repo_path=".")

feature_vector = store.get_online_features(
    features=[
        "driver_hourly_stats:conv_rate",
        "driver_hourly_stats:acc_rate",
        "driver_hourly_stats:avg_daily_trips",
    ],
    entity_rows=[
        # {join_key: entity_value}
        {"driver_id": 1004},
        {"driver_id": 1005},
    ],
).to_dict()

pprint(feature_vector)
使用要素服務來取得線上要素。
from feast import FeatureService
driver_stats_fs = FeatureService(
    name="driver_activity_v1", features=[driver_stats_fv]
)
您的專案已準備就緒。
盛宴還有很多東西可以提供。查看他們的文件以了解更多資訊。
{% cta https://github.com/feast-dev/feast %} Star the Feast Repo⭐ {% endcta %}
-
ONNX Runtime - 生產級人工智慧引擎,可加速訓練
ONNX Runtime 是一款開源高效能引擎,旨在增強開放神經網路交換 (ONNX)格式的機器學習模型。它由 Microsoft 開發,是跨不同平台高效、快速部署 ML 模型的首選工具。
ONNX Runtime 可在多個平台上執行,包括 Windows、Linux 和 macOS,以及邊緣設備和行動平台。
要使用 ONNX,您只需安裝它的庫即可。
pip install onnxruntimeONNX 支援 PyTroch、TensorFlow 和 SciKit Learn。
讓我們使用 PyTorch 進行示範。
使用torch.onnx.report匯出模型。
torch.onnx.export(model,                                # model being run
                  torch.randn(1, 28, 28).to(device),    # model input (or a tuple for multiple inputs)
                  "fashion_mnist_model.onnx",           # where to save the model (can be a file or file-like object)
                  input_names = ['input'],              # the model's input names
output_names = ['output']) # the model's output names使用onnx.load載入 onnx 模型。
import onnx
onnx_model = onnx.load("fashion_mnist_model.onnx")
onnx.checker.check_model(onnx_model)使用ort.InferenceSession建立推理會話。
import onnxruntime as ort
import numpy as np
x, y = test_data[0][0], test_data[0][1]
ort_sess = ort.InferenceSession('fashion_mnist_model.onnx')
outputs = ort_sess.run(None, {'input': x.numpy()})

# Print Result
predicted, actual = classes[outputs[0][0].argmax(0)], classes[y]
print(f'Predicted: "{predicted}", Actual: "{actual}"')
同樣,您可以使用 TensorFlow 或 Scikit Learn。
查看快速入門指南以了解更多資訊。
{% cta https://github.com/microsoft/onnxruntime %} 為 ONNX 儲存庫加註星標⭐ {% endcta %}
感謝您的閱讀。您還知道其他使用工具嗎?請在評論中告訴我們。

原文出處:https://dev.to/composiodev/9-cutting-edge-open-source-tools-to-build-next-gen-ai-apps-1mho
1) --- 會變成分隔線(上一行必須是空白)
2) # 會變成一級標題
3) ## 會變成二級標題
4) ### 會變成三級標題
5) **粗體文字**會顯示粗體文字
6) ```當第一行與最後一行會顯示程式碼
7) 請搜尋 Markdown 語法,了解各種格式
