

長話短說
在本文中,您將了解如何建立由 AI 驅動的前端 UI 元件產生器,該產生器使您能夠透過實作教學產生 Next.js Tailwind CSS UI 元件。
我們將介紹如何:
-
使用 Next.js、TypeScript 和 Tailwind CSS 建立 UI 元件產生器 Web 應用程式。
-
使用 CopilotKit 將 AI 功能整合到 UI 元件產生器中。
-
整合嵌入式程式碼編輯器以變更產生的程式碼。
先決條件
要完全理解本教程,您需要對 React 或 Next.js 有基本的了解。
以下是建立 AI 支援的 UI 元件產生器所需的工具:
-
Ace 程式碼編輯器- 用 JvaScript 編寫的嵌入式程式碼編輯器,與本機編輯器的功能和效能相符。
-
Langchain - 提供了一個框架,使人工智慧代理能夠搜尋網路並研究任何主題。
-
OpenAI API - 提供 API 金鑰,讓您能夠使用 ChatGPT 模型執行各種任務。
-
Tavily AI - 一個搜尋引擎,使人工智慧代理能夠在應用程式中進行研究並存取即時知識。
-
CopilotKit - 一個開源副駕駛框架,用於建立自訂 AI 聊天機器人、應用程式內 AI 代理程式和文字區域。
專案設定和套件安裝
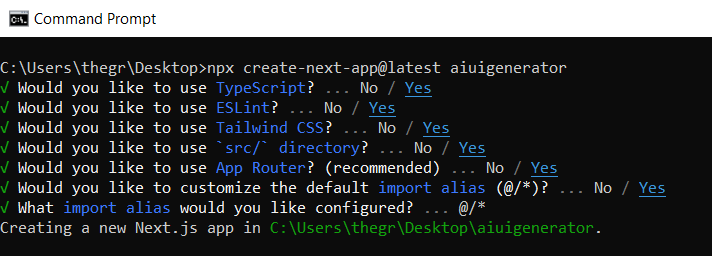
首先,透過在終端機中執行以下程式碼片段來建立 Next.js 應用程式:
npx create-next-app@latest aiuigenerator選擇您首選的配置設定。在本教學中,我們將使用 TypeScript 和 Next.js App Router。
接下來,安裝 Ace 程式碼編輯器和 Langchain 軟體套件及其相依性。
npm install react-ace @langchain/langgraph最後,安裝 CopilotKit 軟體套件。這些套件使我們能夠從 React 狀態檢索資料並將 AI copilot 新增至應用程式。
npm install @copilotkit/react-ui @copilotkit/react-textarea @copilotkit/react-core @copilotkit/backend恭喜!您現在已準備好建立由人工智慧驅動的部落格。
建構 UI 元件產生器前端
在本節中,我將引導您完成使用靜態內容建立 UI 元件產生器前端的過程,以定義生成器的使用者介面。
首先,請在程式碼編輯器中前往/[root]/src/app並建立一個名為components的資料夾。在 Components 資料夾中,建立兩個名為Header.tsx和CodeTutorial.tsx的檔案。
在Header.tsx檔案中,新增以下程式碼,定義一個名為Header的功能元件,該元件將呈現生成器的導覽列。
"use client";

import Link from "next/link";

export default function Header() {
  return (
    <>
      <header className="flex flex-wrap sm:justify-start sm:flex-nowrap z-50 w-full bg-gray-800 border-b border-gray-200 text-sm py-3 sm:py-0 ">
        <nav
          className="relative max-w-7xl w-full mx-auto px-4 sm:flex sm:items-center sm:justify-between sm:px-6 lg:px-8"
          aria-label="Global">
          <div className="flex items-center justify-between">
            <Link
              className="w-full flex-none text-xl text-white font-semibold p-6"
              href="/"
              aria-label="Brand">
              AI-UI-Components-Generator
            </Link>
          </div>
        </nav>
      </header>
    </>
  );
}在CodeTutorial.tsx檔案中,加入以下程式碼,定義一個名為CodeTutorial的功能元件,該元件呈現 UI 元件產生器主頁,該首頁將顯示產生的 UI 元件、嵌入式程式碼編輯器和產生的實作教學。
"use client";

import Markdown from "react-markdown";
import { useState } from "react";
import AceEditor from "react-ace";
import React from "react";

export default function CodeTutorial() {
  const [code, setCode] = useState<string[]>([
    `<h1 class="text-red-500">Hello World</h1>`,
  ]);
  const [codeToDisplay, setCodeToDisplay] = useState<string>(code[0] || "");
  const [codeTutorial, setCodeTutorial] = useState(``);

  function onChange(newCode: any) {
    setCodeToDisplay(newCode);
  }

  return (
    <>
      <main className=" min-h-screen px-4">
        <div className="w-full h-full min-h-[70vh] flex justify-between gap-x-1 ">
          <div className="w-2/3 min-h-[60vh] rounded-lg bg-white shadow-lg p-2 border mt-8 overflow-auto">
            <div
              className="w-full min-h-[60vh] rounded-lg"
              dangerouslySetInnerHTML={{ __html: codeToDisplay }}
            />
          </div>
          <AceEditor
            placeholder="Placeholder Text"
            mode="html"
            theme="monokai"
            name="blah2"
            className="w-[50%] min-h-[60vh] p-2 mt-8 rounded-lg"
            onChange={onChange}
            fontSize={14}
            lineHeight={19}
            showPrintMargin={true}
            showGutter={true}
            highlightActiveLine={true}
            value={codeToDisplay}
            setOptions={{
              enableBasicAutocompletion: true,
              enableLiveAutocompletion: true,
              enableSnippets: false,
              showLineNumbers: true,
              tabSize: 2,
            }}
          />
        </div>
        <div className="w-10/12 mx-auto">
          <div className="mt-8">
            <h1 className="text-white text-center text-xl font-semibold p-6">
              Code Tutorial
            </h1>
            {codeTutorial ? (
              <Markdown className="text-white">{codeTutorial}</Markdown>
            ) : (
              <div className="text-white">
                The Code Tutorial Will Appear Here
              </div>
            )}
          </div>
        </div>
      </main>
    </>
  );
}接下來,前往/[root]/src/page.tsx文件,新增以下程式碼,導入CodeTutorial和Header元件,並定義名為Home的功能元件。
import React from "react";
import Header from "./components/Header";
import CodeTutorial from "./components/CodeTutorial";

export default function Home() {
  return (
    <>
      <Header />
      <CodeTutorial />
    </>
  );
}
接下來,刪除 globals.css 檔案中的 CSS 程式碼並新增以下 CSS 程式碼。
@tailwind base;
@tailwind components;
@tailwind utilities;

@tailwind base;
@tailwind components;
@tailwind utilities;

body {
  height: 100vh;
  background-color: rgb(16, 23, 42);
}

pre {
  margin: 1rem;
  padding: 1rem;
  border-radius: 10px;
  background-color: black;
  overflow: auto;
}

h2,
p {
  padding-bottom: 1rem;
  padding-top: 1rem;
}

code {
  margin-bottom: 2rem;
}
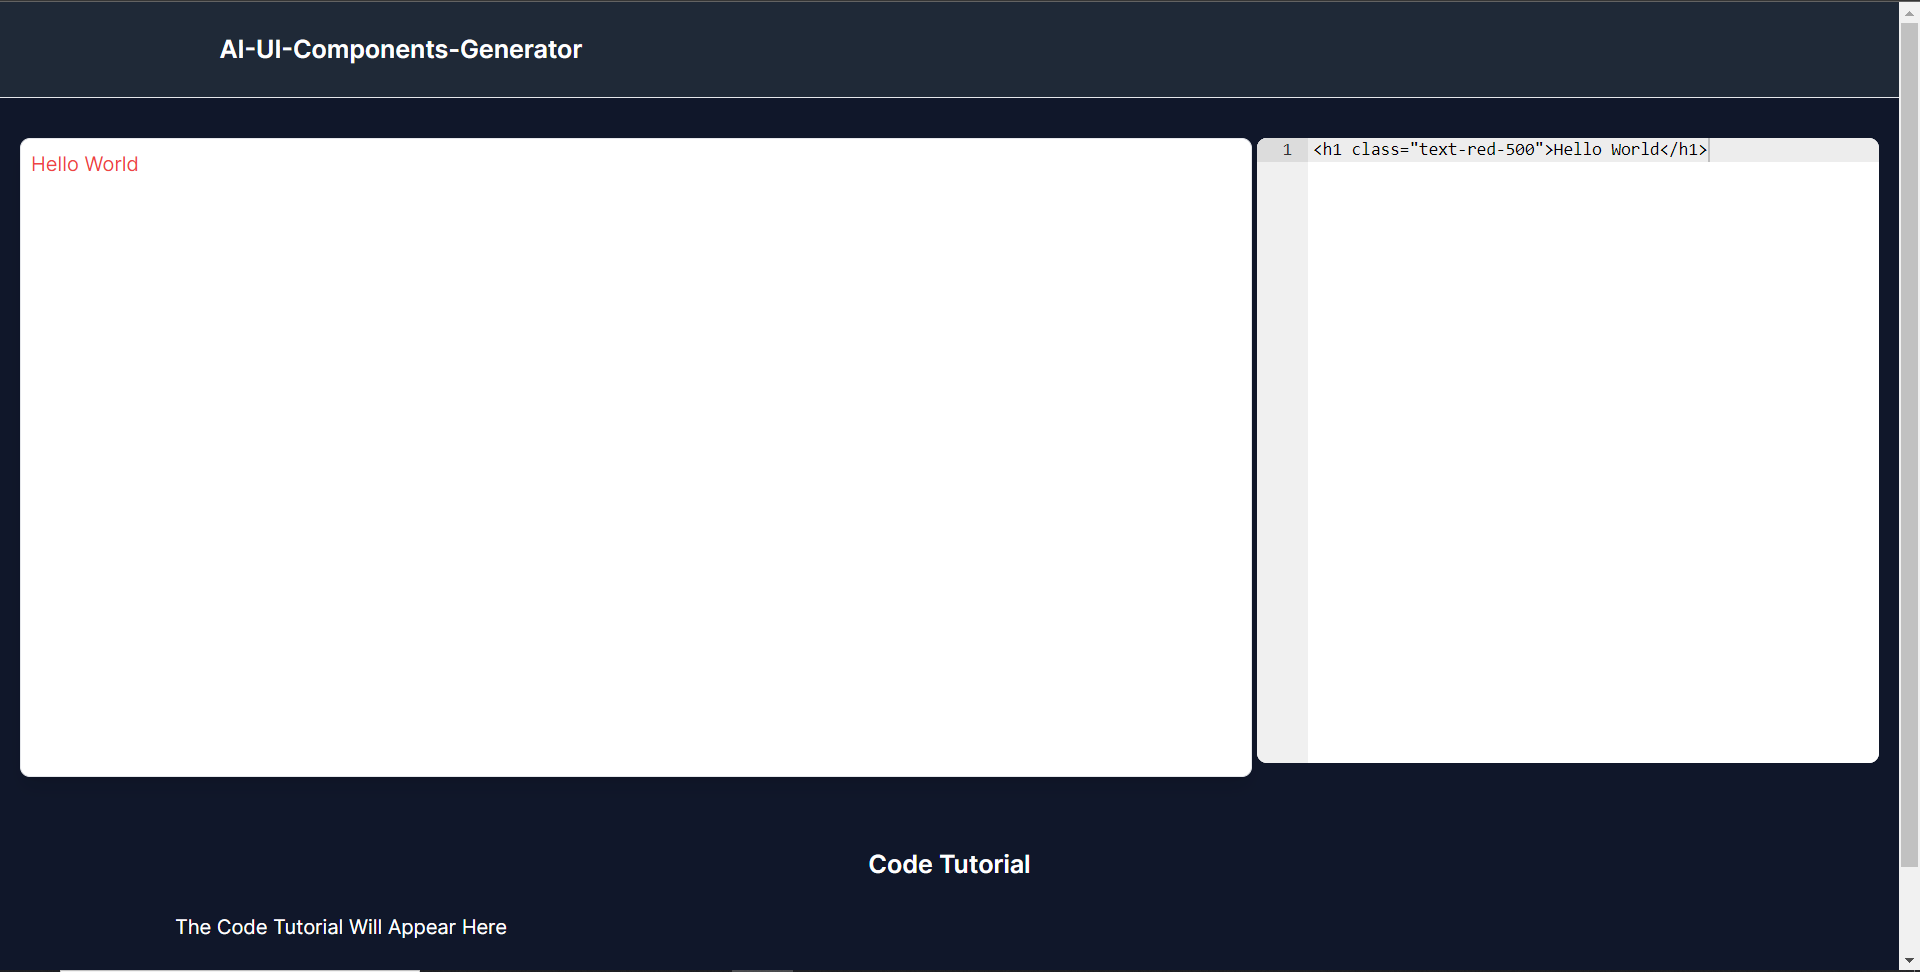
最後,在命令列上執行命令npm run dev ,然後導航到 http://localhost:3000/。
現在您應該在瀏覽器上查看 UI 元件產生器前端,如下所示。
使用 CopilotKit 將 AI 功能整合到元件產生器
在本節中,您將學習如何為 UI 元件產生器新增 AI 副駕駛以產生 UI 元件程式碼以及使用 CopilotKit 的實作教學。
CopilotKit 提供前端和後端套件。它們使您能夠插入 React 狀態並使用 AI 代理在後端處理應用程式資料。
首先,我們將 CopilotKit React 元件加入到部落格前端。
將 CopilotKit 新增至部落格前端
在這裡,我將引導您完成將 UI 元件產生器與 CopilotKit 前端整合的過程,以方便產生 UI 元件程式碼和實作教學。
首先,使用下面的程式碼片段導入/[root]/src/app/components/CodeTutorial.tsx檔案頂部的自訂掛鉤useMakeCopilotReadable和useCopilotAction 。
import {
  useCopilotAction,
  useMakeCopilotReadable,
} from "@copilotkit/react-core";在CodeTutorial函數內的狀態變數下方,加入以下程式碼,該程式碼使用useMakeCopilotReadable掛鉤來新增將作為應用程式內聊天機器人的上下文產生的程式碼。該鉤子使副駕駛可以讀取程式碼。
useMakeCopilotReadable(codeToDisplay);在上面的程式碼下方,新增以下程式碼,該程式碼使用useCopilotAction掛鉤來設定名為generateCodeAndImplementationTutorial的操作,該操作將啟用 UI 元件程式碼和實作教學課程的產生。
這個操作接受兩個參數,稱為code和tutorial ,這兩個參數可以產生 UI 元件程式碼和實作教程。
該操作包含一個處理函數,該函數根據給定的提示產生 UI 元件程式碼和實作教程。
在處理函數內部, codeToDisplay狀態會使用新產生的程式碼進行更新,而codeTutorial狀態會使用新產生的教學課程進行更新,如下所示。
useCopilotAction(
    {
      name: "generateCodeAndImplementationTutorial",
      description:
        "Create Code Snippet with React.js(Next.js), tailwindcss and an implementation tutorial of the code generated.",
      parameters: [
        {
          name: "code",
          type: "string",
          description: "Code to be generated",
          required: true,
        },
        {
          name: "tutorial",
          type: "string",
          description:
            "Markdown of step by step guide tutorial on how to use the generated code accompanied with the code. Include introduction, prerequisites and what happens at every step accompanied with code generated earlier. Don't forget to add how to render the code on browser.",
          required: true,
        },
      ],
      handler: async ({ code, tutorial }) => {
        setCode((prev) => [...prev, code]);
        setCodeToDisplay(code);
        setCodeTutorial(tutorial);
      },
    },
    [codeToDisplay, codeTutorial]
);之後,請前往/[root]/src/app/page.tsx檔案並使用下面的程式碼匯入頂部的 CopilotKit 前端套件和樣式。
import { CopilotKit } from "@copilotkit/react-core";
import { CopilotSidebar } from "@copilotkit/react-ui";
import "@copilotkit/react-ui/styles.css";然後使用CopilotKit包裝CopilotSidebar和CodeTutorial元件,如下所示。 CopilotKit元件指定 CopilotKit 後端端點 ( /api/copilotkit/ ) 的 URL,而CopilotSidebar呈現應用程式內聊天機器人,您可以提示產生 UI 元件程式碼和實作教學。
export default function Home() {
return (
<>
<Header />
<CopilotKit url="/api/copilotkit">
<CopilotSidebar
instructions="Help the user generate code. Ask the user if to generate its tutorial."
defaultOpen={true}
labels={{
title: "Code & Tutorial Generator",
initial: "Hi! 👋 I can help you generate code and its tutorial.",
}}>
<CodeTutorial />
</CopilotSidebar>
</CopilotKit>
</>
);
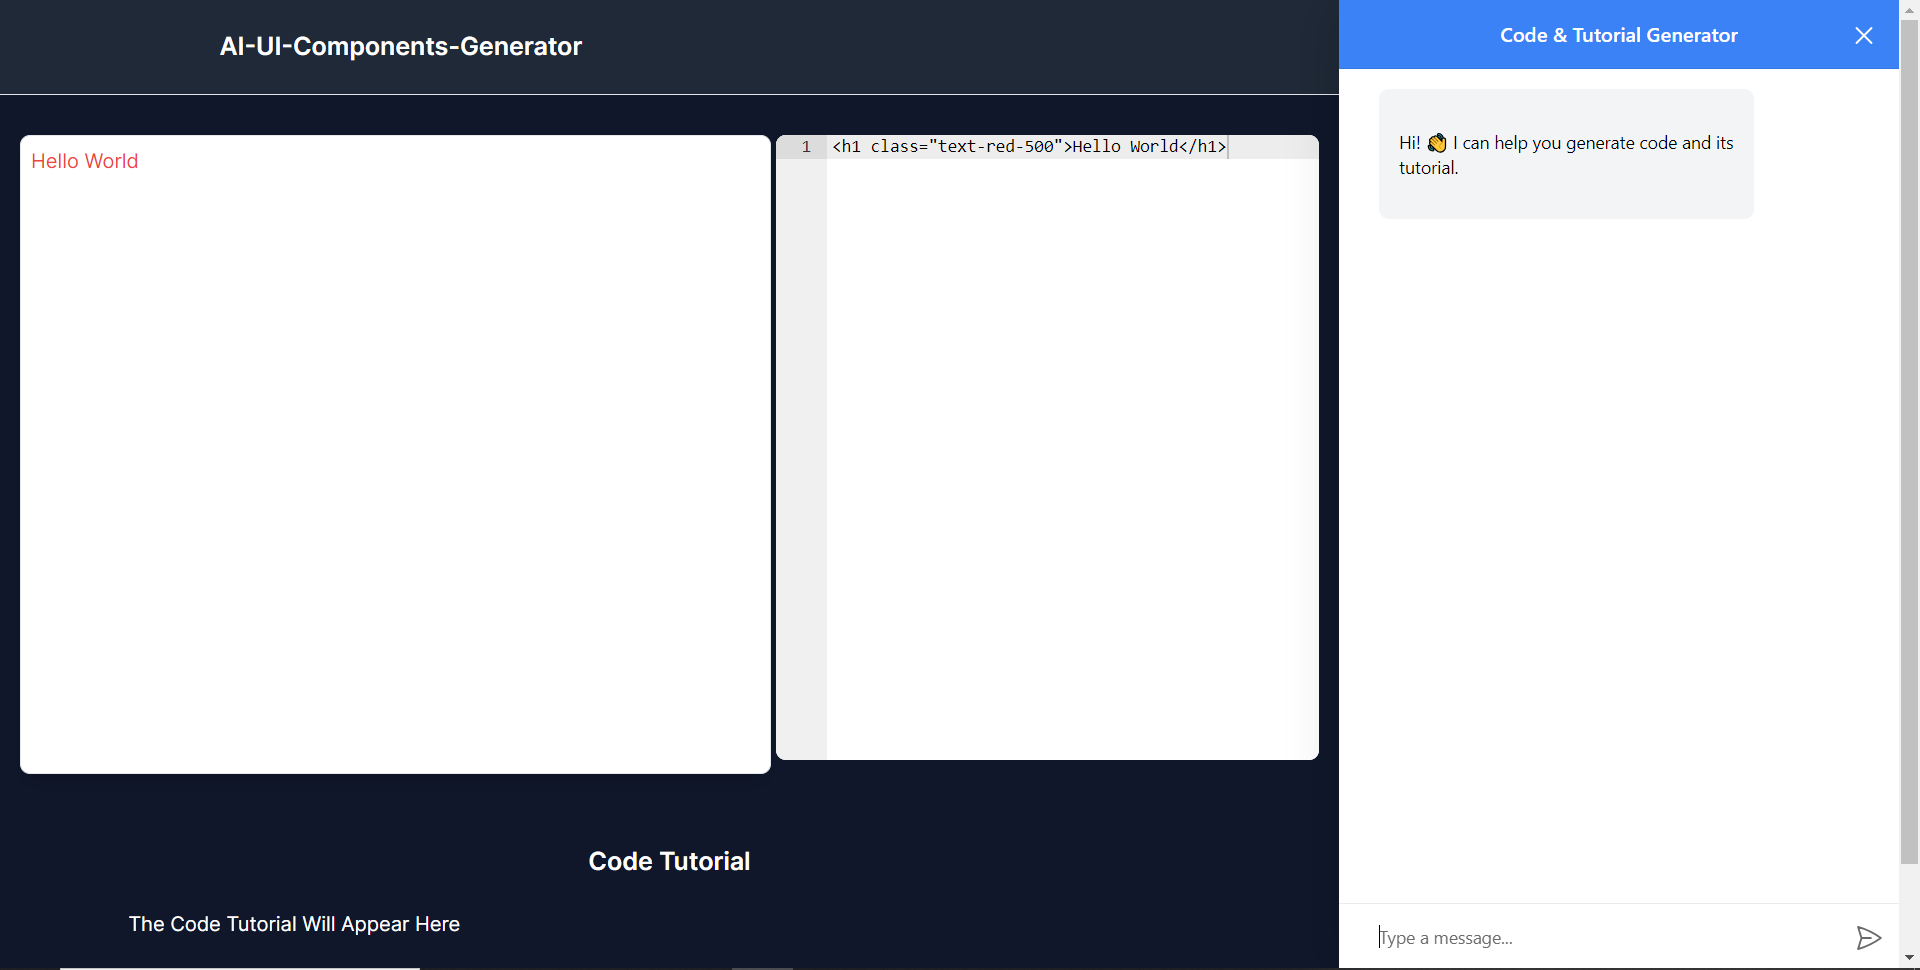
}之後,執行開發伺服器並導航到 http://localhost:3000。您應該會看到應用程式內聊天機器人已整合到 UI 元件產生器中。
將 CopilotKit 後端加入博客
在這裡,我將引導您完成將 UI 元件產生器與 CopilotKit 後端整合的過程,該後端處理來自前端的請求,並提供函數呼叫和各種 LLM 後端(例如 GPT)。
此外,我們將整合一個名為 Tavily 的人工智慧代理,它可以研究網路上的任何主題。
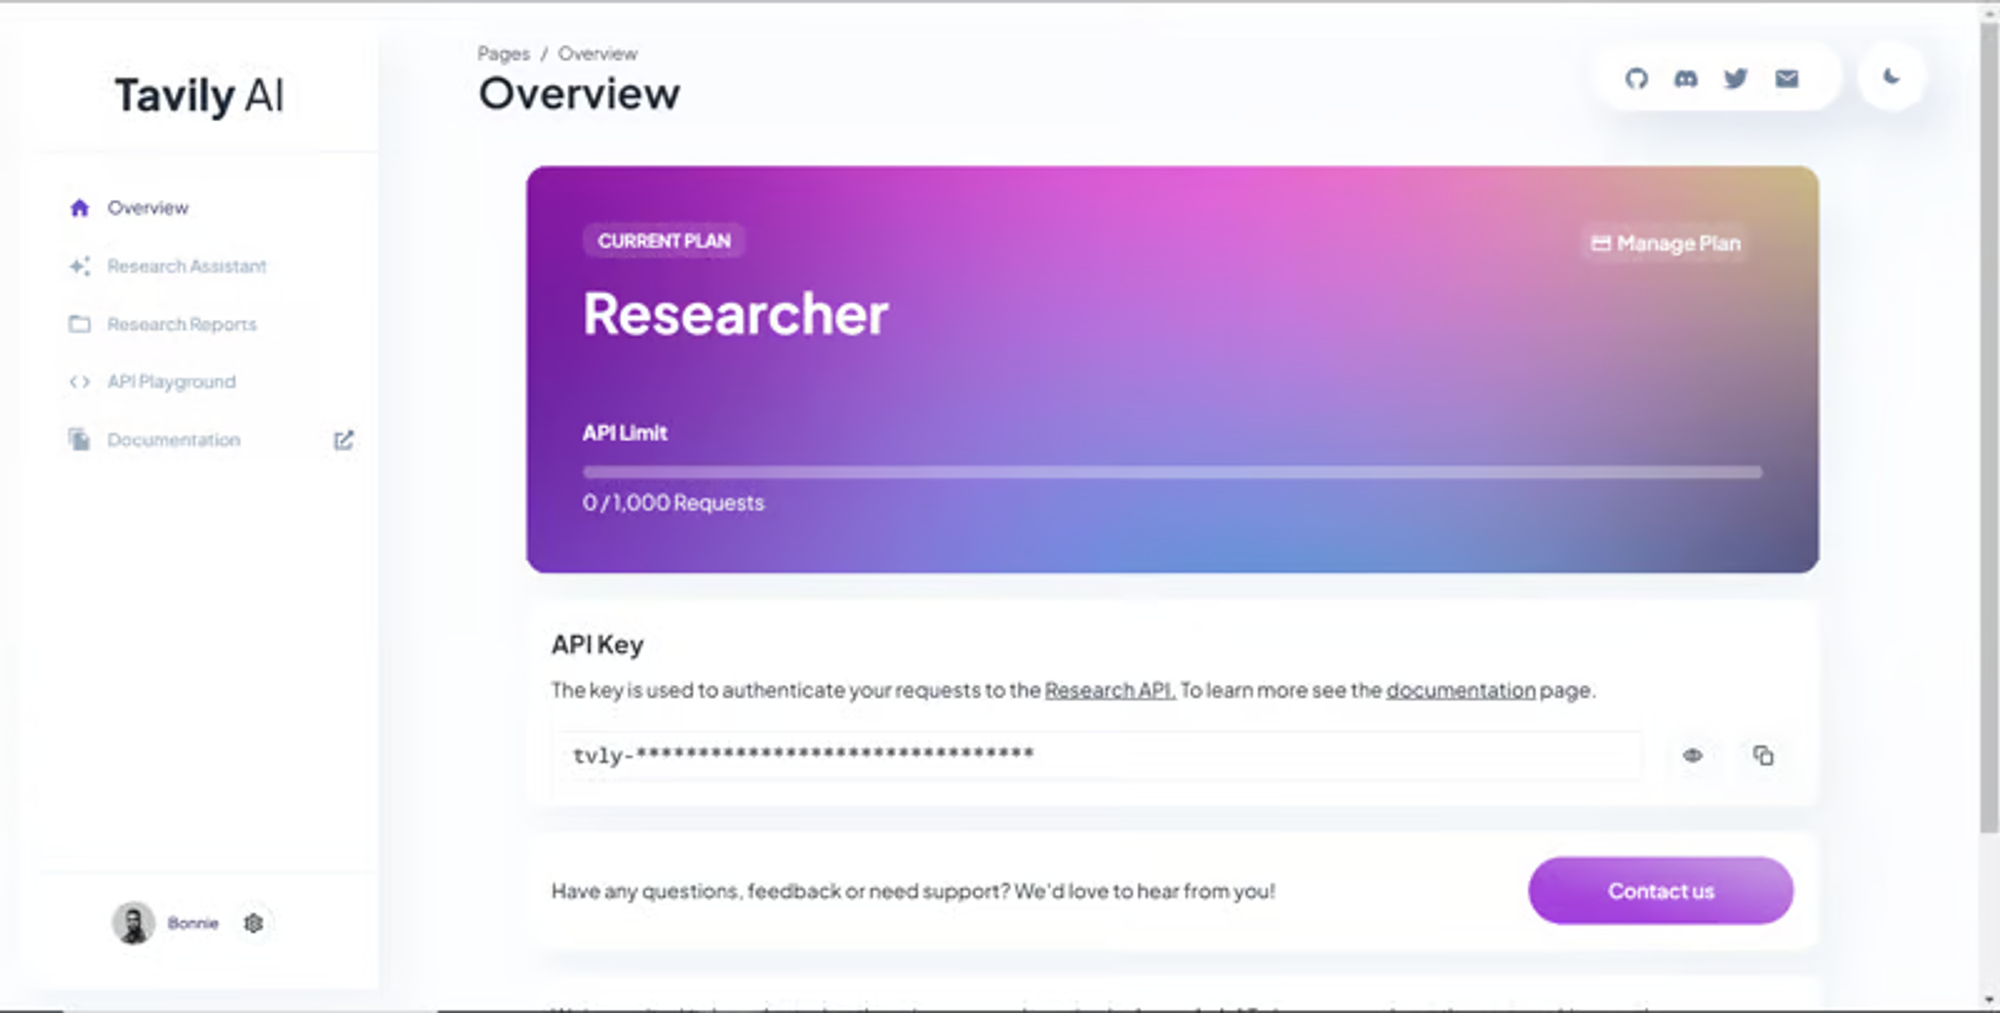
首先,在根目錄中建立一個名為.env.local的檔案。然後在保存ChatGPT和Tavily Search API 金鑰的檔案中加入下面的環境變數。
OPENAI_API_KEY="Your ChatGPT API key"
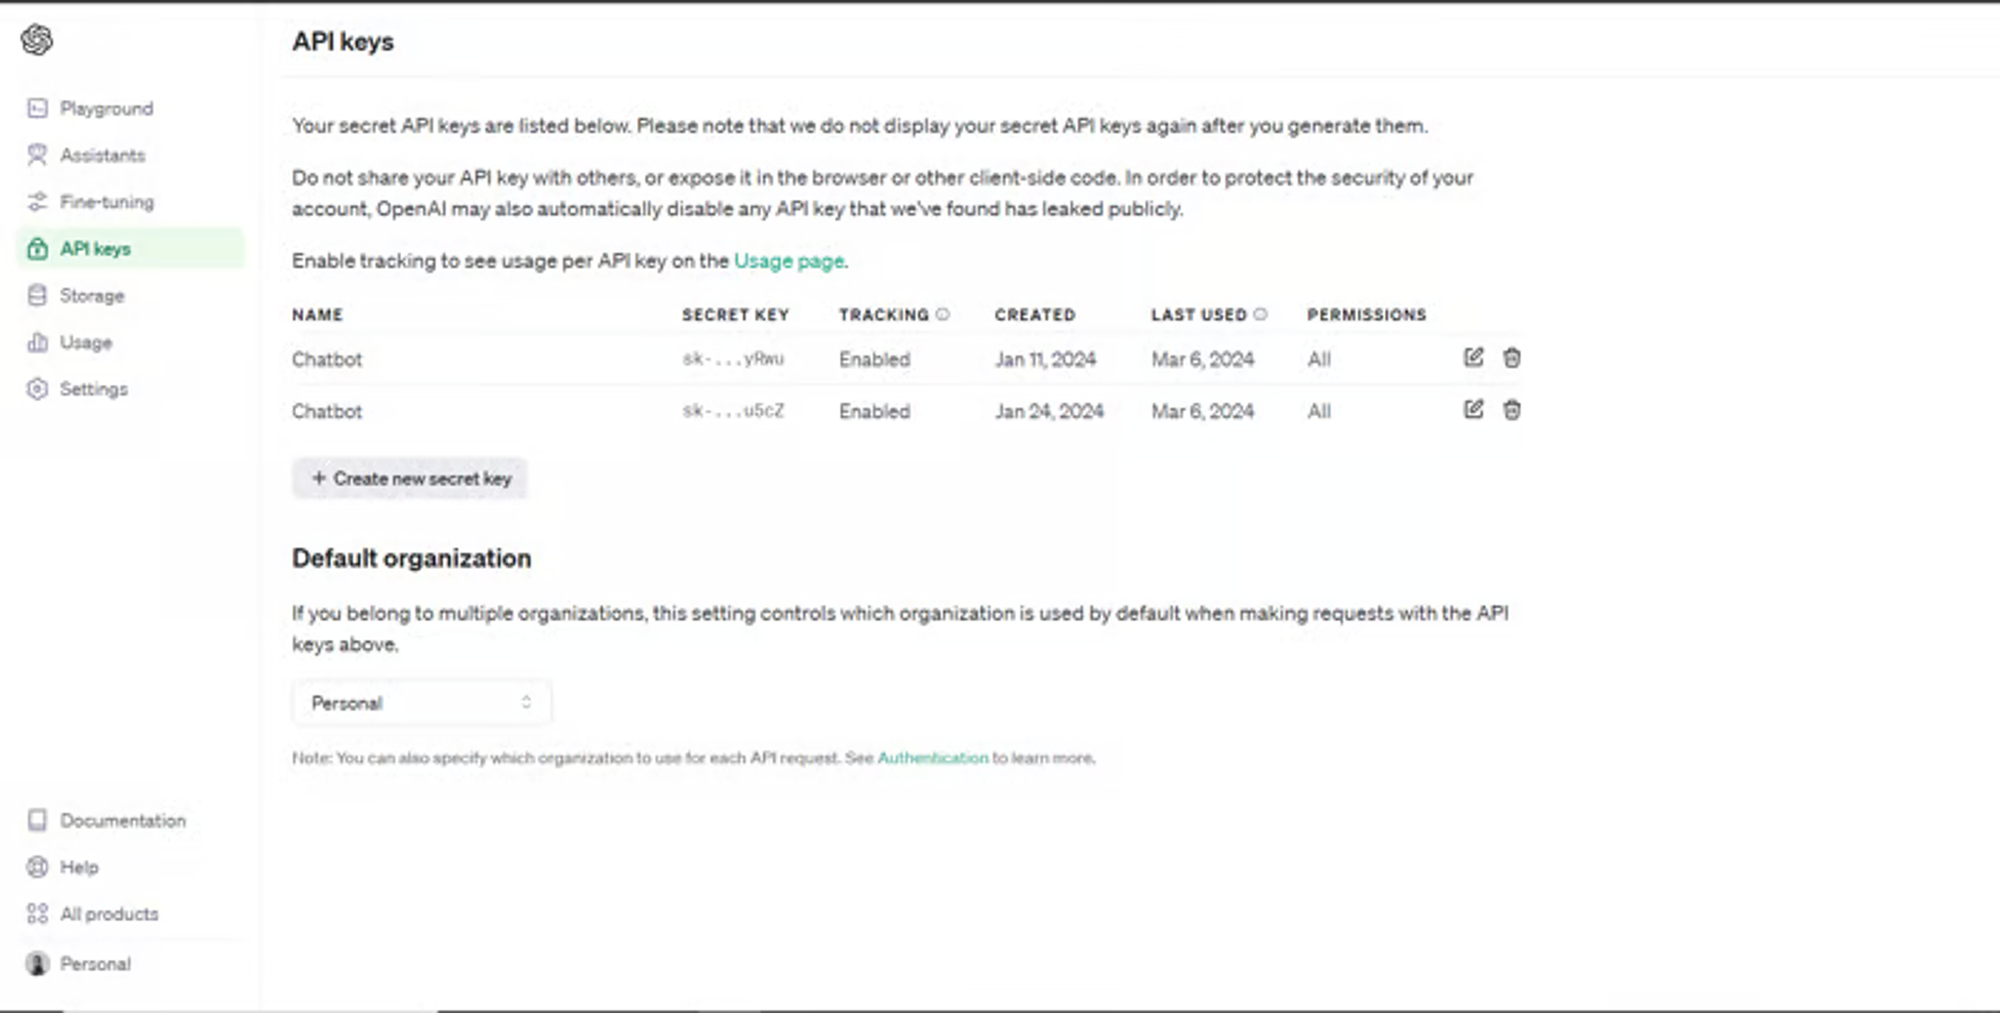
TAVILY_API_KEY="Your Tavily Search API key"若要取得 ChatGPT API 金鑰,請導覽至 https://platform.openai.com/api-keys。
若要取得 Tavilly Search API 金鑰,請導覽至 https://app.tavily.com/home
之後,轉到/[root]/src/app並建立一個名為api的資料夾。在api資料夾中,建立一個名為copilotkit的資料夾。
在copilotkit資料夾中,建立一個名為research.ts的檔案。然後導航到該 Research.ts gist 文件,複製程式碼,並將其新增至research.ts檔案中
接下來,在/[root]/src/app/api/copilotkit資料夾中建立一個名為route.ts的檔案。該文件將包含設定後端功能來處理 POST 請求的程式碼。它有條件地包括對給定主題進行研究的“研究”操作。
現在在文件頂部導入以下模組。
import { CopilotBackend, OpenAIAdapter } from "@copilotkit/backend"; // For backend functionality with CopilotKit.
import { researchWithLangGraph } from "./research"; // Import a custom function for conducting research.
import { AnnotatedFunction } from "@copilotkit/shared"; // For annotating functions with metadata.
在上面的程式碼下面,定義一個執行時間環境變數和一個名為researchAction的函數,該函數使用下面的程式碼研究某個主題。
// Define a runtime environment variable, indicating the environment where the code is expected to run.
export const runtime = "edge";

// Define an annotated function for research. This object includes metadata and an implementation for the function.
const researchAction: AnnotatedFunction<any> = {
  name: "research", // Function name.
  description: "Call this function to conduct research on a certain topic. Respect other notes about when to call this function", // Function description.
  argumentAnnotations: [ // Annotations for arguments that the function accepts.
    {
      name: "topic", // Argument name.
      type: "string", // Argument type.
      description: "The topic to research. 5 characters or longer.", // Argument description.
      required: true, // Indicates that the argument is required.
    },
  ],
  implementation: async (topic) => { // The actual function implementation.
    console.log("Researching topic: ", topic); // Log the research topic.
    return await researchWithLangGraph(topic); // Call the research function and return its result.
  },
};
然後在上面的程式碼下加入下面的程式碼來定義處理POST請求的非同步函數。
// Define an asynchronous function that handles POST requests.
export async function POST(req: Request): Promise<Response> {
  const actions: AnnotatedFunction<any>[] = []; // Initialize an array to hold actions.

  // Check if a specific environment variable is set, indicating access to certain functionality.
  if (process.env.TAVILY_API_KEY) {
    actions.push(researchAction); // Add the research action to the actions array if the condition is true.
  }

  // Instantiate CopilotBackend with the actions defined above.
  const copilotKit = new CopilotBackend({
    actions: actions,
  });

  // Use the CopilotBackend instance to generate a response for the incoming request using an OpenAIAdapter.
  return copilotKit.response(req, new OpenAIAdapter());
}
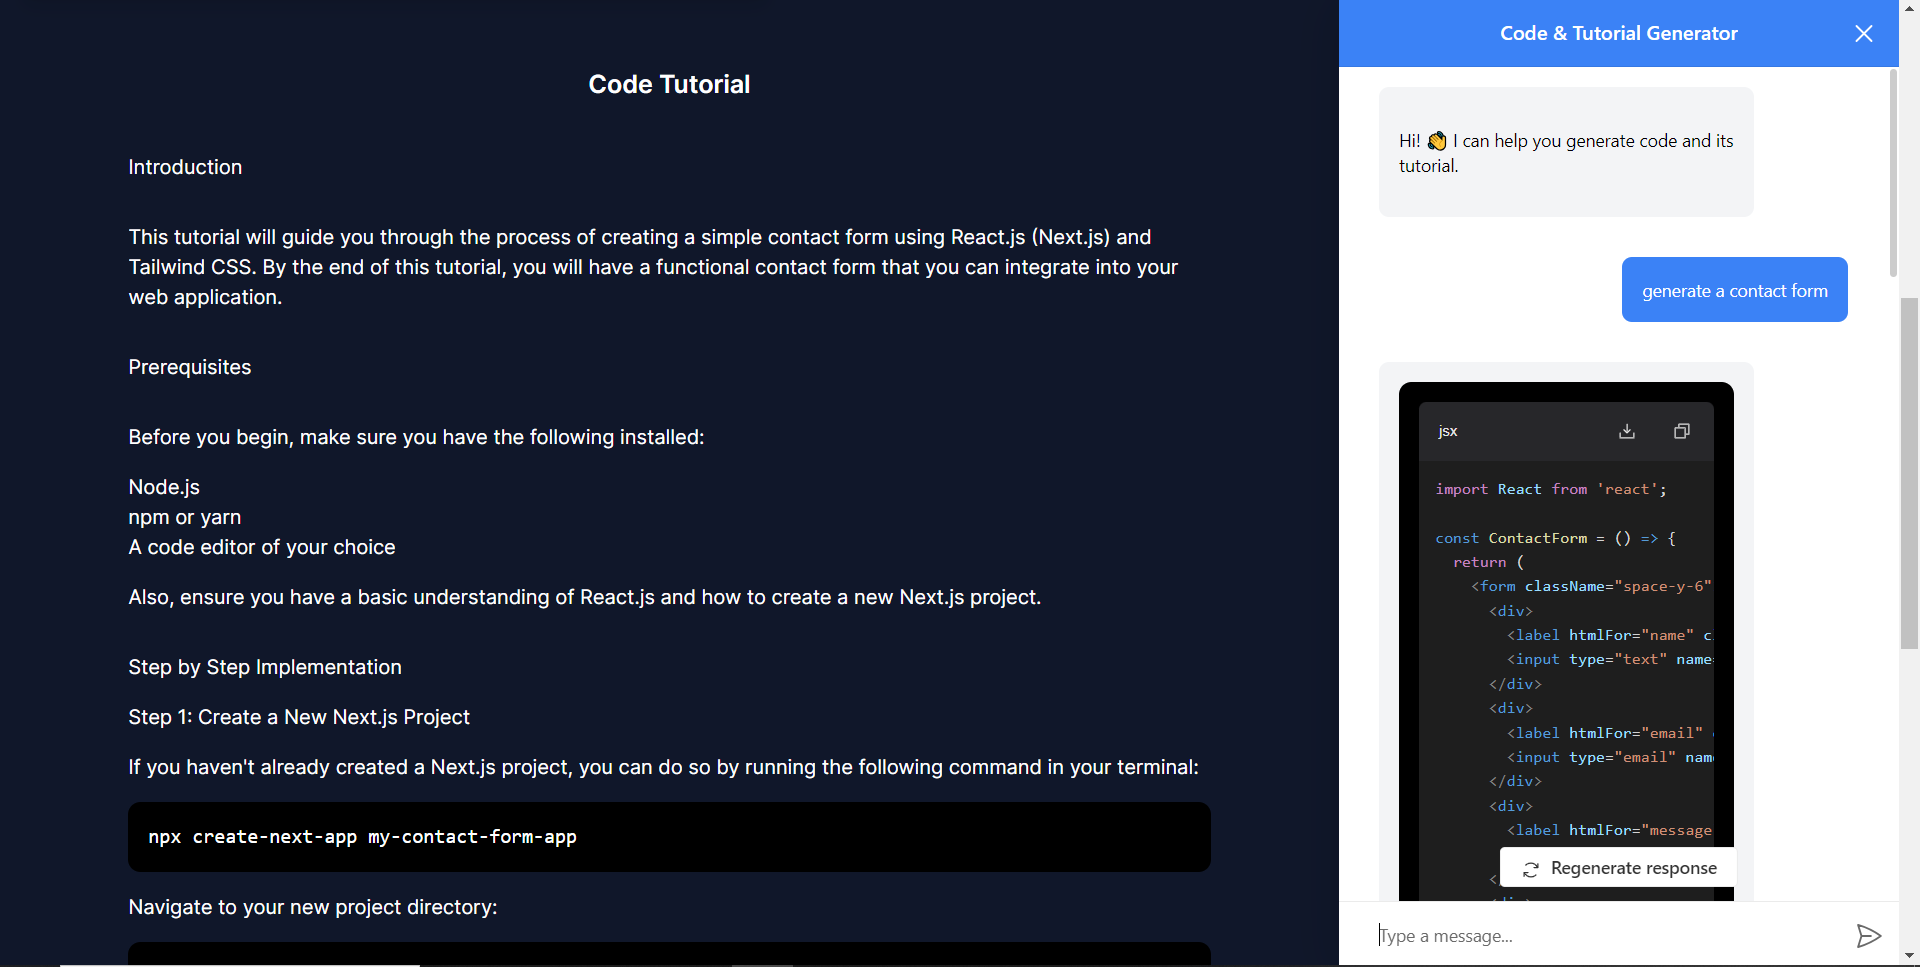
如何產生 UI 元件
現在轉到您之前整合的應用程式內聊天機器人,並給它一個提示,例如「產生聯絡表單」。
生成完成後,您應該會看到生成的聯絡表單元件及其實作教程,如下所示。您也可以使用嵌入式程式碼編輯器修改產生的程式碼。

恭喜!您已完成本教學的專案。
結論
CopilotKit是一款令人難以置信的工具,可讓您在幾分鐘內將 AI Copilot 加入到您的產品中。無論您是對人工智慧聊天機器人和助理感興趣,還是對複雜任務的自動化感興趣,CopilotKit 都能讓您輕鬆實現。
如果您需要建立 AI 產品或將 AI 工具整合到您的軟體應用程式中,您應該考慮 CopilotKit。
您可以在 GitHub 上找到本教學的源程式碼: https://github.com/TheGreatBonnie/AIPoweredUIComponentsGenerator
1) --- 會變成分隔線(上一行必須是空白)
2) # 會變成一級標題
3) ## 會變成二級標題
4) ### 會變成三級標題
5) **粗體文字**會顯示粗體文字
6) ```當第一行與最後一行會顯示程式碼
7) 請搜尋 Markdown 語法,了解各種格式